[Mike Clifford] of [Modustrial Maker] had not one, not two, but five friends call him to announce that their first children were on the way, and he was inspired to build them a Bluetooth speaker with a unique LED matrix display as a fitting gift. Meant to not only entertain guests, but to audio-visually stimulate each of their children to promote neurological development.
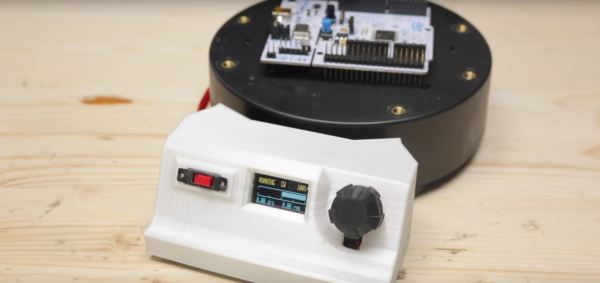
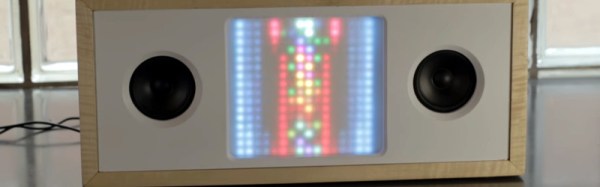
Picking up and planing down rough maple planks, [Clifford] built a mitered box to house the components before applying wood finish. The brain inside the box is an Arduino Mega — or a suitable clone — controlling a Dayton Bluetooth audio and 2x15W amp board. In addition to the 19.7V power supply, there’s a step down converter for the Mega, and a mic to make the LED matrix sound-reactive. The LED matrix is on a moveable baffle to adjust the distance between it and a semi-transparent acrylic light diffuser. This shifts the light between sharp points or a softer, blended look — perfect for the scrolling Matrix text and fireplace effects! Check it out!

 class. In about 60 days time; he went from dinner napkin sketch to working project. The project is quite interesting – he’s made an instrument that