The Commodore 1541 was built to do one job—to save and load data from 5.25″ diskettes. [Commodore History] decided to see whether the drive could be put to other purposes, though. Namely, operating as a standalone computer in its own right!
It might sound silly, but there’s a very obvious inspiration behind this hack. It’s all because the Commodore 1541 disk drive contains a MOS 6502 CPU, along with some RAM, ROM, and other necessary supporting hardware. As you might remember, that’s the very same CPU that powers the Commodore 64 itself, along with a wide range of other 1980s machines. With a bit of work, that CPU can indeed be made to act like a general purpose computer instead of a single-purpose disk controller.
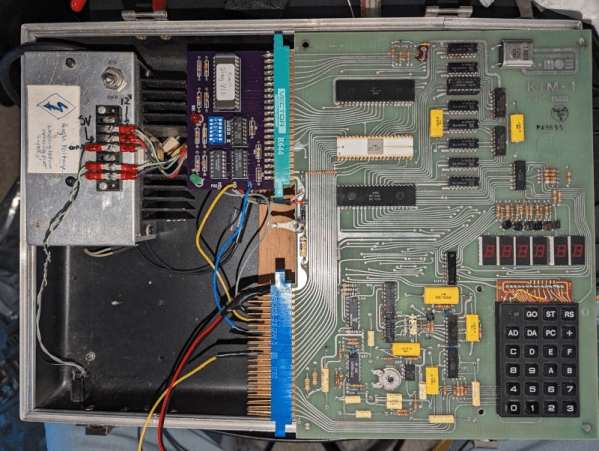
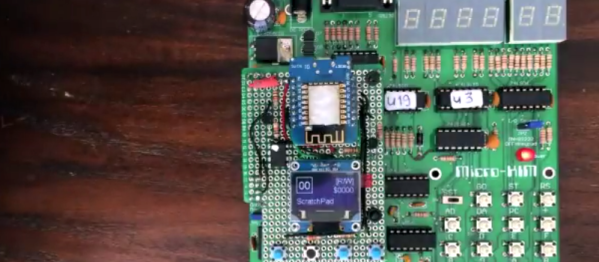
[Commodore History] compares the 1541 to the Commodore VIC-20, noting that the disk drive has a very similar configuration, but less than half the RAM. The video then explains how the drive can be reconfigured to run like the even-simpler MOS Technology KIM-1 — a very primitive but well-known 8-bit machine. What’s wild is that this can be achieved with no hardware modifications. It’s not just a thought exercise, either. We get a full “Hello World!” example running in both BASIC and machine code to demonstrate that it really works.
Code is on GitHub for the curious. We’ve featured hacks with the chunky Commodore 1541 before, too.
Continue reading “Commodore Disk Drive Becomes General Purpose Computer”