[Martin Raynsford] sells lasers, and laser cuts stuff for a living — we’re kinda jealous. Anyway, laser cutters from China are great, but sometimes lack certain functionality, so he decided to add his own z-axis feature!
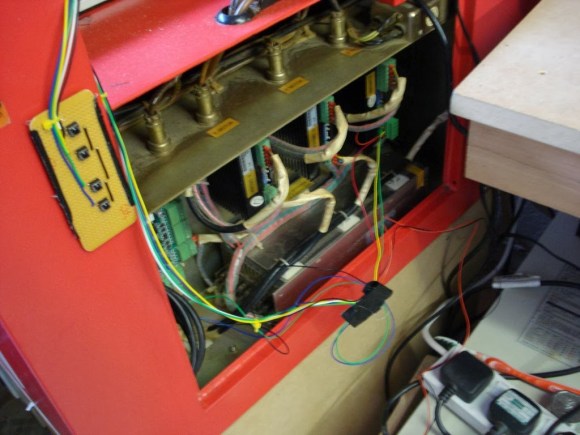
The main laser cutter he uses has a very slow z-axis, and it’s also difficult to control — a job can’t be paused to adjust the height offset, the datum must be set every time manually, and you have to be in the very top level of the menu in order to do anything with it! With this in mind, [Martin] decided to add his own z-axis control, completely separate from the laser’s on board control system.
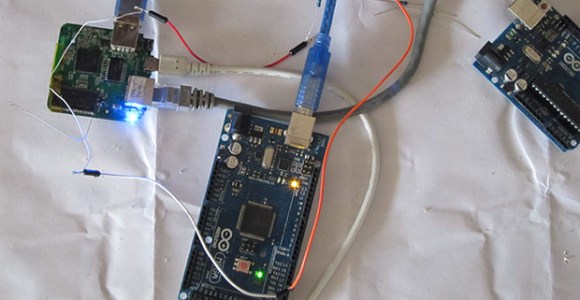
He’s using an Arduino Pro Mini to control the stepper motor with PWM. His new controller has four buttons — fast and slow, in each direction. He’s used the original end stops to protect the axis, and he’s also added a feature to set a datum by holding down both fast and slow buttons at the same time. It ended up being a very cheap upgrade to his system, and he’s also shared the source for anyone looking to recreate it.

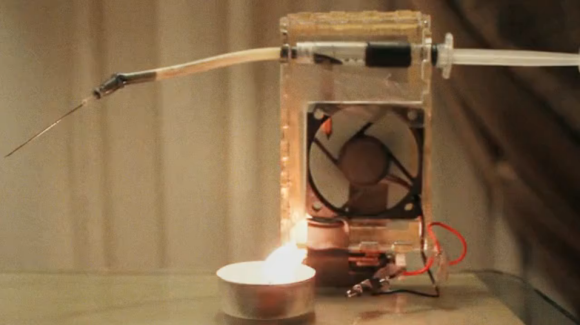 [Anirudh] and his friends were sitting around reminiscing about India. In particular, they recalled riding around in auto-rickshaws in stifling heat, watching their skin turn black from the exhaust. They started thinking about all of the soot and pollution in crowded cities the world over and wondered whether the stuff could be re-purposed for something like printer ink. That’s how they came up with