It’s hard to imagine an easier way to set up communications between an Android device and an Arduino using Bluetooth than by following this guide. In the center of the breadboard you can see the cheap and ubiquitous HC-05 Bluetooth module. Having picked up one of these ourselves we can attest that after opening the package and holding one in your hand you may be struck with a “where do I start?” conundrum. If you’ve got an Android handset and an Arduino you start right here, then methodically replace one side of the equation at a time until your own project has a Bluetooth component and you actually understand how it works.
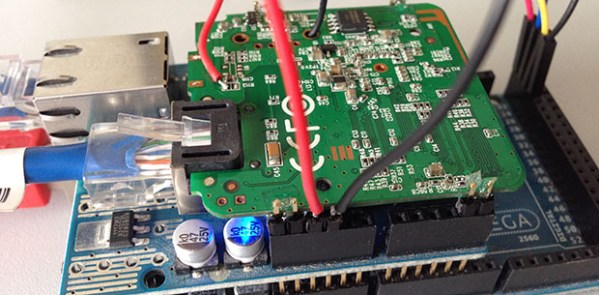
Hardware for the project comes in a couple of parts. The Bluetooth module wants 3.3v logic levels so that is taken into account. The image above shows a buffer chip doing the conversion, but the Fritzing schematic on the post uses a voltage divider. The software end of things consists of an Arduino sketch and an Android app. Check out all the controls on that screen. With bi-directional communications and a slew of already-configured commands this should get you up and running quickly on pretty much any possible project.
One thing to note is that there are different firmwares for these HC-05 units. For more on that see this project.
Continue reading “Two-way Bluetooth Communication Made Easy”