[Matt Richardson] came up with a doozy of an idea: using an Arduino to monitor the closed caption on TV and mute it when news about ridiculous celebrities is on-screen.
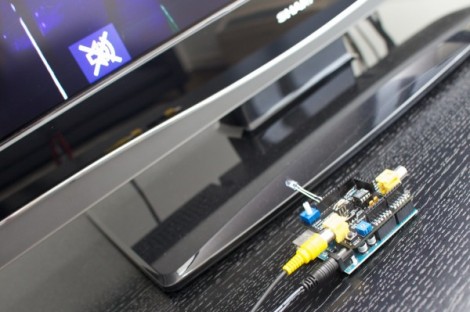
He’s using the video experimenter shield to monitor the captions. This shield connects via composite video, and can be used to decode the binary code that carries the captions in the overscan at the top of the screen. When a keyword comes through, an IR LED sends the mute command to the television, then waits until 30 seconds have gone by since the last keyword before un-muting. It’s like a troll-sniffing rat for your television! Now we just need to figure out how to use it to mute during commercials too.
[Matt] suggests we should imagine all of the cool stuff we could do with access to the closed caption data; we were already deep in thought by the time he got around to the suggestion. This would be a fantastic prank in a location were the television sound is not being used. You could put the Arduino inline with the video feed, then program it to wait for keywords in the news report and alter them in funny ways… like a live mad lib.
You can see [Matt’s] video explanation of the project after the break.
Continue reading “Automatically Weed The Celebrity Gossip Out Of Your TV Time”


