This toy has some upgraded internals that turn it into an Enigma machine. We absolutely love the idea, as it takes a toy that your child may have grown out of, and uses it to provide teachable moments dealing with both history and mathematics. But who are we kidding? We want to make one just because it’s a fun project.
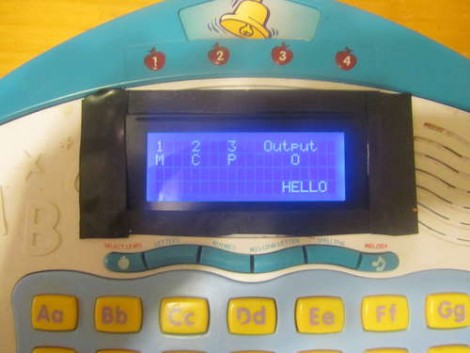
[Sketch] grabbed this toy from a thrift store because it has a full keyboard that he can use to make his own machine. It’s powered by an Arduino, with a four-line character LCD display taking the place of the original. His post covers the methods he used to figure out the keyboard wiring, and also contains a cursory overview of how the Enigma Machine functions. See a video of the finished project after the break.
If this wet your appetite, also check out the paper Enigma Machine we covered during Hackaday’s first year.
Continue reading “WWII’s Top Cryptography Comes To A Child’s Toy”


