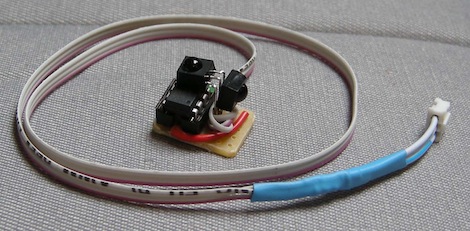
We’re all familiar with those musical greeting cards. Give the Hallmark store $10, and you have a card with a microcontroller inside that plays one of several songs available. [Jarv] was playing around with translating MIDI tracks to square wave songs with an Arduino earlier, so he decided to see how cheaply he could reproduce these musical cards. The resulting build allows him to put any song he wants in his card and costs less than the Hallmark offering.
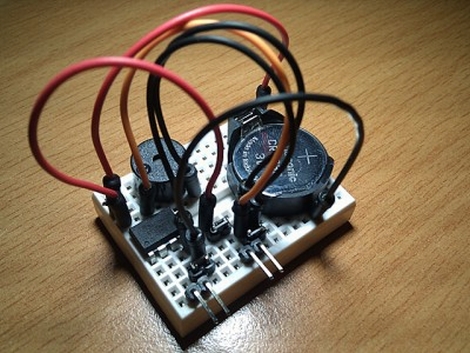
The circuit is extremely minimal – just an ATtiny 85, a battery holder, and two piezo speakers for two-voice harmony. After soldering up the battery and speakers, [Jarv] needed a way to get music on his chip. For this, he used MuseScore, a music notation program that allows [Jarv] to merge multiple voices together.
Once the sheet music was cleaned up, [Jarv] used his XML2H Python script that takes MIDI data and spits out frequencies and delays. In the end, [Jarv] spent less than $5 on his greeting card – almost cheap enough to start thinking about musical throwies to complement the batteries, LEDs and magnets on our window flashing.
Check out the video after the break to hear [Jarv]’s circuit play the theme from Toy Story.

