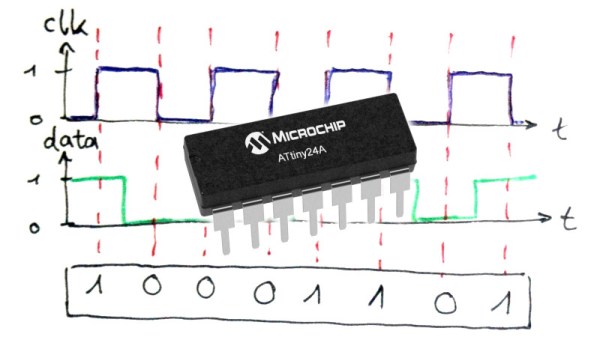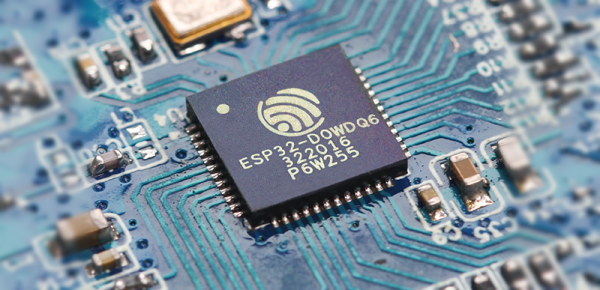
Bitcoin’s great, if you sold at the end of 2017. If you’re still holding, your opinion might be a little more sour. The cost to compete in the great hashing race continues to rise while cryptocurrency values remain underwhelming. While getting involved at the top end is prohibitively expensive, you can still have some fun with the basic concepts – as [Jake] did, by calculating Bitcoin hashes on the ESP32.
It’s a project that is very much done for fun, rather than profit. [Jake] notes that even maxing out both cores, it would take 31 billion years to mine one block at current difficulty levels. Regardless, the underlying maths is nothing too crazy. Double-hashing the right data with the SHA256 algorithm is all that’s required, a task that is well within the ESP32’s capabilities. There’s hardware acceleration available, too – though this is weirdly slower than doing it in software.
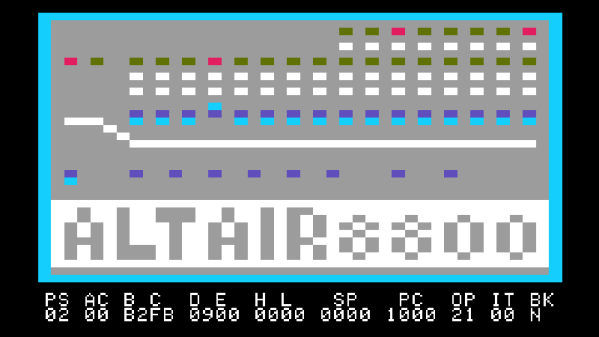
Overall, you’re not going to get rich hashing Bitcoin on a cheap microcontroller platform. You might just learn something useful, though. If this isn’t weird enough though, you could always try the same thing on a 1970s Xerox Alto.