Balance: we humans take it for granted. Without the sense of balance provided by our inner ears, we would have a hard time standing or walking around. What’s easy for us can be very hard for machines though. Projects that balance things have long been a challenge for engineers, makers and hackers. And rightly so, as building a machine to keep an object in balance often requires some novel electronic and mechanical solutions. This week’s Hacklet is all about projects that keep an object – or themselves – in balance.
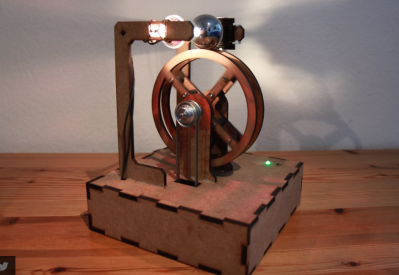 We start with [Manuel Kasten] and Balance Wheel. Inspired by a project at Chaos Communication Congress, [Manuel] created a hack that looks timeless. A stainless steel ball is balanced on top of a wooden wheel. The system detects the ball’s position using a solar cell. More light on the cell means the ball is slipping off the wheel. The system counteracts this by spinning the wheel to oppose the falling ball. In the old days this would have been an analog system. [Manuel] made things a bit more modern by using an ATmega644p processor. The video shows the wheel spinning a bit fast, as the system was tuned for a ping pong ball rather than a heavy steel roller.
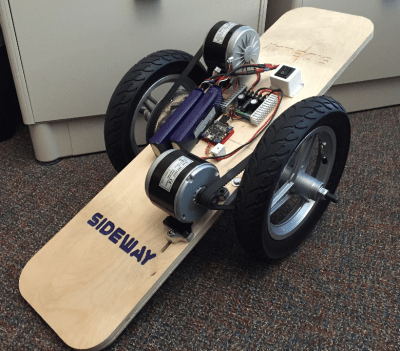 Next up is [Jason Dorie] with Sideway. Sideway is a two-wheeled skateboard that self-balances. One of the best parts of this project is that most of the mechanical components are from electric scooters, which means they are easy to source. The frame is even easier: A solid piece of plywood supports the rider and all the electronics. Two scooter motors are driven by a Sabertooth 2x32A motor controller. A Parallax Propeller performs the balancing act, obtaining IMU data from an ITG3200 digital gyro and an ADXL345 accelerometer. Speed is controlled by leaning forward and back, like a Segway. Steering is controlled by a Wiimote nunchuck. Sideway is powered by 3 cell LiPo batteries. [Jason] says this ride gets a lot of attention every time he takes it out.
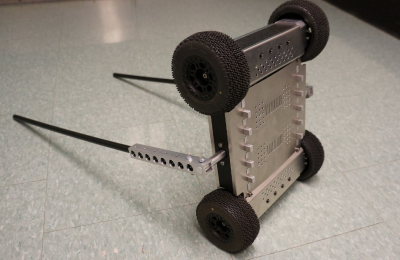 [Dominic Robillard] developed his Stair-climbing self-balancing robot as part of his masters degree at the University of Ottawa. We don’t know what grade his advisors gave him, but we give this project an A+. The robot is a 4WD off-road monster. Two heavy-duty drive motors give it tank style steering. The most impressive part of the robot are the two arms which allow it to roll its entire chassis up and over obstacles which would stop much larger robots. [Dominic’s] robot isn’t just statically balanced though – it can rear up and ride on two wheels Segway style. If it does tip over, the arms will lift it right back up!
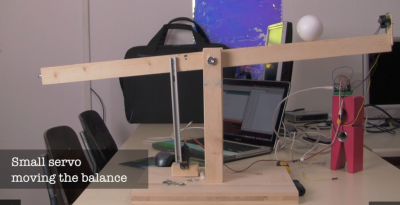 Finally, we have [Paul Bristow] with Terabalance. [Paul] got his hands on an early copy of the TeraRanger One, a Time of Flight (ToF) sensor developed at CERN. He decided to test it out by using it to balance a ping pong ball on a wooden bar. The sensor had to be slowed down quite a bit in this application, data is only read about 1000 times a second and averaged. An Arduino reads the distance data from the sensor and uses that data to drive a hobby servo. No PID loops here, in fact, Terabalance is a great example of how a proportional only system will hunt forever. That said, it is good enough to keep the ball on the balance bar.
There are a plenty of balancing projects on Hackaday.io. If you want to see more, check out the new well balanced project list! Did I miss your project? Don’t be shy, just drop me a message on Hackaday.io. That’s it for this week’s Hacklet, As always, see you next week. Same hack time, same hack channel, bringing you the best of Hackaday.io!
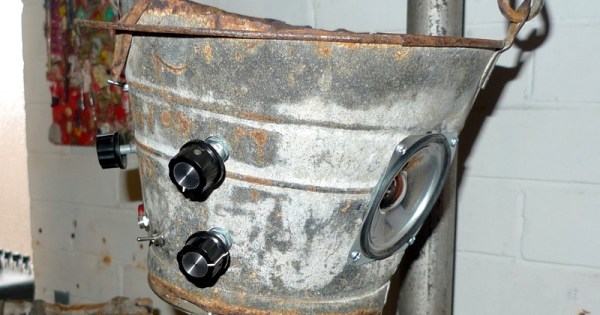
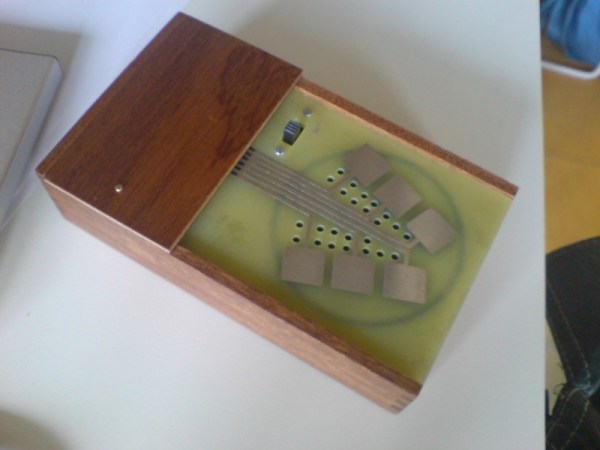
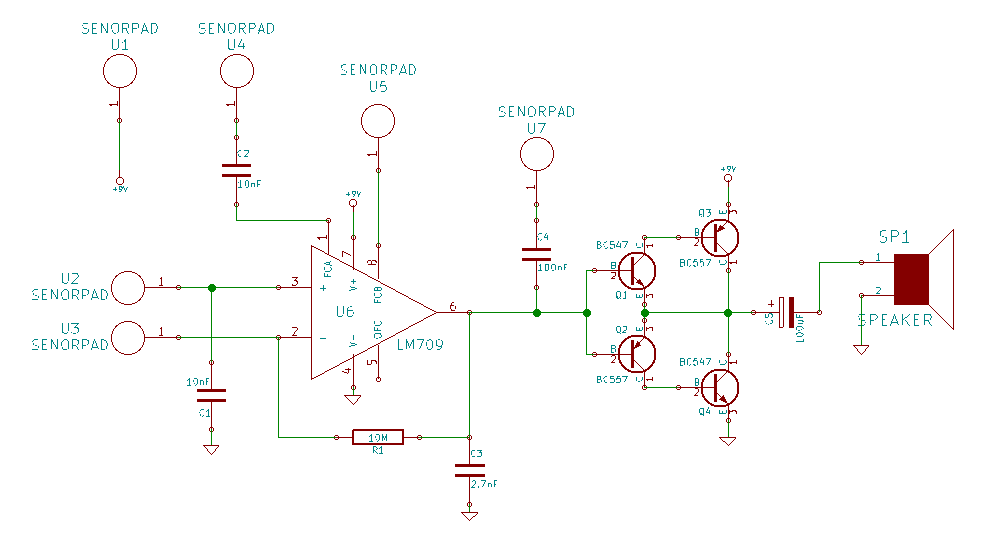
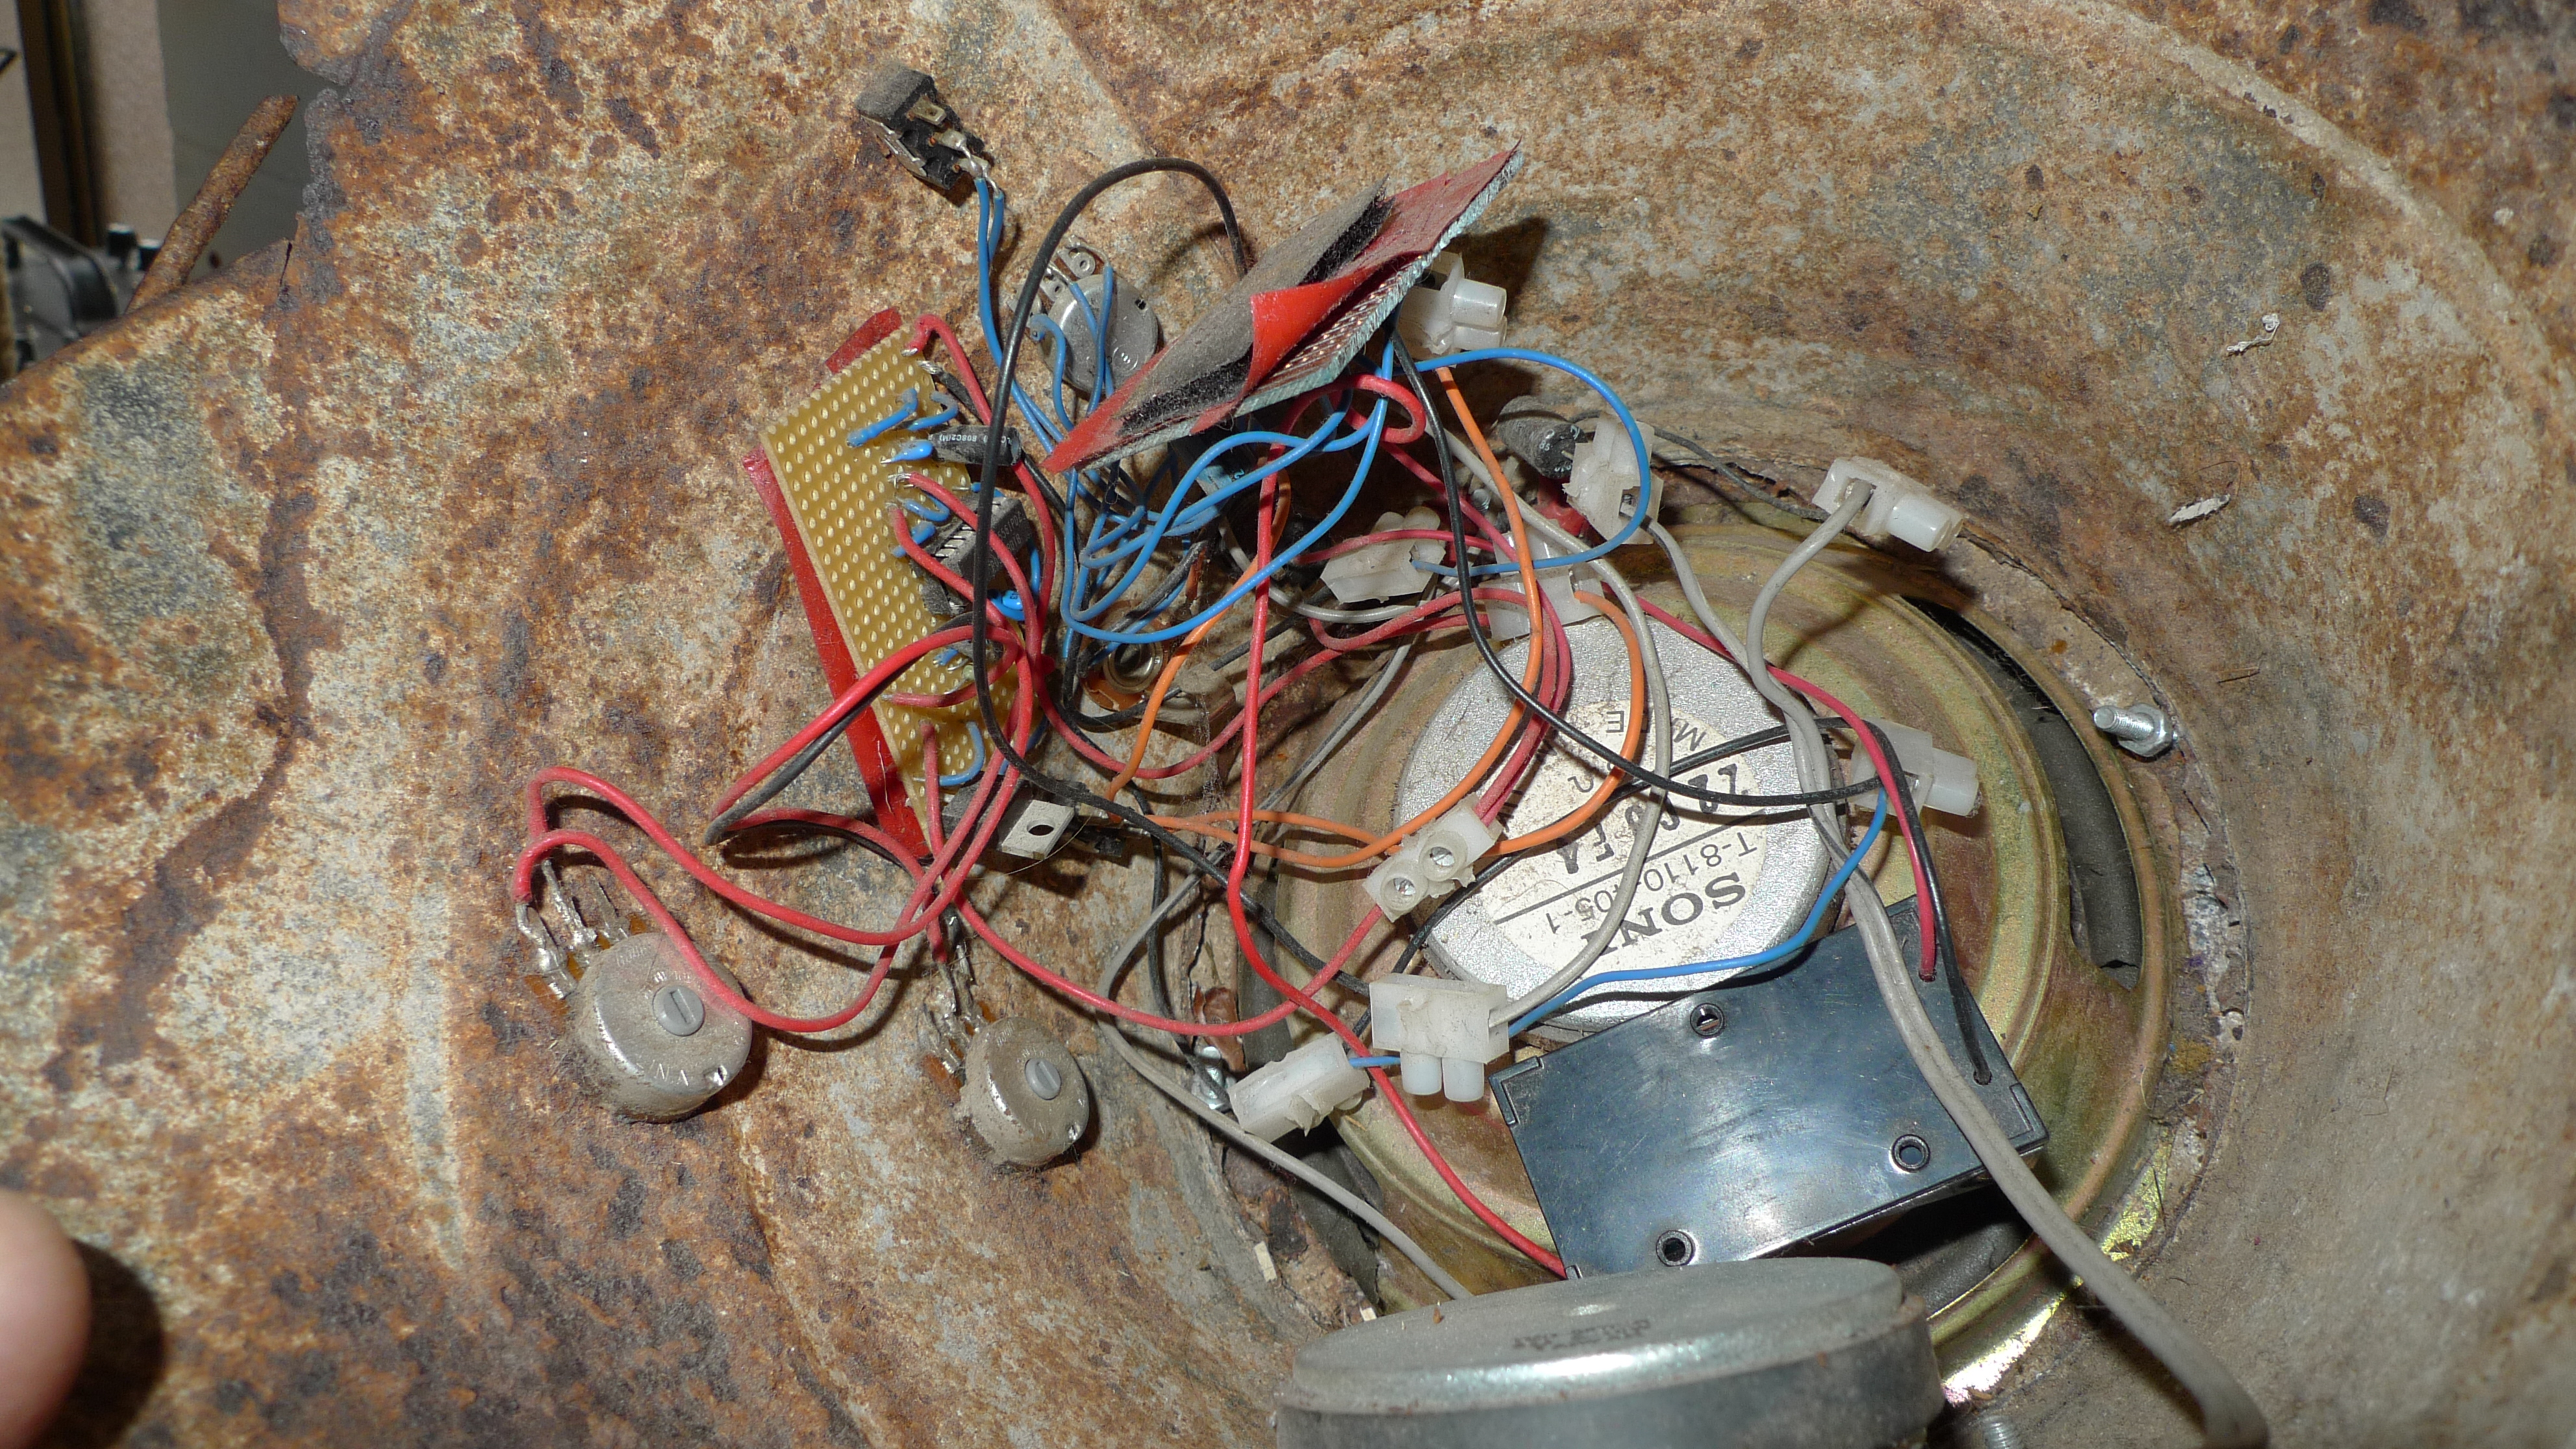 The circuits operation is easy to grasp and uses only 9 components. This ease of design and construction has allowed builders to focus more on the aesthetics of its construction, hacking it into interesting, and often unlikely enclosures and systems. One such hack is the “Atari Punk Bucket” (shown here) where the APC along with a simple amp was hacked into an old rusted bucket. The APC was built up on strip-board along with a simple amp and reclaimed speakers. [Farmer glitch] has used this as a prop in live sets and it both looks and sounds awesome. Continue reading “The Ubiquitous Atari Punk Console”