Arduino MP3 Jukebox

Here’s an inexpensive Arduino-based MP3 Jukebox (translated) which [Jose Daniel Herrera] put together.

He spent some time making sure that it looked great sitting on a shelf with his other audio equipment. This started with a wooden box which is some reused packaging. We’re not familiar with the ‘iNFUSiONES’ product; perhaps it’s tea or tobacco? At any rate, to this he added a custom face plate to host the character LCD, rotary encoder, two buttons, and to act as a grill for the two speakers.

The speakers and their accompanying amplifier circuitry were pulled from a portable speaker set. He combined them with a VS1002d MP3 decoder module, SD card breakout board, and the Arduino itself. In addition to the overview post linked above, there is also a collection of assembly photos, and a post discussing the way he arranged the code for the control systems (translated). See and hear the unit in action in the clip after the break.

Continue reading “Arduino MP3 Jukebox”

Collection Of Nixie Bar Graphs Bump To The Beat

This VU meter uses Nixie tubes as the display. There are a total of fourteen IN-13 bar graph tubes that map out the audio spectrum. The build uses purely hardware for the display; no microcontroller processing, or dedicated VU-meter chips were used.

Input begins with a dual Op-Amp along with a pair of potentiometers which allow the left and right channels to be balanced. Both channels are then each split into seven signals, which explains the layout of tubes seen above. Each signal is then fed through a voltage divider to envelope the output between 0V and 6V. There is also a low-pass filter to handle sudden volume spikes which don’t work well with the nixies. But as shown in the video after the break, all that work has paid off. Thr clip gives us a look at the green protoboards which host all of this filtering hardware. You’ll want to turn the volume down for the first couple of demonstrations which use a sweep to test the system.

Continue reading “Collection Of Nixie Bar Graphs Bump To The Beat”

One-button Audiobook Player Made From A Raspberry Pi

[Michael Clemens] was looking for gifts for his Grandmother’s 90th Birthday. She is visually impaired and loves to be able to listen to audiobooks. The problem is that she doesn’t really get the hang of using electronics. He made things easy by building her a one-button audiobook player.

The Raspberry Pi board is a perfect solution for this project. It’s cheap, it has an audio port, it has storage for the books on the system SD card, and it runs Linux. The last part is key as it made things very simple when [Michael] started pulling together the various components.

When the RPi is powered up it drops immediately into a Python script which loads the audio track and places the music player daemon in pause. The yellow button seen above works as a play/pause button when clicked. If the listener misses something she can hold the button for more than four seconds to go back one track. Loading new books is easy too. [Michael] copies the files onto a thumb drive with a special volume label. When plugged into the RPi USB port the script automatically copies the book and starts playing when the drive is removed. He included a video demo on his project page linked above.

Hacking An Old Radar Gun To Interface With A Laptop

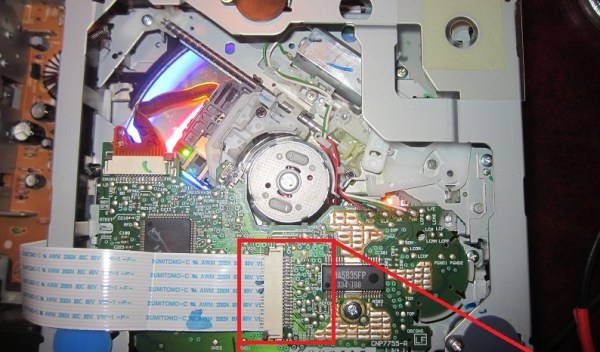
[Gregory Charvat] decided to see what he could do with this old Police radar gun. It is an X-band device that broadcasts continuous waves and measures the Doppler shift as they echo back. He cracked it open to see if he could interface the output with a computer.

After a little poking around he’s able to get it connected to a 12V feed from his bench supply, and to monitor the output with an oscilloscope. He established that it draws about 0.5A in current he built a companion board which uses AA batteries for power, and provides an audio output which can be plugged into his laptop’s audio-in jack. This technique makes reading the device as easy as recording some audio. From there a bit of simple signal processing lets him graph the incoming measurement.

In the video after the break you’ll see his inspection of the hardware. After making his alterations he takes it into the field, measuring several cars, a few birds, and himself jogging.

Continue reading “Hacking An Old Radar Gun To Interface With A Laptop”

AM Chiptunes Played By A Modified Antenna Analyzer

Believe it or not, this VK5JST aerial analyzer kit is going to rickroll you. [Erich] wanted to see if he could use the device in a different way. His adventure led him to use it to feed different tones to an AM radio, producing the all too familiar [Rick Astley] offering.

There’s a fair bit of math that goes into getting the correct signals to generate a given pitch. But it basically boils down to patching into the hardware early in the RF generation. This way an audio signal can be rolled into the carrier frequency. Since this kit uses a PicAXE microcontroller with available source code it is rather easy to add audio input to tweak what the chip is putting out. But there is also some hardware tinkering to be done. Read more about that at the article linked above, and don’t forget to check out the bottom of that page to hear the final results.

LEDs Fade To The Music Using A Python Filter

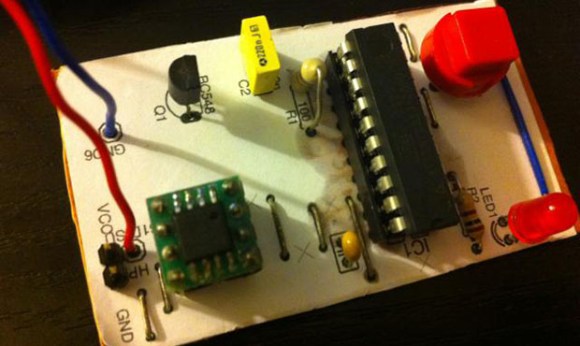
This little LED rig fades in time to music. The hardware itself is quite simple, some LEDs connected to the PWM pins of an Arduino. But the signal processing is happening on a computer using a Python script.

Many of the projects we see which pulse lights to music use the MSGEQ7 chip to perform hardware processing on the audio signal. But since [Zolmeister] is using a computer to play his tunes he took a different route. His Linux box uses PulseAudio to handle sound. This allows him to record from the audio playback which provides an internal source for the pyAudio package. His Python script saves snippets of the streaming audio to .wav files. I then normalizes the volume level and uses the amplitude to set a PWM value before deleting the sample and moving onto the next. These values are pushed to the Arduino at 115200 baud to achieve the results seen in the video after the break.

Continue reading “LEDs Fade To The Music Using A Python Filter”

Roll Your Own Parabolic Microphone

Parabolic microphones are used to listen in from a distance. You see them on the sidelines of NFL football games, but they’re part of the standard issue in detective and spy novels. Now you can build your own parabolic microphone by following this example.

The one component that may be hard to find is the parabolic reflector. You cannot simply use a bowl or other curved object as the precise parabolic shape ensures that sound waves are reflected onto one finite focal point. For this build the reflector was obtained from an eBay seller. But the other parts are scavenged from easy to find sources. The microphone itself is an inexpensive element from Radioshack. It is mounted in the shell from a tweeter speaker, which helps to gather the sound if the element isn’t exactly aligned with the focal point. The setup also needs a preamplification system, which uses many components. Luckily there’s a schematic and other reference material linked in the write up.

You can also build a laser microphone which detects sound waves on a pane of glass.

[Thanks Anonymous]