[Kripthor] suspected that hunters were getting too near his house. When thinking of a way to quantify this belief he set out to build a triangulation system based on the sound of gunshots. The theory behind it is acoustic location, which is a specialized type echolocation.
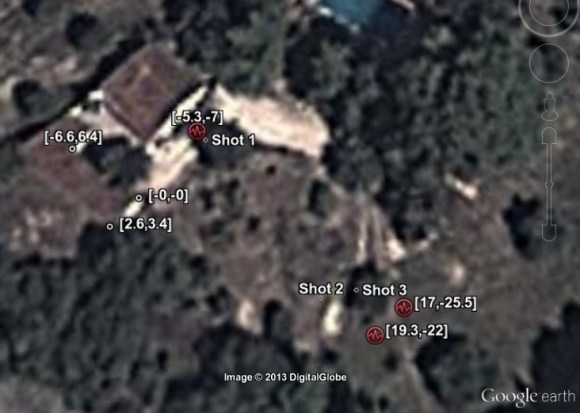
The most common example of echolocation is in Bats, who emit ultrasonic noise and listen for its return (echo) to judge the location of objects. [Kripthor] doesn’t need to generate the sound himself, he just needs to pick it up at different points. The time difference from the three samples can be used to triangulate coordinates as seen in the image above.
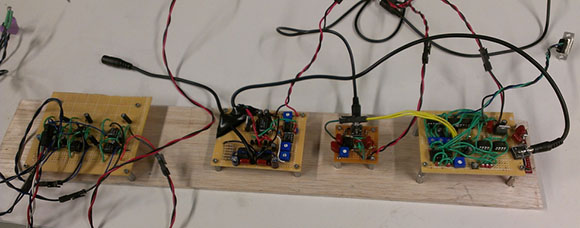
He first tried using a PC sound card to collect the samples. The stereo input only provides two channels so he tinkered around with a 555-based multiplexing circuit to sample from three. The circuit noise created was just too great so he transitioned to using an Arduino. The ADC samples from each microphone via an NPN transistor which is used as a simple amplifier.
This brings to mind a homebrew sonar hack from way back.