Getting a closer look at the Moon isn’t particularly difficult; even an absolute beginner can point a cheap telescope towards our nearest celestial neighbor and get some impressive views. But if you’re looking to explore a bit farther, and especially if you want to photograph what you find out there amongst the black, things can get complicated (and expensive) pretty quick.
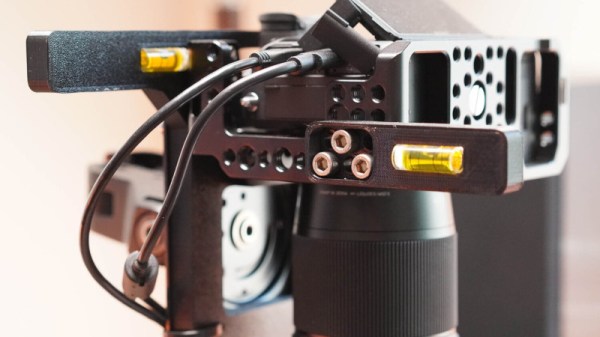
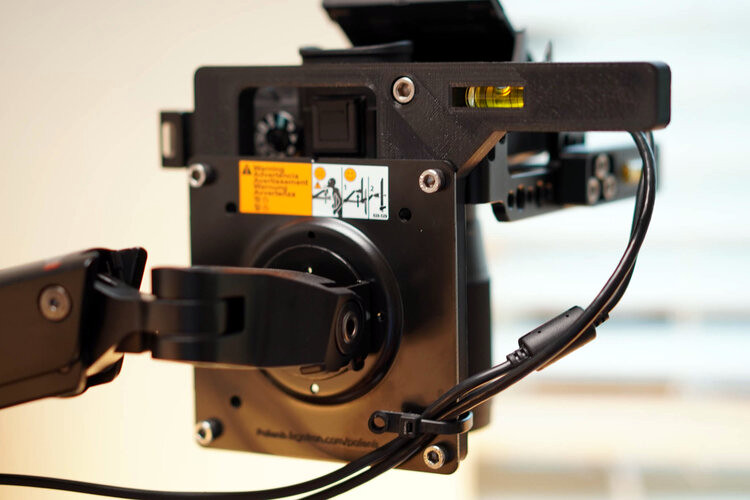
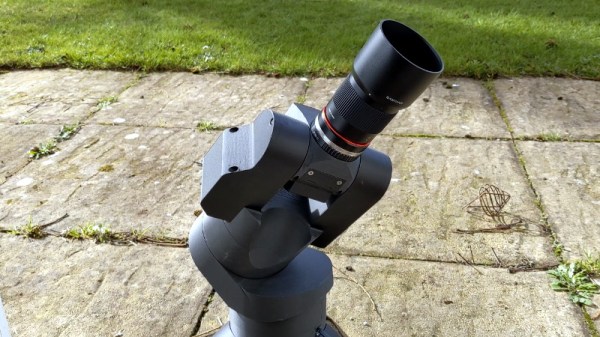
While building this 3D printed automated telescope designed [Greg Holloway] isn’t necessarily cheap, especially once you factor in what your time is worth, the final product certainly looks to be considerably streamlined compared to most of what’s available in the commercial space. Rather than having to lug around a separate telescope, tripod, motorized tracker, and camera, you just need this relatively compact all-in-one unit.
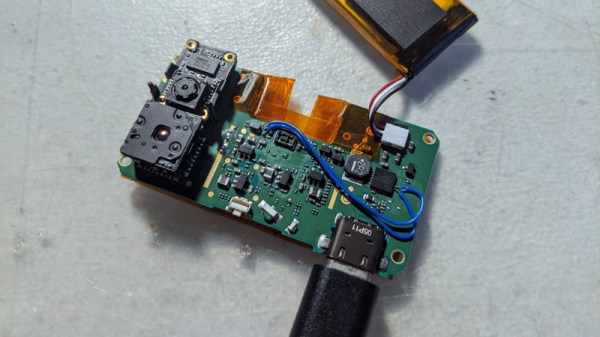
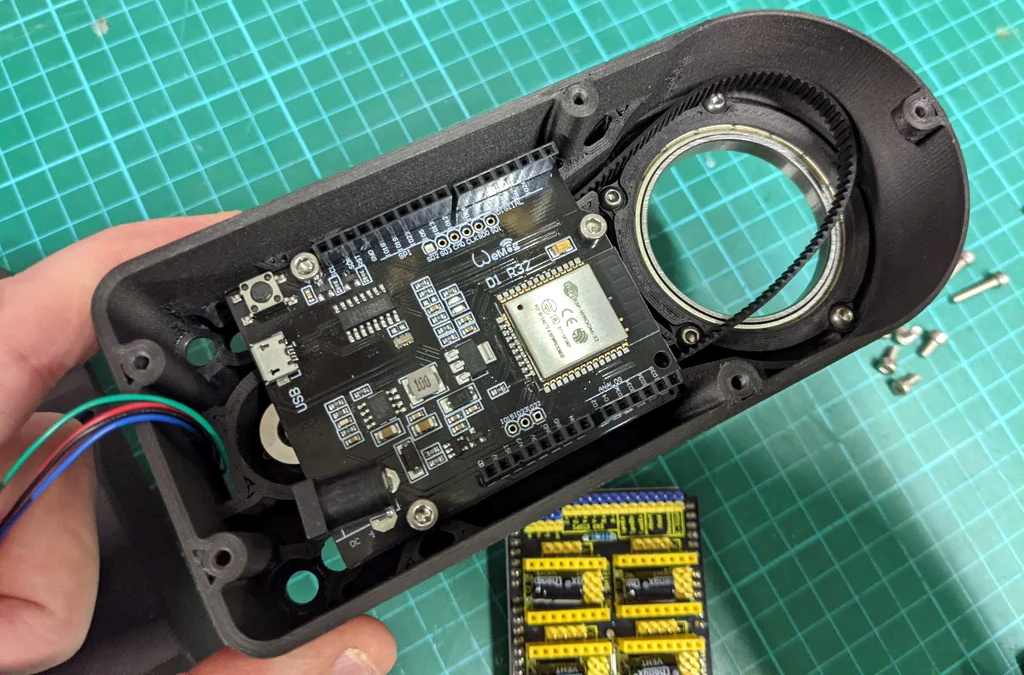 It’s taken [Greg] six months to develop his miniature observatory, and it shows. The CAD work is phenomenal, as is the documentation in general. Even if you’re not interested in peering into the heavens, perusing the Instructables page for this project is well worth your time. From his tips on designing for 3D printing to information about selecting the appropriate lens and getting it mated to the Raspberry Pi HQ Camera, there’s a little something for everyone.
Of course if you are looking to build your own motorized “GOTO” telescope, then this is must-read stuff. [Greg] has really done his homework, and the project is a fantastic source of information about motor controllers, wiring, hand controllers, and the open source firmware you need to tie it all together. Many of the ideas he’s outlined here could be applicable to other telescope projects, or really, anything that needs to be accurately pointed to the sky. If you’d like to get started with night sky photography and aren’t picky about what kind of things you capture, we’ve seen a number of projects that simply point a camera towards the stars and wait for something to happen.
[Thanks to Eugene for the tip.]