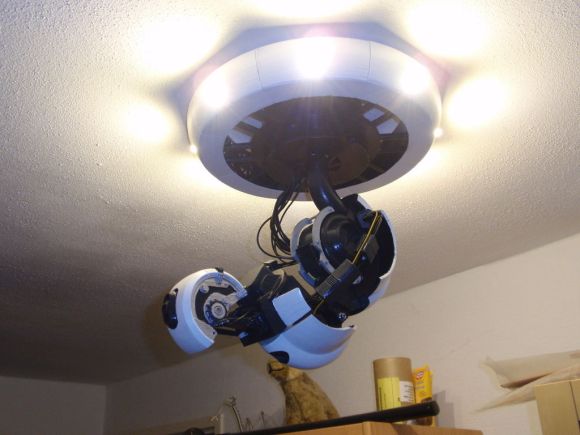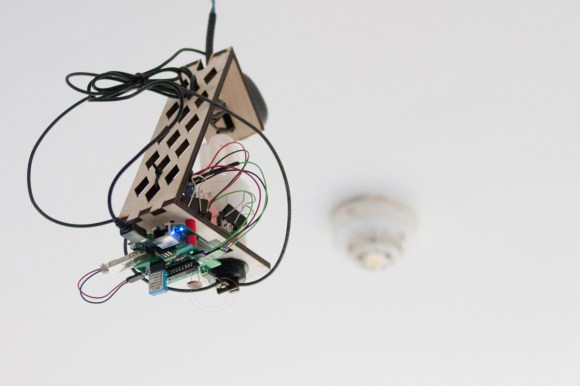
Would you believe that this beautiful light fixture is actually a hacked together home automation project? Okay, so this wire mess is the second of three versions that [Christian] built. It replaces a light fixture in the room, but if you look closely you’ll see that there is a compact fluorescent bulb included in the build. The laser-cut frame acts as a bit of a lamp shade, while providing a place to mount the rest of the hardware.
The final version cleans things up a bit, and adds a footprint for the PIR motion sensor that he forgot to design into this version. The idea is that each lamp monitors motion in the room, switching the light on and off again as necessary. A light-dependent resistor ensures that the bulb is only powered up if the room is dark so as not to waste electricity during the day.
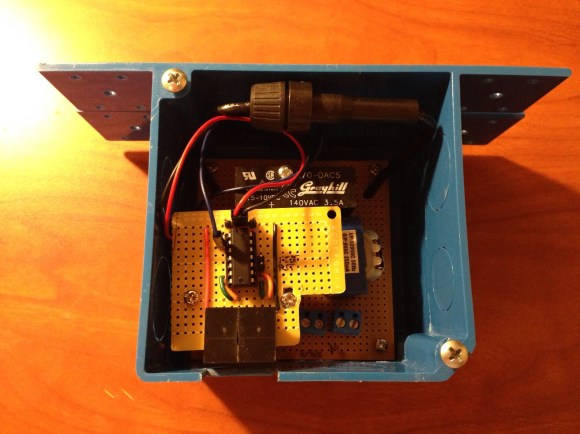
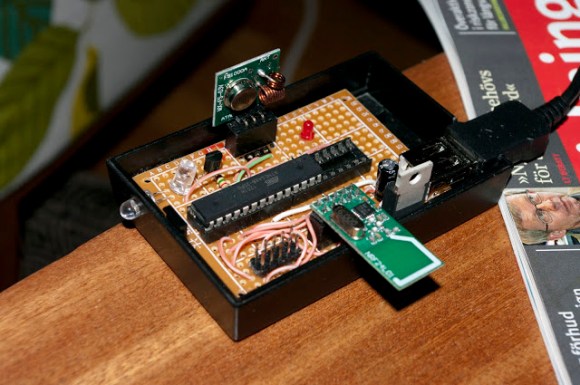
The build includes a sensor package that reports back temperature and humidity data. Communications are provided by a WR703N router rolled into each of the four units installed in his house. With this kind of hardware at his disposal it should be a snap to control every IR remote control device in his house via the network by adding an IR LED and some code to the lamps.