Trying to reinvent the clock has been done over and over again, but it’s always fun to see how over-engineered and complex these designs can get. [Bertho’s] last working clock in his house was the built-in clock on the VCR, so he decided it was finally time to build his own 504 Segment clock.
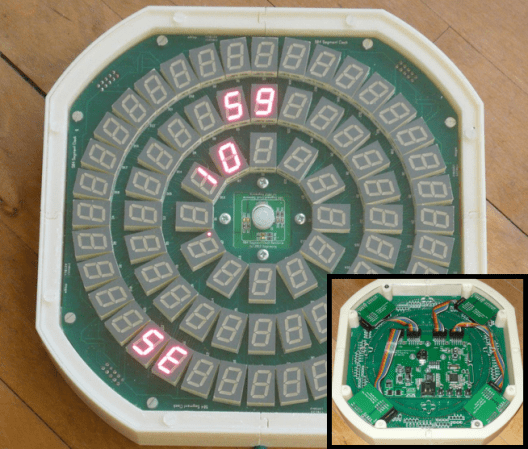
Yep, that’s right, 504 Segments! This clock uses 72 7-Segment displays to tell time. The video after the break shows the clock in action, but time is read by looking at each ring of displays: outer=seconds, middle=minutes, and inner=hour. [Bertho] could’ve just stopped there, but he decided to load the display up with sensors, so hand-waiving can change modes, and brightness can be regulated based on ambient light conditions. And since he has individual control over each segment, he has implemented some pretty cool mind-melting animations. Oh, and did we mention that the display synchronizes with an NTP server?
The display is divided into 4 quadrants, each containing 18 7-Segment displays. The control architecture is interesting because each quadrant is controlled by its own PIC microcontroller, which handles the continuous multiplexing and modulation of the 18 7-Segment displays. A main control board contains another (more powerful) PIC to update the 4 quadrants via a serial bus. This board also handles the Ethernet connection, sensor interface, and local RTC(real time clock). This isn’t the first time we’ve seen [Bertho’s] amazing work, so make sure you check out his useless machine and executive decision maker.