Microsoft Paint was one of the first creative outlets for many children when they first laid hands on a computer in the 1990s. Now, [Volos Projects] has brought the joy of this simple application to a more compact format on the ESP32!
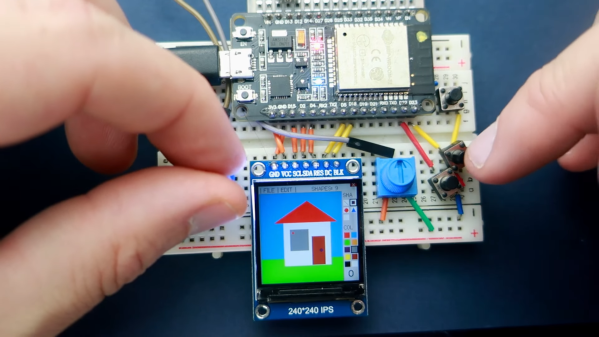
The GUI is a fair bit simpler than even the Windows 3.1 version of MS Paint, looking a little more like something from the very early GUI era. Regardless, one can draw simple shapes in block colors just like the old days, with a pair of potentiometers to move the cursor and twin tactile buttons for selecting tools and committing changes to the canvas.
The build shows that even a 1.3″ 240×240 TFT display can display some charming, colorful graphics, and realistically it’s not far off the resolution most computers had in the late 80s anyway. We’d love to see the software get some more tools too, like the spray can and brushes that were such a key part of the MS Paint experience. Code is available for those eager to play with ES Paint 32 for themselves.
It bears noting that despite some claims to the contrary, MS Paint isn’t dead. Incidentally, if you’re a masochist, you can even program in everybody’s favorite Windows-bundled art program. Video after the break.