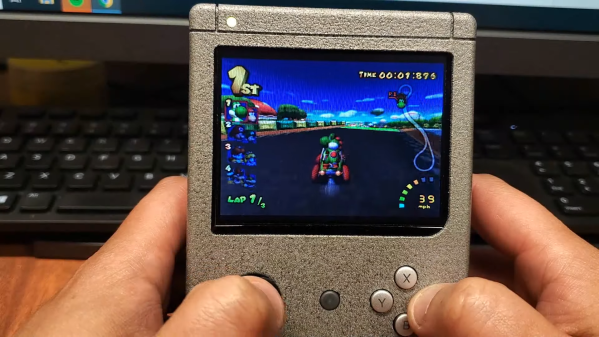
The G-Boy kit revolutionized the subculture around building portable home consoles, allowing an entire Wii to be crammed into a form factor the size of a original Game Boy. [Chris Downing] is no stranger to the field, and sourced a G-Boy kit of his own to build it to the best of his abilities. (Video embedded after the break.)
However, he wanted to step up above the FDM-printed parts of the original kit. Thus, he contacted the kit developer Gman, who provided him with the 3D model files so he could attempt a higher-quality SLA print himself. [Downing] had some experience with SLA printing in the past with the Form 2, but found some unique challenges on this build with the Form 3.
The benefits of SLA printing are the finer detail and surface finish it delivers. This is particularly nice on things like enclosures and buttons which are handled regularly by the user. However, the standard resin that ships with the Form 3 had issues with warping, particularly on thin flat walls which make up the majority of the G-Boy case.
Other issues included the fact that the standard cured SLA resin is much harder to thread screws into than softer FDM plastic, something which frustrated assembly of the design. It’s also brittle, too, which leads to easy breakages.
As a fan of a properly finished product, [Downing] decided to sand and paint the enclosure regardless. Tragedy struck when the spray cans started to spit chunks due to being over a year old. However, it serendipitously turned into a win, producing an attractive granite stone-like finish which actually looks pretty good.
The G-Boy kit took Wii portable builds mainstream, and drew many new builders into the subculture. [Downing] may be a stalwart of the scene, but still learned new skills along the way of the build.
We can’t wait to see what happens next in the scene, though we’d suspect someone’s already out there chopping up a rare PlayStation 5 as we speak.
Continue reading “The Trials And Tribulations Of SLA Printing A Portable Wii Handheld” →

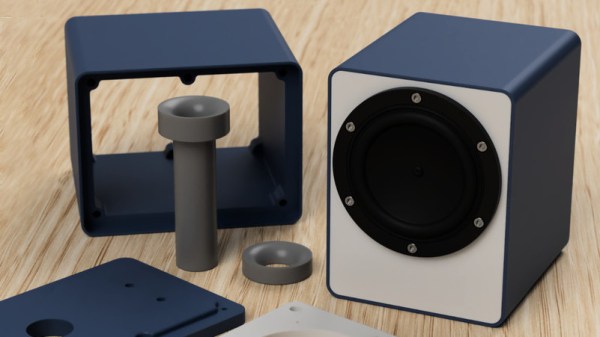
 The parts can be 3D-printed, but the design ensures that the front and back panels are flat, so one can use wood or some other material for those depending on preference and appearance. The assembly is screwed together using six M3 bolts per side with optional