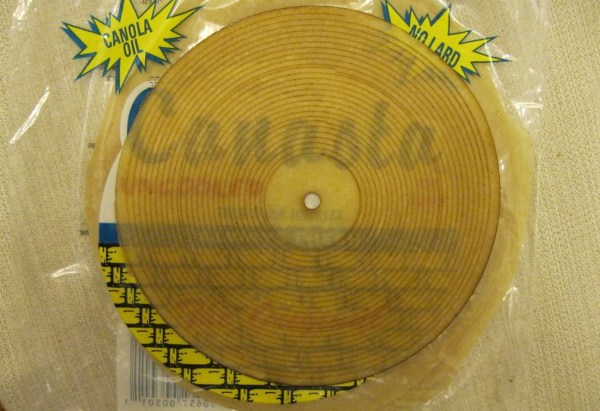
[UpgradeTech] had a proof-of-concept itch they needed to scratch: making a playable record out of a tortilla using a laser cutter. The idea was spawned from the goofy “tortilla vinyl” YouTube video.
Uncooked flour tortillas were used. Corn tortillas were too lumpy while cooked tortillas shredded on the record player. To get the recording onto the tortilla, Audacity was used to modify a stereo WAV file. Using the RIAA equalization standard is a great choice here as it was originally adopted to prevent excess wear and tear on record grooves as the needle passed through. A Python script generated the files for the laser cutter, creating a text file with the sound data which was then processed into a vector PDF of the grooves. For each record it takes 30 minutes for the laser cutter to turn a simple flour tortilla into the musical variety.
Each tortilla can play 30-40 seconds of music at 45 or 78 RPM, but they start to warp once they dry out. Time to build a humidor around the record player! There is background noise that can make certain songs harder to hear, but there is unarguably audible music. There is plenty of room for optimizing the sound file, grooves, and cutting. We hope this project inspires others to make their own musical tortilla. Playing with your food has taken on a whole new meaning!


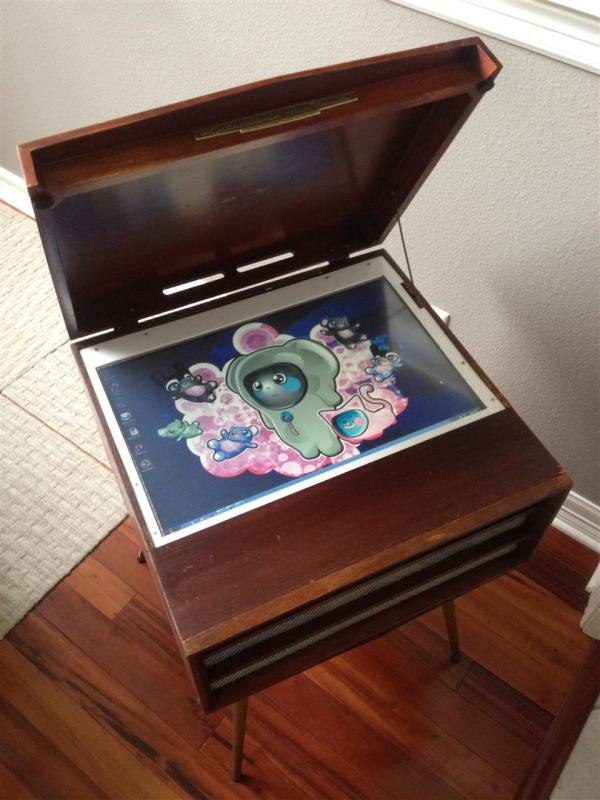
 Since she was going with an oscilloscope style vector scan rather than the raster scan the screen electronics were originally designed for, [ErikaFluff] had to create her own horizontal and vertical deflection circuits. Horizontal scan is created by a 555 timer generating a sawtooth wave at 75 Hz. Vertical deflection is via an LM386 driving a hand wound impedance matching transformer. The high voltage flyback transformer and its associated driver circuit were kept from the original CRT, though repackaged to make them as small as possible.