Looking for a fun weekend project? How about building your very own sci-fi Theremin using just a soda can and a few simple components you probably already have.
Not familiar with Theremins? It’s an electronic instrument that can be played without any physical contact. Essentially, the antenna (soda can) acts as half of a capacitor — your hand acts as the other. By varying the distance of your hand to the soda can, you change the capacitance, which can then be used to modulate a sound. It was invented in 1928 by the Russian inventor [Leon Theremin], and you can actually see a video of him playing it on YouTube — we’ve never seen this before, but we must say it’s actually quite impressive!
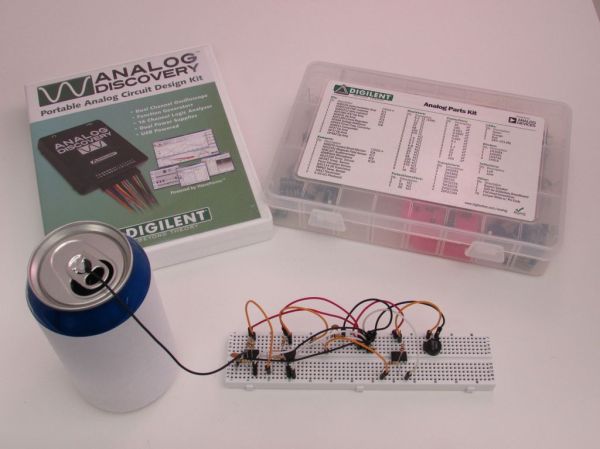
Anyway, back to the hack. All you need are some op-amps, a few capacitors, some resistors, a diode, a breadboard, and of course — a speaker. [Will’s] gone into great detail in how each circuit works with both schematics and diagrams of the breadboard configuration — it’s a great little project even kids can follow along.
Take a listen after the break.