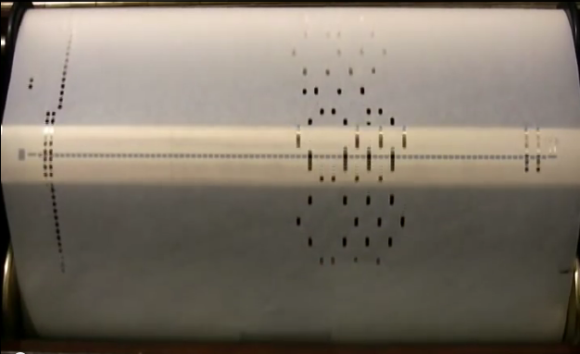
Perforated rolls of paper, called piano rolls, are used to input songs into player pianos. The image above was taken from a YouTube video showing a player piano playing a Gershwin tune called Limehouse Nights. There’s no published sheet music for the song, so [Zulko] decided to use Python to transcribe it.
First off the video was downloaded from YouTube. This video was processed with MoviePy library to create a single image plotting the notes. Using a Fourier Transform, the horizontal spacing between notes was found. This allowed the image to be reduced so that one pixel corresponded with one key.
With that done, each column could be assigned to a specific note on the piano. That takes care of the pitches, but the note duration requires more processing. The Fourier Transform is applied again to determine the length of a quarter note. With this known, the notes can be quantized, and a note duration can be applied to each.
Once the duration and notes are known, it’s time to export sheet music. LilyPond, an open source language for music notation, was used. This converts ASCII text into a sheet music PDF. The final result is a playable score of the piece, which you can watch after the break.
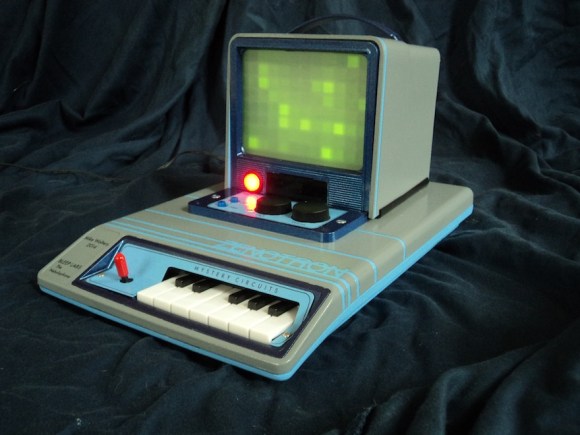 This beautiful instrument of musical delight is called