[KDM] over at The Controller Project forums let us know about a cool project he’s been working on: a MIDI recorder for an 8-year-old girl born with two digits per hand.
The recorder – a simple woodwind instrument usually made of plastic – is a staple of grade school music classes the world over. It’s an excellent introduction to the performing arts, but for those with two fingers per hand, the fingering is a little difficult.
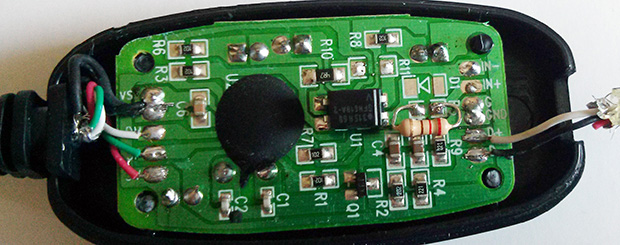
[KDM] contacted a manufacturer of these instruments and they were kind enough to send over a half-dozen for his experimentations. He drilled out these recorders on a lathe and started work on a simple circuit to turn this recorder into a MIDI instrument. A simple PIC micro and a few buttons were used, with a DIN 5 port on the horn of the instrument.
The build works, but we’re thinking with a small electronic wind sensor, this instrument could easily become a full-fledged MIDI wind controller that could be easily and cheaply reproduced for other budding musicians with special needs.
Oh, one more thing. We’d like to give a big shout out to the giant dork who started The Controller Project. A lot of Hackaday readers know how to work a microcontroller and a soldering iron, so how about heading over to their forums and doing some good with your skills?