What do you know about the Nintendo Virtual Boy? Everybody knows that it was the console giant’s mid-90s foray into 3D graphics and VR, and that it was a commercial flop. Sickness and headache-inducing graphics are probably first to mind, and that’s it. But since most of us will never have handled one in real life, all we have on this legendary console is this Received Opinion. What was it Really like? [Rodrigo Copetti] has put up a detailed technical examination, and it reveals a machine well ahead of its time in more than just the market it was trying to create.
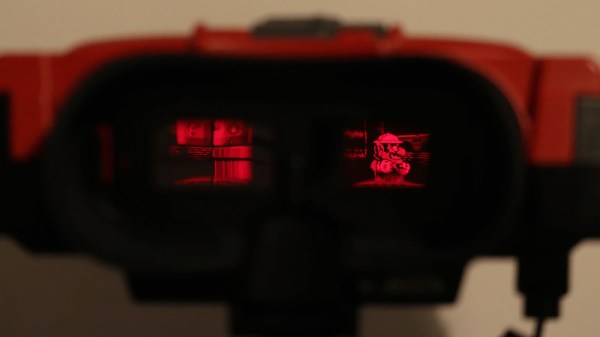
The first surprise is that this machine eschews the expected LCD screens that were the norm on handheld consoles of the day, instead using a persistence-of-vision display with a single vertical bar of LEDs facing a vibrating mirror through a lens system. He goes into significant detail on how this system worked, and in doing so gives us a new respect for the console.
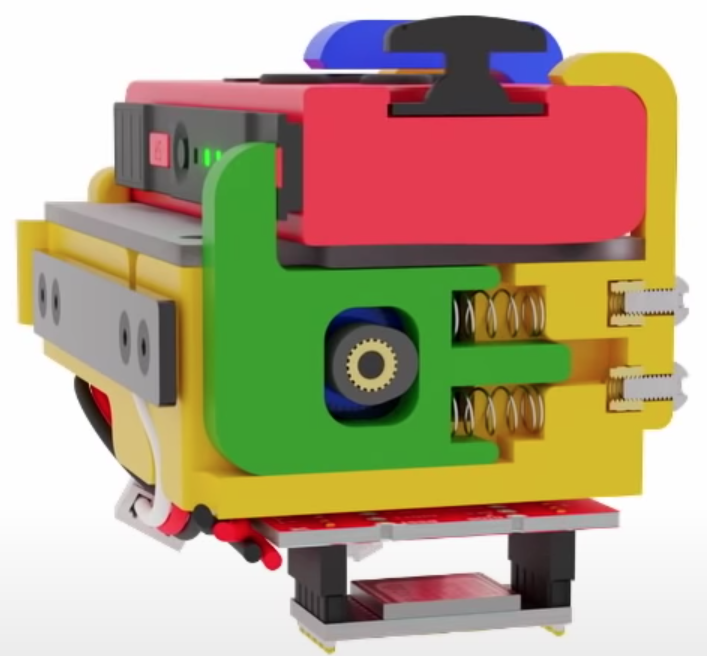
The meat of this article lies though in a detailed look at the console’s architecture. The NEC V810 CPU was significantly more powerful than those in other portable consoles of the day, and we get a peek of how it and the custom silicon handled the graphics. The GPU had dual framebuffers for each display to ensure each frame could be delivered smoothly while the next one was being created.
Everything that can be said about the Virtual Boy in the marketplace has been done to death, leading to the received opinion we mentioned at the start of the article. This write-up provides new information on one of Nintendo’s rarer machines and casts it in an entirely new light.
There have been understandably few Virtual Boy projects that have made it to these pages. One that has, was a VGA interface for the console.
Via Hacker News.