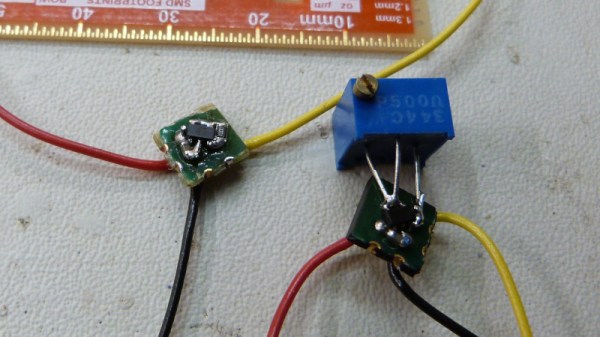
We’re all used to Bluetooth chips coming in QFN and BGA formats, at a minimum of 30-40 pins, sometimes even a hundred. What about ten pins, with 1.27 mm pitch? [deqing] from Hackaday.io shows us a chip from WCH, CH571K, in what’s essentially a SO-10 package (ESSOP10). This chip has a RISC-V core, requires only three components to run, and can work Bluetooth through a simple wire antenna.
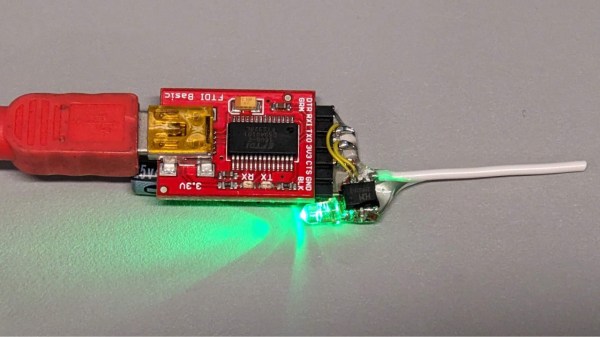
This chip is a RISC-V MCU with a Bluetooth peripheral built in, and comes from the CH57x family of WCH chips that resemble the nRF series we’re all used to. You get a fair few peripherals: UART, SPI, and ADC, and of course, Bluetooth 4 with Low Energy support to communicate with a smart device of your choice. For extra hacker cred, [deqing] deadbugs it, gluing all components and a 2.54 mm header for FTDI comms onto the chip, and shows us a demo using webBluetooth to toggle an LED through a button in the browser.
You need not be afraid of SDKs with this one. There’s Arduino IDE support (currently done through a fork of arduino_core_ch32) and a fair few external tools, including at least two programming tools, one official and one third-party. The chip is under a dollar on LCSC, even less if you buy multiple, so it’s worth throwing a few into your shopping cart. What could you do with it once received? Well, you could retrofit your smoke alarms with Bluetooth, create your own tire pressure monitors, or just build a smartphone-connected business card!


![Photo of [DENKI OTAKU] with his test circuit and oscilloscope](https://hackaday.com/wp-content/uploads/2025/11/TO-247-4-banner.jpg?w=600&h=450)