Qualcomm’s New QCC74x Appears To Target The ESP32 MCUs

These days wireless microcontrollers featuring built-in WiFi and Bluetooth are all the rage, with Espressif’s range of ESP32 MCUs being the default option for commercial and hobbyist projects alike. This makes Qualcomm’s recently released QCC74x MCU rather interesting, as specification-wise it would seem to be placed firmly in ESP32 territory.

On the radio side you get 1×1 WiFi 6, Bluetooth 5.4, and IEEE 802.15.4 (e.g. Thread and Zigbee), coupled with a single-core 352 MHz RISC-V CPU with FPU and DSP features and 484 kB of SRAM. The SDK for this MCU is hosted on Codelinaro, featuring the typical FreeRTOS-based stack, though confusingly Bluetooth and Zigbee support are currently marked as ‘not supported’. This might still be in progress.

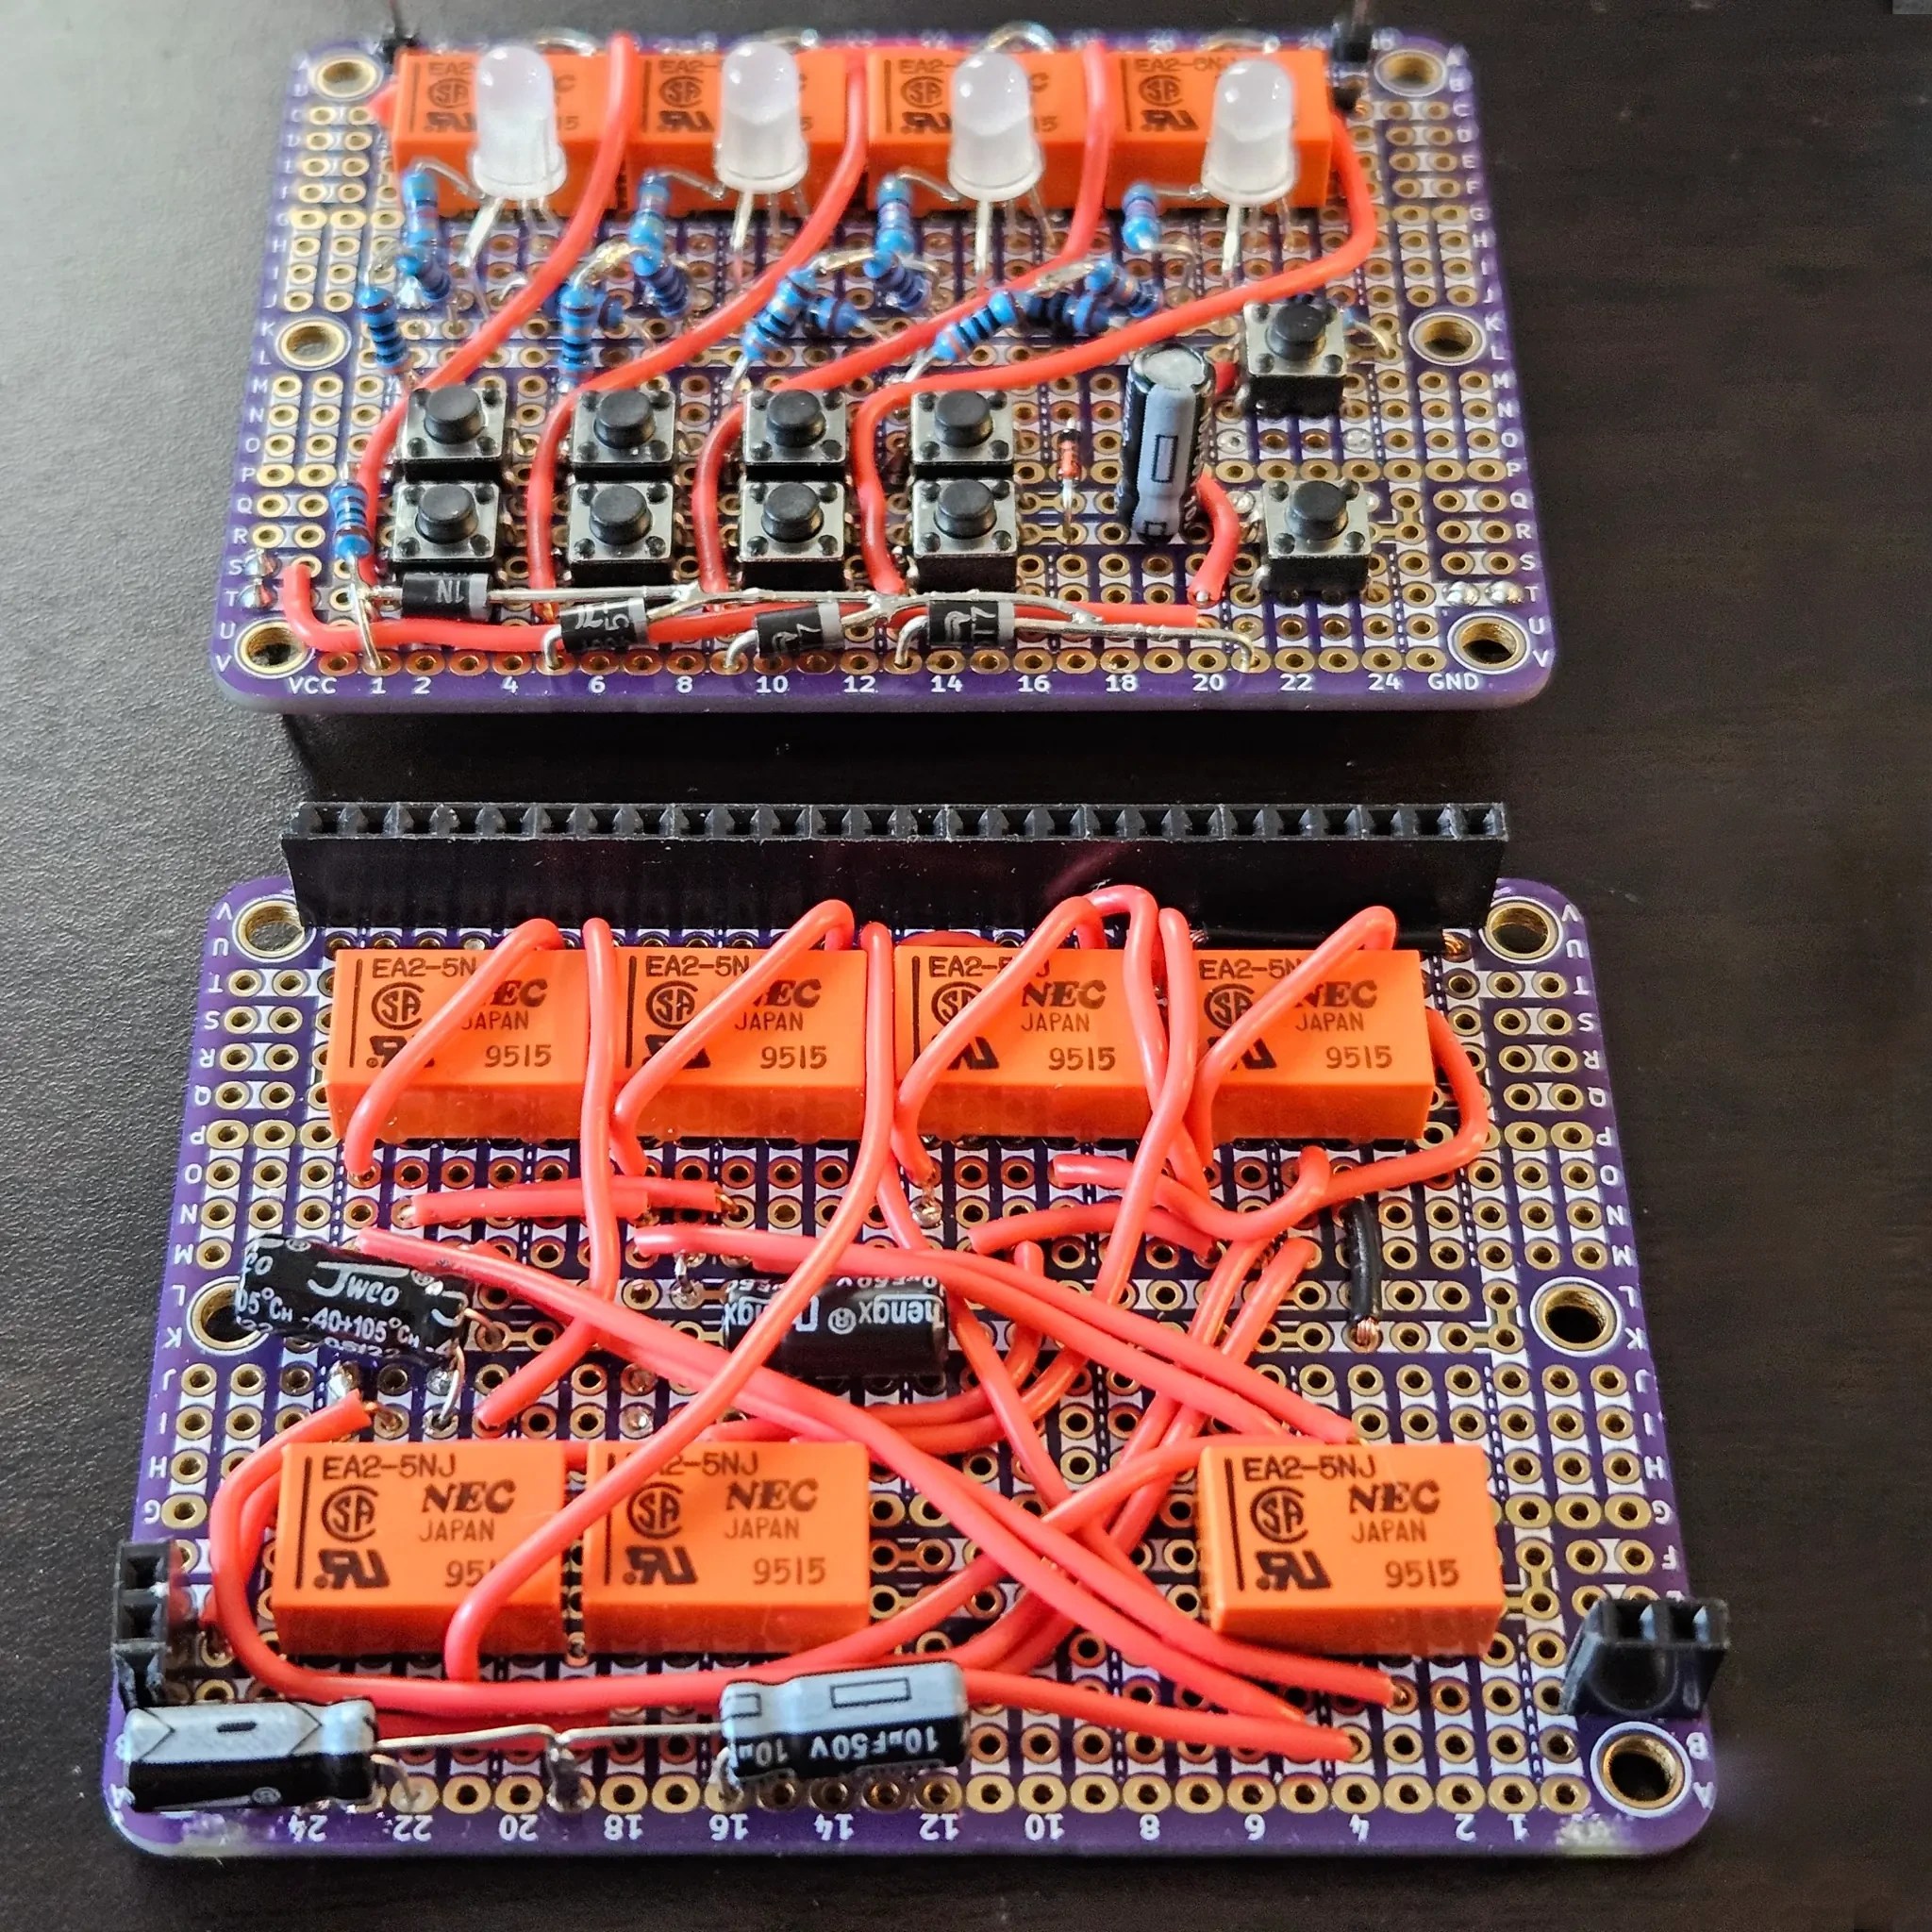
Where the competition with Espressif feels clear is in the pricing, with the highest-performance evaluation board (QCC748M EVK, pictured above) listed for $13 (before taxes/tariffs). This gets you 8 MB of PSRAM built-in with unspecified link speed, but likely the same QSPI as used for the NOR Flash. USB support is available on this higher-end tier, while absent on the QCC743. Development documentation is also available, and looks fairly complete based on first glance.

Overall the QCC74x looks to be an upgrade to the older and significantly less powerful QCC730 MCU. Depending on software support and final pricing it could make for an interesting competitor to some of Espressif’s modules like its ESP32-C series or ESP32-S2, though the upcoming ESP32-S31 would seem to have it matched or beat on all metrics.

Y-zipper: 3D Printing Flexible–Rigid Transition Mechanism For Rapid And Reversible Assembly

Along with Velcro, zippers have become an integral part of every day life, being a quick and easy way to usually temporarily join fabric together. Which isn’t to say that you cannot do more with the basic zipper concept, including using them to turn floppy 2D shapes into rigid 3D ones, such as with the Y-zipper concept proposed and demonstrated by [Jiaji Li] et al.

Although not a fully new idea, the Y-zipper is compared with a range of similar mechanisms that do not feature the same abilities, including the standard zipper ease of zipping up, the possibility of having curved geometry and automatic actuation.

Plus there is that the Y-zipper is designed from the start to be 3Dprinted, while still following the same basic pattern of interlocking teeth that the slider mechanism alternately pushes together or pulls apart.

By modifying the basic straight design of the flat strips, the resulting zipped-up form can take on a distinct bend, as well as turn into a coil or a screw. With a demonstrated joint design it is then possible to join multiple Y-zipper rods together, which could make for an interesting alternative to traditional pop-up tent supports, for example.

Also demonstrated is the use of TPU to create compliant bridges, as well as the direct integration of fabric, to show the versatility of the technology. With the used materials (PLA, TPU) the researchers estimate a maximum viable length of about 3 meters before the printed structures begin to disintegrate.

This Random Number Generator Does It With Neon

The quest for true randomness has roots in cryptography and is a rabbit hole that gets surprisingly deep with alarmingly rapidity. Still, the generation of random-enough numbers is a popular hacker project. Part of the appeal is the way these devices strive to incorporate physical phenomena, and in [Joshua Coleman]’s case, his Neon Entropy (Pseudo) Random Number Generator uses a trio of vintage neon lamps.

Neon lamps discharge at rates that vary unpredictably. They’re also pretty to look at.

[Joshua] chose neon lamps in part because the discharge rate of an energized lamp is a variable, physical process that makes a good source of entropy. They also have an attractive visual appeal that fits the concept [Joshua] had in mind. Unlike random number generators that kick off by measuring radiation or some other imperceptible thing, it’s possible — at least in a sense — to see this one working.

The small variations in the three neon lamps are measured optically by three TEPT4400 ambient light sensors (isolated from the neon lamps themselves) and turned into analog signals. A Raspberry Pi Pico W reads these signals, then uses them in a process that culminates in SHA-256 64-bit values that can be used as random seeds.

There’s also a web dashboard that shows everything live, furthering the “watch it work” concept [Joshua] is aiming for. The video below shows the project in action if you want to see how the sausage gets made.

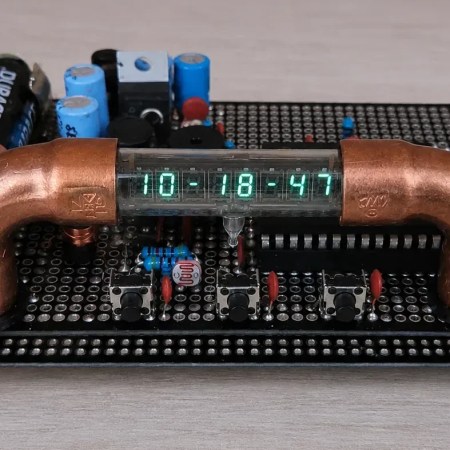
Earlier we mentioned how random number generators are popular projects among hackers, and here are a few selected ones. Don’t miss the stylish glow and slick enclosure of this Nixie tube RNG, or the lava lamp RNG which is in fact not a gimmick. And while it is commonly understood that meaningful randomness must come from outside a digital chip, uninitialized internal volatile RAM — if accessed correctly — can be a remarkably good source of entropy.

Continue reading “This Random Number Generator Does It With Neon”

Squeezing Fluids With The Right Peristaltic Pump For The Task

Peristaltic pumps are a very simple and effect device for transferring fluids without said fluid ever coming into contact with any part of the pump mechanism. At their core they involve a mechanism squeezing fluids through compressible tubing, but there are various implementations of such a mechanism that all have their pros and cons. In a recent article by [T. K. Hareendran] over at EDN these types are discussed and when you’d want to pick one over the other.

Also known as a roller pump, these positive displacement pumps have been known since the 19th century, finding uses in industrial, medical, research, agriculture and many other fields. Each of these fields have different requirements with the use of a peristaltic pump as a dosing pump being a specific application whereby e.g. a stepper motor can be used to provide exact dosing.

For industrial settings the typical rollers that compress the tube are replaced with shoes that provide higher pressures and endurance, with overall a bewildering number of motor types and tubing materials available. Depending on what your project needs, you may opt for continuous flow, fine control over dosing, the ability to reverse the flow, etc.

Unless your project is particularly rugged, a roller-based mechanism should be fine, while silicone tubing is great for biocompatibility and PVC is a cheaper tube material option. If you intend to transfer certain kinds of chemicals that will react with each of these there are some more exotic tubing options available as well.

We have previously covered projects that use a peristaltic pump for rather interesting things, such as DIY pharmaceutics, in a home-grown flow battery, not to mention creating DIY peristaltic pumps from first principles.

Five Different Styles Of Cardboard Hinges

One doesn’t generally associate cardboard with structural components like hinges, but [Itoshige Studio] assures us that you can absolutely create hinges out of this ubiquitous material. In total the video covers five different designs, ranging from the simple and straightforward to an interlocking tab design that approximates a typical steel hinge with paper rod to keep both sides of the hinge together.

Simple paper hinge. (Credit: Itoshige Studio, YouTube)

The most simplistic hinge is unsurprisingly just a strip of craft paper, which is also demonstrated as the hinge for a wooden box in lieu of the typical metal hinge. This same principle is then demonstrated for a fancy cardboard box.

From here the designs get increasingly more involved. First a seamless hinge variation, and then a kamichoban hinge design that’s inspired by traditional Japanese room dividers and furniture, using panels that are interconnected with overlapping sections to create a fascinatingly flexible hinge that can fully fold either way.

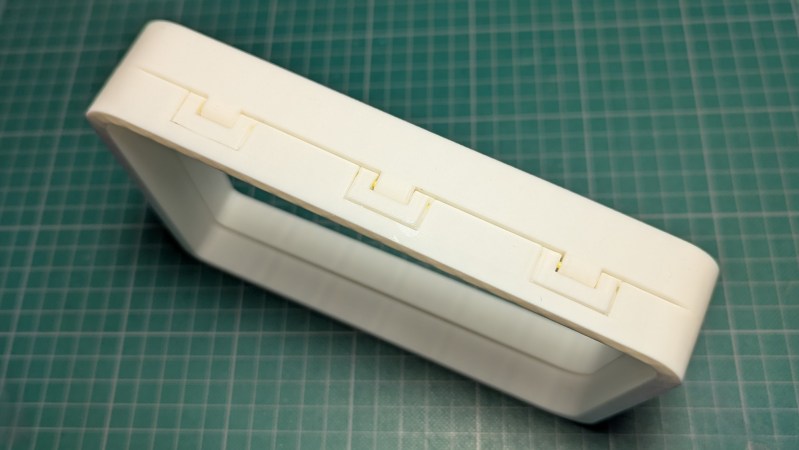
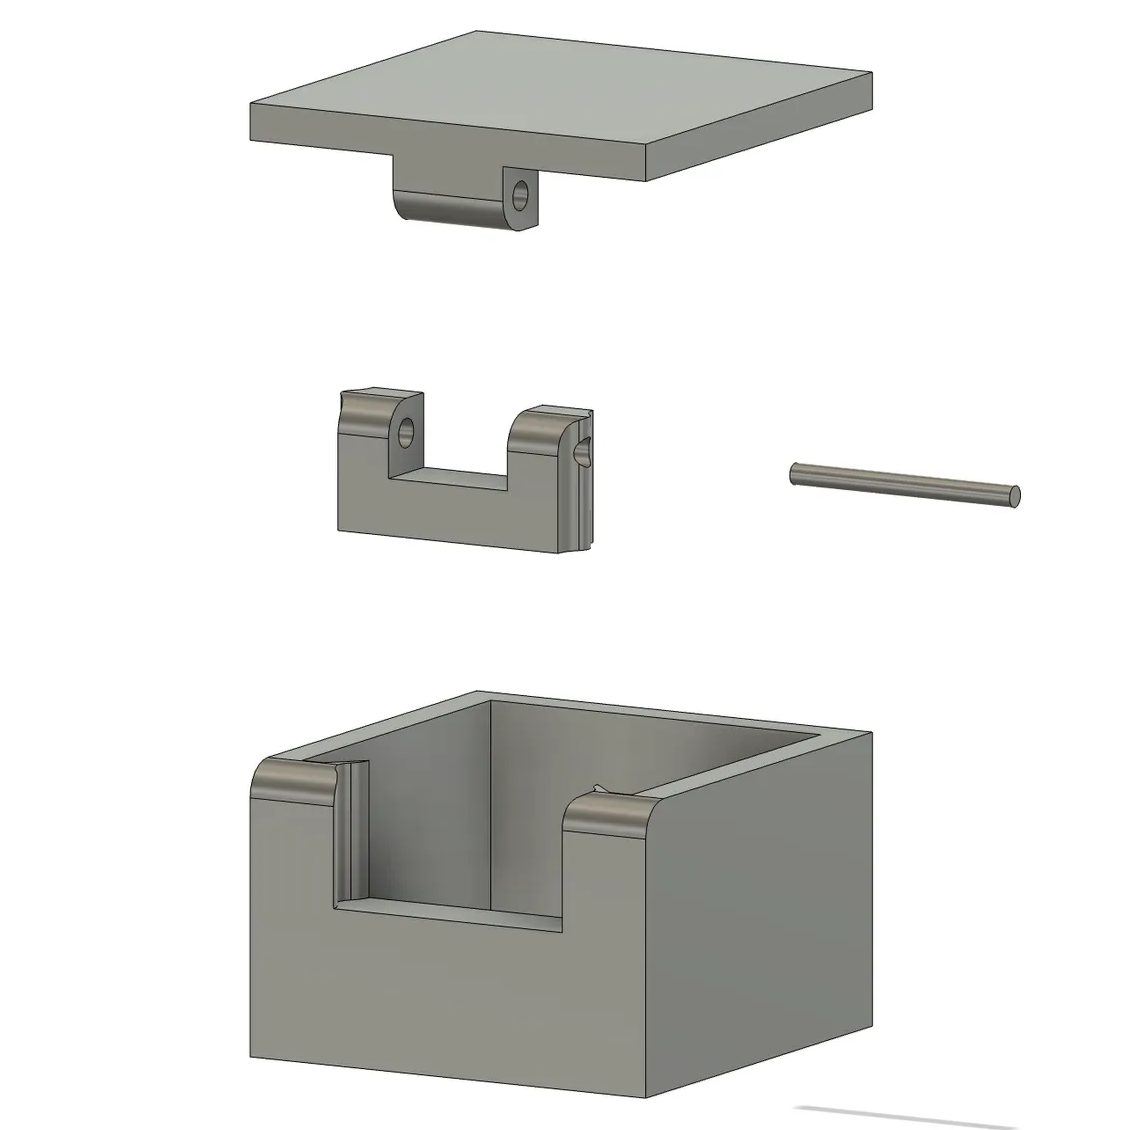
The flush hinge design is somewhat like the craft paper hinge, but significantly fancier and probably sturdier, while also looking pretty good on something like a cabinet. Finally the interlocking tab hinge is effectively a cardboard version of the hinge design that’s found on every room’s door, with a similar level of flexibility. This is obviously the trickiest one to assemble and get right, but it has its own charm.

Considering that all of these examples use regular corrugated cardboard that we get shipped to our homes by the truckload, the cost to try these examples is your time plus some basic tools and glue. The author also sells a book that contains templates – in addition to digital versions – for these hinges and other designs, if you’d like to enjoy the 100% paper experience.

Continue reading “Five Different Styles Of Cardboard Hinges”

How To Kill Humidity Sensors With Humidity

An often overlooked section in the datasheets for popular humidity sensors like the BME280 and DHT22 is the ‘non-condensing humidity’ bit, which puts an important constraint on which environments you can use this sensor in. This was the painful lesson that [Mellow Labs] recently had to learn when multiple of such sensors had kicked the bucket after being used in a nicely steamed-up bathroom. Fortunately, it introduced him to sensors that are rated for use in condensing humidity environments, such as the SHT40 that’s demonstrated in the video.

This particular sensor is made by Sensirion, and as we can see in the datasheet it features a built-in heater that allows it to keep working even in a condensing environment. This heater has three heating levels which are controlled via the I2C interface, though duration is limited to one second in order to prevent overheating the sensor.

Of note is that you cannot take measurements while the heater is operating, and its use obviously increases power draw significantly. This then mostly leaves when to turn on the heater as an exercise to the engineer, with [Mellow Labs] opting to start the heater when relative humidity hit 70% as a conservative choice.

In the comments to the video other options for suitable sensors were pitched, including the Bosch BME690 which is similarly rated for condensing environments. All of which condenses down to the importance of reading the datasheet for any part that you intend to use in possibly demanding environments.

Continue reading “How To Kill Humidity Sensors With Humidity”

Noctua Releases 3D Models, But Please Don’t Try To Dupe The Products

Noctua wants to make life easier for fans of its…fans. To that end, the company has released a bevy of 3D models across its various product lines, all available to download for free.

If you’re not familiar with the company, Noctua specializes in high-quality cooling systems for the PC market. Its hope is that by freely providing 3D models of its components, it will aid aftermarket companies and DIYers that wish to integrate Noctua fans into their gear. In the company’s own words, these files are made available for “mechanical design, rendering, or animations.” They will let people check things like mountings and fitment without having to have the parts on hand, or to create demo visuals featuring the company’s products.

Don’t get too excited, though, because Noctua has already thought ahead. The company has specifically noted these parts aren’t intended for 3D printing, and critical components like fan blades have modified geometry so as to not compromise the companies IP. You could try and print these models, but they won’t perform like the real thing, and Noctua notes they shouldn’t be used for simulation purposes either. They’re intentionally not accurate to what the company actually sells in that regard.

That isn’t to say Noctua is totally against 3D printing. They have lots of parts available on Printables that they’d love you to try—everything from fan grilles to ducts to anti-vibration pads. Most are useful accessories—the kind of little bits of plastic that make using the products easier—that don’t threaten Noctua’s core product line in the marketplace.

If you’re whipping up a custom PC case and you want to kit it out with Noctua goodies, these models might help you refine your design. It’s funny how it’s such an opposite tactic to that taken by Honda, in terms of embracing the free exchange of 3D models on the open Internet. It’s a move that will surely be appreciated as a great convenience, and we’d love to see more companies follow this fine example.

Thanks to [irox] for the tip!