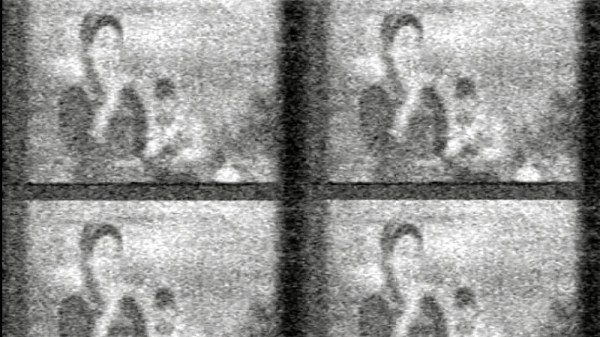
While Internet based streaming services appear to be the future of television, there are still plenty of places where it comes into the home via a cable, satellite, or antenna connection. For most satellite transmissions this now means a digital multiplex carrying a host of channels from a geostationary satellite, for which a set-top box or other decoder is required. Imagine the surprise of satellite-watchers than when the Russian polar communications satellite Meridian 9 which has a highly elliptical orbit was seen transmitting old-style terrestrial analogue TV (ThreadReader Link). What on earth was happening?
The TV signal in question comes from Turkmenistan, so were some homesick Turkmenistanis in an Antarctic base being treated to a taste of their country? The truth is far more interesting than that, because the signal in question comes from a terrestrial transmitter serving domestic TV viewers in Turkmenistan.
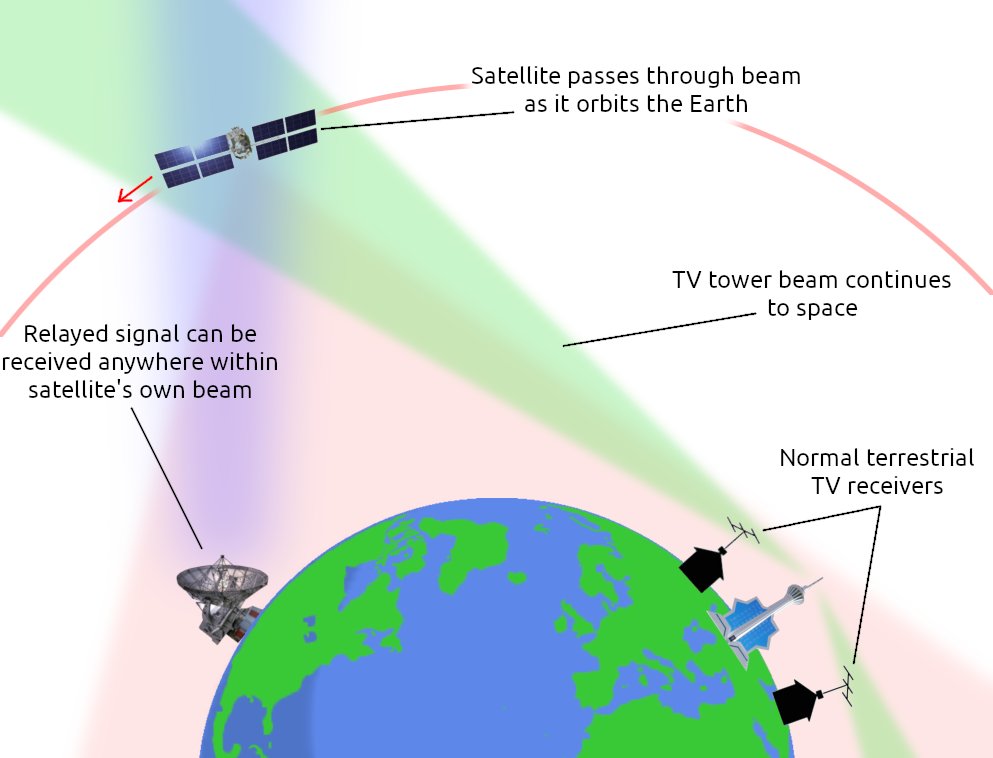
We’ve all heard of the idea that somehow every TV show ever transmitted is somewhere out there still traveling as radio waves across space, and while perhaps we can’t fly far enough out to check for 1960s Doctor Who episodes it’s true that the horizontal transmissions from a TV tower pass out into space as the earth curves away from them.
Thus Meridian 9 passed through the beam from the Turkmenistan transmitter which happened to be on a UHF frequency that matched one of its transponders, and the result was an unexpected bit of satellite TV. We’re indebted to the work of [@dereksgc] and [Scott Tilley] for bringing us this fascinating observation. We’ve featured [Scott]’s work before, most notably when he relocated a lost NASA craft.