Ferranti’s Ghost Tours The Chip Factory That Made The ULA

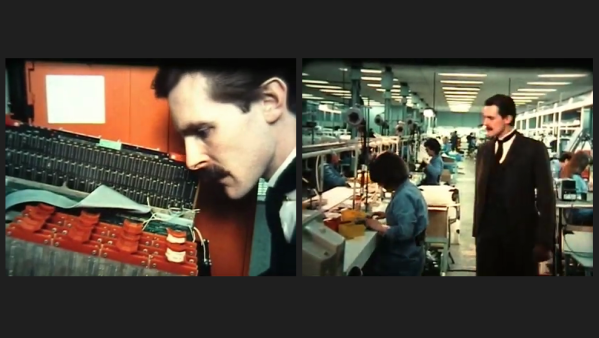
Former Ferranti Electric engineer [Martin Mallinson] recently posted a 1980s documentary on YouTube (see the video below the break). It shows in some detail the semiconductor plant at Gem Mill outside of Manchester UK, as seen through the eyes of the ghost of founder Dr. Sebastian Ferranti. This dramatic device seems a little silly at times, but the documentary still provides a very interesting look at the industry at the time.

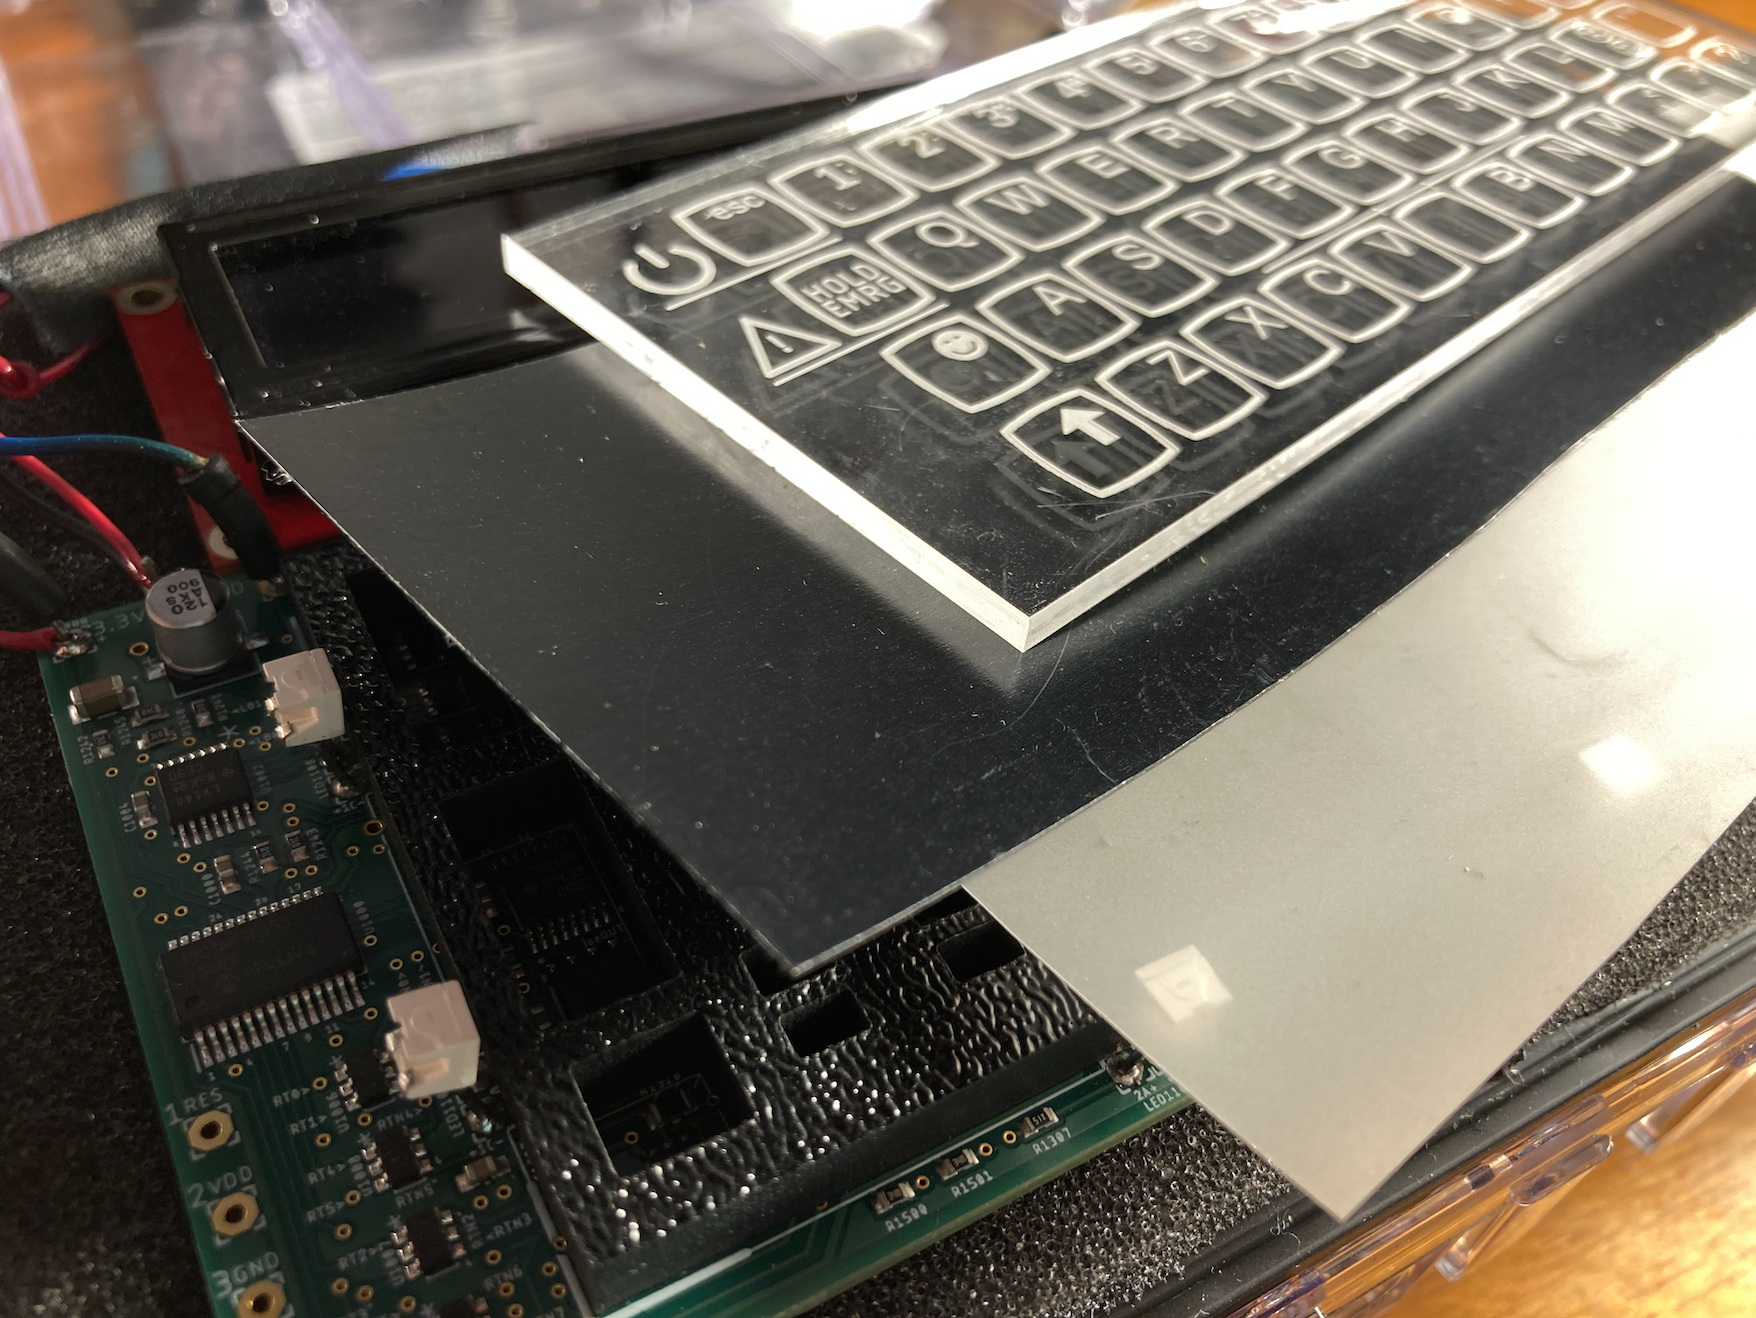
The Gem Mill plant was one of the first semiconductor facilities, having begun operations in the 1950s by Ferranti. In 1959 they made the first European silicon diode, and went on to commercialize Uncommitted Logic Arrays (ULA) in the early 1980s. Most famously, Ferranti ULAs were used in many home computers of the day, such as the Sinclair ZX81 and ZX Spectrum, Acorn Electron, and the BBC Micro. Much of the factory tour in this documentary is depicting the ULA process, and they hint at an even more advanced technology being developed by the (unnamed) competition — an FPGA? CPLD?

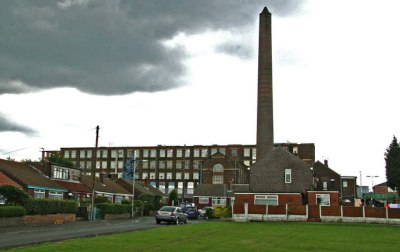
In a series of events worthy of a mystery novel, Ferranti finally closed its doors in 1993 after acquiring a company that was involved with clandestine agencies and illegal arms sales (see Ferranti on Wikipedia). But through a series of acquisitions over the years, many of their products outlived the company and were available under the labels of future owners Plessey, Zetex, and finally Diodes, Inc. The Gem Mill facility was decommissioned in 2004 and in 2008 it was demolished and replaced by a housing estate.

Thanks to [Cogidubnus Rex] for bringing this video to our attention. A couple of other Ferranti documentaries of the same era are also included down below the break.

Continue reading “Ferranti’s Ghost Tours The Chip Factory That Made The ULA”

A 3-6-9 Antenna Pulls In The Signals

Every time we see a dispatch from [Mr. Carlson], we imagine it is being beamed from his orbital station packed full of vintage radio gear. We are certain the reality is more terrestrial, but if we were going to build an orbiting lab, it might look like [Carlson’s] shack. In his latest communique, he shares his progress working on a high-performance 3-6-9 receiving antenna design and you can see it in the video below.

Although the antenna isn’t done, it is already working and looks impressive. There’s a lot of wire, so this probably isn’t a condo-friendly solution. The name of the antenna derives from the three wires, one tuned for 3 MHz, one for 6 MHz, and the other for 9 MHz.

Continue reading “A 3-6-9 Antenna Pulls In The Signals”

Laptop Gets Fixed By Simply Removing Problem Component

We wouldn’t go so far as to say “don’t try this at home”, but the way [Troy] brought an expensive (but out of warranty) laptop back to life is interesting, even if it shouldn’t be anyone’s Plan A for repair work.

It started with a friend’s Alienware laptop that would only boot to a black screen and get very hot in the process. With the help of a thermal imaging camera and some schematics, [Troy] was able to see that one of the closely-spaced MOSFETs in the power supply appeared to be the culprit. Swapping the power MOSFETs out with replacements seemed a reasonable approach, so armed with a hot air rework station he got to work. But that’s where problems began.

The desoldering process was far from clean, in part because the laptop’s multi-layer PCB had excellent thermal management, sucking away heat nearly as fast as [Troy]’s hot air gun could lay it down. It ended up being a messy slog of a job that damaged some of the pads. As a result, the prospects of soldering on a replacement was not looking good. But reviewing the schematic and pondering the situation gave [Troy] an idea.

An open laptop showing a diagnostic tool on the screen
One expensive laptop, brought back to service.

According to the schematic, the two MOSFETs (at least one of which was faulty) had parallel counterparts on the other side of the board. This is typically done to increase capacity and spread the thermal load somewhat. However, according to the current calculations on the schematic, these parts are expected to handle about 20 A in total, but the datasheets show that each of the MOSFETs could handle that kind of current easily (as long as heat sinking could keep up.) In theory, the laptop didn’t need the extra capacity.

Could the laptop “just work” now that the faulty part had simply been removed? [Troy] and his friend [Mike] were willing to give it a shot, so after cleaning up the mess as best they could, they powered the laptop on, and to their mild surprise, everything worked! Some stress testing with intensive gaming showed that the thermal problems were a thing of the past.

Simply removing a part may not be the best overall repair strategy, but much like shrinking a hot air rework station by simply cutting it in half, it’s hard to argue with results.

An optical keyboard that works using IR LEDs and phototransistors.

Take A Look At This Optical Keyboard

Making keyboards is easy, right? Just wire up a bunch of switches matrix-style to a microcontroller, slap some QMK and a set of keycaps on there and you’re good to go. Well, yeah, that might work for cushier environments like home offices and Hackaday dungeons, but what if you need to give input under water, in a volatile area, or anywhere else you’d have to forego the clacking for something hermetically sealed? Mechanical switches can only take you so far — at some point, you have to go optical.

the layers of an optical keyboardThis gorgeous keyboard works with reflected IR beams to determine when a finger is occupying a given key site (because what else are you going to call them?). Each key site has an IR LED and a phototransistor and it works via break-beam.

[BenKoning] wanted a solution that would be easy for others to build, with a low-cost BOM and minimal software processing cost. It just so happens to be extremely good-looking, as well.

The reason you can’t see the guts is that black layer — it passes infrared light, but is black to the eye. The frosted layer diffuses the beams until a finger is close enough to register. Check it out in action after the break, and then feed your optical key switch cravings with our own [Bob Baddeley]’s in-depth exploration of them.

Continue reading “Take A Look At This Optical Keyboard”

3D Printed Scooter Zips Around

Tooling around downtown on a personal electric vehicle is a lot of fun, but it is even better when you do like [James Dietz] and ride on your own 3D-printed electric scooter. As one of the entries for the Hackaday Prize, RepRaTS (Replicable Rapid prototyper Transportation System) has a goal of doing for scooters what the original RepRap project did for 3D printing: provide a user-friendly design base that you can extend, modify, and maintain. It doesn’t even require power tools to build, other than, of course, your 3D printer.

The design uses threaded rods and special plastic spacers made to hold a large load. The prototype is deliberately oversized with large hub motors, with the understanding that most builds will probably be smaller. As you can see in the video below, the scooter seems to go pretty fast and handles well.

Continue reading “3D Printed Scooter Zips Around”

a variety of enclosure options

The Many Ways To Solve Your Enclosure Problems

Most projects around here involve some sort of electronics, and some sort of box to put them in. The same is true of pretty much all commercially available electronic products as well.

Despite that, selecting an enclosure is far from a solved problem. For simple electronics it’s entirely possible to spend more time getting the case just right than working on the circuit itself. But most of the time we need to avoid getting bogged down in what exactly will house our hardware.

The array of options available for your housing is vast, and while many people default to a 3D printer, there are frequently better choices. I’ve been around the block on this issue countless times and wanted to share the options as I see them, and help you decide which is right for you. Let’s talk about enclosures!

Continue reading “The Many Ways To Solve Your Enclosure Problems”

Samsung tablet with custom side loaded hack software

Smart Home Hack Breaks Down Walls Figuratively And Literally

Are you ready for a tale of poorly supported hardware, clueless contractors, and bad coding? Look no further than [Neighborino]’s excellent write-up where he details his pursuit of smart home pwnership.

[Neighborino]’s smart home system controls the windows, blinds, outlets, and HVAC. But by the time the high-rise apartment was ready for occupancy in 2015, the smart home controllers were already showing their age. You see, the contractor had installed an app to run the home’s programmable logic controllers (PLCs) on stock Galaxy Tab 3 hardware. Yes, that’s a tablet originally released in 2013. They then built the tablets into the wall of each apartment, dooming the homeowner to rely on the vendor forevermore.

It was not long before [Neighborino] and their fellow residents were dealing with stability problems. Bloatware from both Samsung and Google was causing major slowdowns, and the PLC system’s unpublished WiFi password prevented replacement of the controllers.

Being an Android developer by trade, [Neighborino] set siege to the walled garden before him. The writeup details the quest to execute what would be a straightforward hack on anything but the x86 hardware that was being targeted.

de-bloating app strips all non-essential software.
A debloating app strips all non-essential software.

The first fruit of [Neighborino]’s efforts was a hack for the aged tablets that would display the WiFi password, allowing owners to connect their own controllers to their smart homes. Of course, this is Hackaday, so you know that [Neighborino] didn’t stop there.

Despite having to deal with two different versions of Android and tablets that were built into the wall of the apartments of non-hacker neighbors, [Neighborino] succeeded in sideloading an APK. This freed them from the shackles of the company that installed the original system and gets longer life out of their Snowden-era Samsungs. A de-bloating tool frees up memory and restores the systems to a nearly performant status. A reboot scheduler keeps the x86 tablets running without user intervention, and of course the WiFi password revealer makes yard waste out of the previously walled garden.

If Smart Home hacks are your thing, we recently covered a Voice Controlled Smart Home setup, and less recently another that combined a Smart Home with a Dumb Terminal. Be sure to share your own smart home hacks with us via the Tip Line!