We use touch screens all the time these days, and though we all know they support multiple touch events it is easy for us to take them for granted and forget that they are a rather accomplished sensor array in their own right.
[Optismon] has long held an interest in capacitive touch screen sensors, and has recently turned his attention to the official Raspberry Pi 7-inch touchscreen display. He set out to read its raw capacitance values, and ended up with a fully functional 2D capacitive imaging device able to sense hidden nails and woodwork in his drywall.
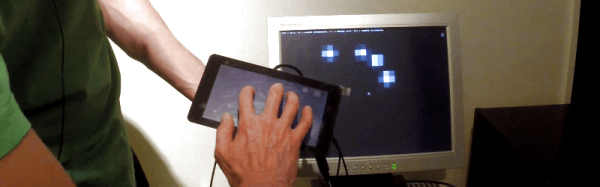
Reading the capacitance values is not a job for the faint-hearted though. There is an I2C bus which is handled by the Pi GPU rather than the processor, and to read it in software would require a change to the Pi’s infamous Broadcom binary blob. His solution which he agrees is non-optimal was to take another of the Pi’s I2C lines that he could talk to and connect it in parallel with the display line. As a result he can catch the readings from the screen’s sensors and with a bit of scripting make a 2D display on the screen. The outlines of hands and objects on his desk can clearly be seen when he places them on the screen, and when he runs the device over his wall it shows the position of the studding and nails behind the drywall.
He’s posted his code in a GitHub repository, and put up the YouTube video of his capacitive imaging in action which you can watch below the break.
Continue reading “Capacitive Imaging With A Raspberry Pi Touch Screen”