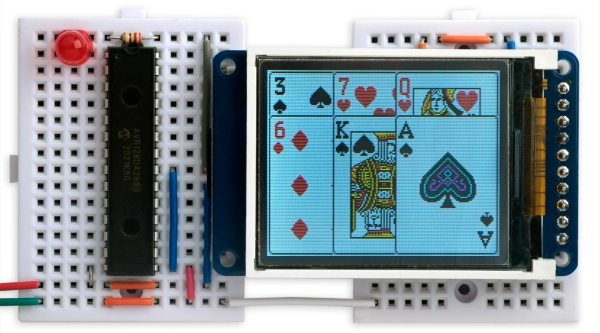
Showing images on a TFT or OLED display with a small AVR microcontroller can be a challenge as it requires significant storage space. One solution is to compress the images, but then you need more RAM to decompress it, and that’s a whole other problem. [David Johnson-Davies] of Technoblogy couldn’t find a GIF decoder that fit his needs, so he started writing his own.
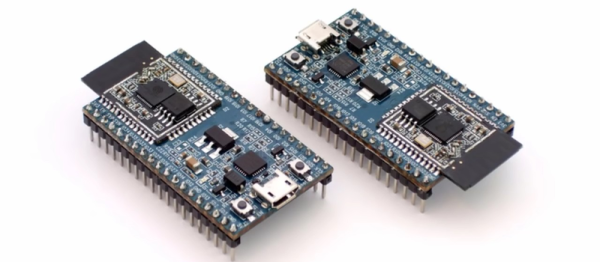
We had previously seen a minimal GIF decoder aimed at a Cortex-M0+ that required 24 K of RAM, but this technique is running on an AVR with just 12 K of RAM. Along the way, [David] uses little tricks to shave down the requirements. Since the TFT he targets is a 5-6-5 color space, those 3-byte colors become 2 bytes. The LZW lookup table is encoded as 12-bit pointers to earlier entries plus an additional pixel. However, these savings come at a cost. Animated, local color tables, transparency, interlacing, or GIF87a formatted images aren’t supported. But he ports it over to the PyBadge, which is ATSAMD51 based.
[David] provides some sample code to display a GIF from program memory and an SD card. All the code is on GitHub under a CC By 4.0 license.