Miter Saw Stop Saves Time And Aggravation

V Wheel Adjustable Miter Saw Stop

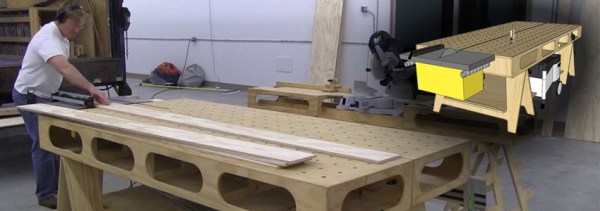
Miter saws are great tools for cutting pieces of wood at a variety of angles. If you have ever cut a really long piece on a miter saw there is no doubt you’ve either propped up the extended end on a pile of scrap wood or asked someone to hold the dangling piece so you could get an accurate cut. Doing either is a little hokey and is a general pain in the butt.

[Kram242] started a project that could eliminate these problems and also provides a solution to consistent length cuts of multiple pieces. It’s an adjustable stop that is sure to make miter saw cuts much less annoying.

The rig is extremely simple and consists of a piece of aluminum extrusion, v-wheel carriage and lever-actuated clamp. The movable carriage lets the operator quickly position the stop to ensure the wood is cut at the appropriate location. This stop also makes it easy to cut several pieces of wood to the exact same length.

If we had to make any suggestions for improvements it would be to add supports to the carriage that emulate the saw bed and backstop as well as an adhesive measuring tape guide.

V Wheel Adjustable Miter Saw Stop

I2C From Your VGA Port

Breakout board for VGA to I2C

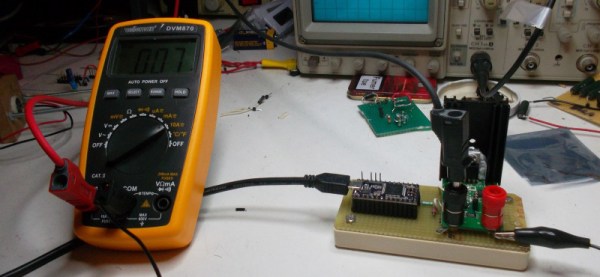
VGA, DVI, and HDMI ports use Display Data Channel (DDC) to communicate with connected displays. This allows displays to be plug and play. However, DDC is based on I2C, which is used in all kinds of electronics. To take advantage of this I2C port on nearly every computer, [Josef] built a VGA to I2C breakout.

This breakout is based on an older article about building a $0.25 I2C adapter. This adapter hijacks specific lines from the video port, and convinces the kernel it’s a standard I2C device. Once this is done, applications such as i2c-tools can be used to interact with the port.

[Josef] decided to go for overkill with this project. By putting an ATmega328 on the board, control for GPIOs and LEDs could be added. Level shifters for I2C were added so it can be used with lower voltage devices. The end product is an I2C adapter, GPIOs, and LEDs that can be controlled directly from the Linux kernel through an unused video port.

Reflow Oven Controller With Graphic LCD

Reflow Controller

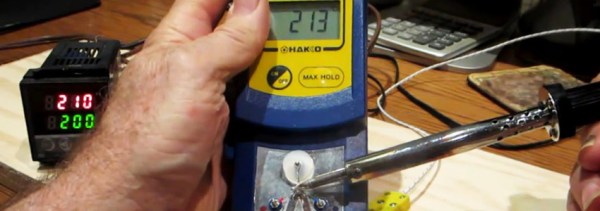
A reflow oven is one of the most useful tools you will ever have, and if you haven’t built one yet, now is as good a time as any. [0xPIT’s] Arduino based reflow oven controller with a graphic LCD is one of the nicest reflow controllers we’ve seen.

Having a reflow oven opens up a world of possibilities. All of those impossible to solder surface mount devices are now easier than ever. Built around the Arduino Pro Micro and an Adafruit TFT color LCD, this project is very straight forward. You can either make your own controller PCB, or use [0xPIT’s] design. His design is built around two solid state relays, one for the heating elements and one for the convection fan. “The software uses PID control of the heater and fan output for improved temperature stability.” The project write-up is also on github, so be sure to scroll down and take a look at the README.

All you need to do is build any of the laser cutters and pick and place machines that we have featured over the years, and you too can have a complete surface mount assembly line!

The Relay-Based Mouse Emulator

mouse

[Nixie]’s job involves using some test software that requires moving a mouse around, clicking a few buttons, checking if everything is okay, and repeating the process over and over again. This is obviously a solution for some keyboard macros, but in a fit of sadistic spite, the test software requires someone to move a mouse around the screen. What is [Nixie] to do? Make a mouse emulator and automate the whole thing, of course.

The Memulator, as [Nixie] calls the device, is the latest in a series of devices to increase productivity when testing. The first version was the mouse tumor, an odd-looking device that simply switched off the LED for an optical mouse, keeping the cursor in one spot while [Nixie] hammered a button repeatedly. The second version is more advanced, capable of moving the cursor around the screen, all without doing an iota of USB programming: [Nixie] is simply using a resistive touch pad, some relays and a few pots to turn buttons into cursor movements. It’s such a simple solution it almost feels wrong.

There’s some interesting tech here, nonetheless. For some reason, [Nixie] has a few cases of old, can-shaped soviet-era relays in this build. While using such cool, awesome old components in such a useful and productive build seems odd, if you’re trying to fix ancient software that’s so obviously broken, you might as well go whole hog and build something that will make someone in twenty years scratch their head.

Vertical video of the Memulator below.

Continue reading “The Relay-Based Mouse Emulator”

Home Made Miter Saw Is Not Completely Dangerous

Home Made Miter Saw

If the term ‘home made miter saw’ instantly instills frightening images of severed limbs into your head, you’re not alone. A quick internet search will yield some pretty hokey tool builds, we’ve even featured a few here on hackaday. This saw is different. [Pekka] made a pretty cool saw for cutting very accurate angles in wood.

This saw was purpose built with one goal in mind: cutting wood that will be glued together for use in segmented turning. Segmented turning is shaping a piece of wood stock that is composed of many different types of wood. This results in a very visually interesting product.

Home Made Miter SawMost of the saw is made from plywood. The hinge and supports for the arbor are beefy off-the-shelf pillow blocks. A 3-phase motor with speed control transmits power to the arbor via a belt. Belt tension is adjusted by sliding the motor further back along the motor mount base. [Pekka] took care so that the entire pivoting assembly was nearly balanced adding to the ease of use.Typical miter saws rotate the blade to achieve different angles of cuts. This design rotates the saw fence.

For safety there are a pair of polycarbonate blade guards and a micro switch on the handle that won’t let the saw start unless it is depressed. The micro switch has a secondary function also, when let go it applies an electronic brake to the motor so that the spinning blade does not touch the work piece when lifting the blade back up.

Faster Benchmarks With Slower Hardware

hardware

The Bus Pirate is a cheap, simple, Swiss army knife of electronic prototyping, capable of programming FPGAs, and writing to Flash memory. The uISP is possibly the most minimal way of programming Atmel chips over USB, using less than $5 in components. Although the uISP is using a slower chip and bit-banging the USB protocol, it turns out it’s actually faster when operating as a programmer for SPI Flash memories.

Most of [Necromancer]’s work involves flashing routers and the like, and he found the Bus Pirate was far too slow for his liking – he was spending the better part of four minutes to write a 2 MiB SPI Flash. Figuring he couldn’t do much worse, he wrote two firmwares for the uISP to put some data on a Flash chip, one a serial programmer, the other a much more optimized version.

Although the ATMega in the uISP is running at about half the speed as the PIC in the Bus Pirate, [Necromancer] found the optimized firmware takes nearly half the time to write to an 8 MiB Flash chip than the Bus Pirate.

It’s an impressive accomplishment, considering the Bus Pirate has a dedicated USB to serial chip, the uISP is bitbanging its USB connection, and the BP is running with a much faster clock. [Necro] thinks the problem with the Bus Pirate is the fact the bandwidth is capped to 115200 bps, or a maximum throughput of 14 kiB/s. Getting rid of this handicap and optimizing the delay loop makes the cheaper device faster.

DIY Embroidery Machine Sews Your Name In Your Undies

DIY Embroidery Machine

If you were in the market for a sewing machine with embroidery capabilities, you’d either be spending a bunch of money or settling for a lower-cost machine that can only do a handful of pre-programmed designs. A DIYer by the name of [SausagePaws] came up with a 3rd option, he would build one himself. He was also highly motivated, [Mrs SausagePaws] wanted one!

An off the shelf embroidery machine is similar to a standard sewing machine except the movement of the fabric is done automatically rather than by hand. Not only does the work move, but it has to move in time with the needle traveling up and down. [SausagePaws] took a no-nonsense approach and decided the simplest way to go about the task was to mount an embroidery hoop to the end of an XY drive system.

Continue reading “DIY Embroidery Machine Sews Your Name In Your Undies”