We love a good Rubik’s Cube solver and the mechanical engineering on this one is both elegant and functional.
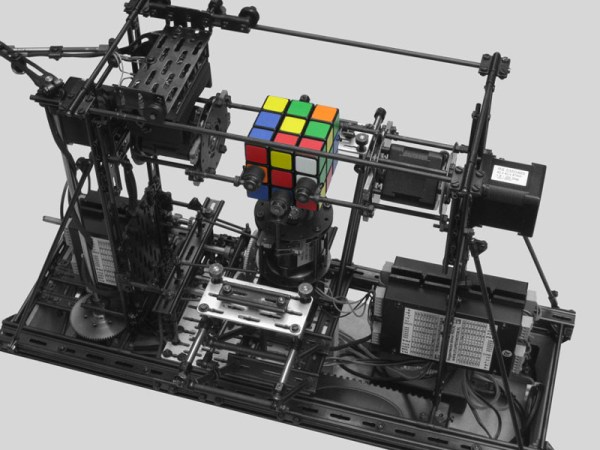
This is the first time we remember hearing about the FAC system, which is a standard set of parts which can be used to make any number of mechanical systems. [Wilbert Swinkels] must be a master with the system; the layout of the machine appears simple and uncrowded despite the multiple degrees of freedom built into it. Those include an insertion platform for getting the cube in and out, a gantry for three color sensors, and two axes (three grippers in all) for doing the actual solving. If you’ve used FAC before we want to hear what you think of it in the comments.
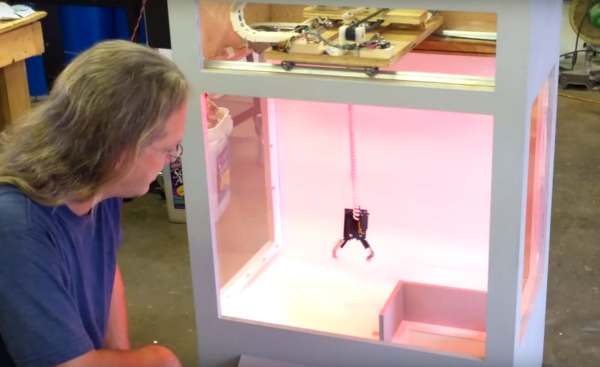
[Maxim Tsoy] handled the software which runs on a Rapsberry Pi Compute module. You’ll want to watch the demo video below. First you place the randomized cube on the insertion platform which retracts after the cube is in the grasp of the grippers. These work in conjunction with the color sensor gantry to scan every side of the cube. After a brief pause to compute the solution the grippers go to work.
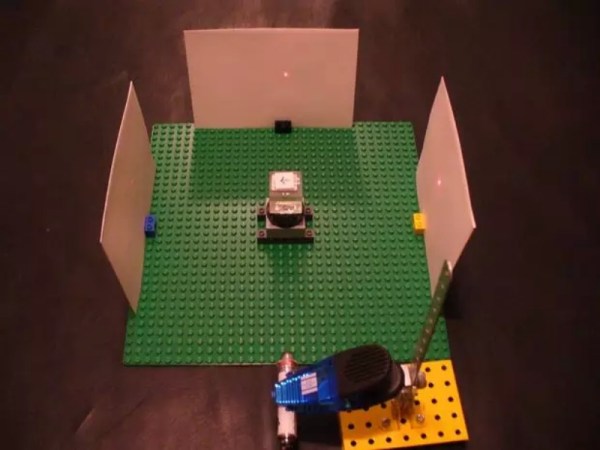
It is possible to build a solver with just two swiveling grippers. Here’s a really fast way to do it.
Continue reading “Rubik’s Solver Uses FAC Machine Building System”