[Raphael] has a motorcycle he’s constantly working on, and for him that means replacing the battery occasionally. Tired of the lead-acid batteries that have been used for 100 years now, he took a look at some of the alternatives, namely lithium and the much cooler supercapacitor option. A trip to the local electronics distributor, and [Raphael] had a new supercapacitor battery for his bike, and hopefully he’ll never need to buy another chunk of lead again.
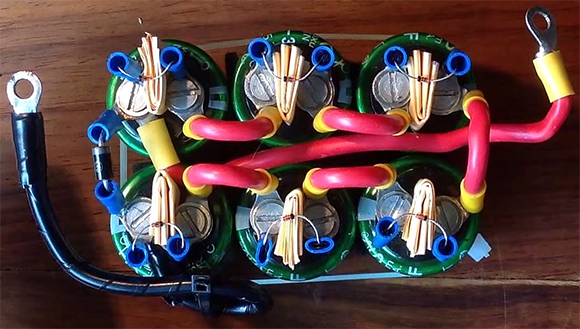
The battery pack is built from six 2.7V, 350F caps, a few connectors, and a handful of diodes. These are lashed together with rubber bands to form a 16V, 58F capacitor that makes for a great stand-in for a chunk of lead or a potentially puffy lithium battery.
[Raphael] put up a walkthrough video of his battery pack where he shows off the enclosure – an old, empty lead acid cell. He also goes through the back current protection and his method of balancing the supercaps with a few diodes.