A 3D Printed Camera (Including The Lens)

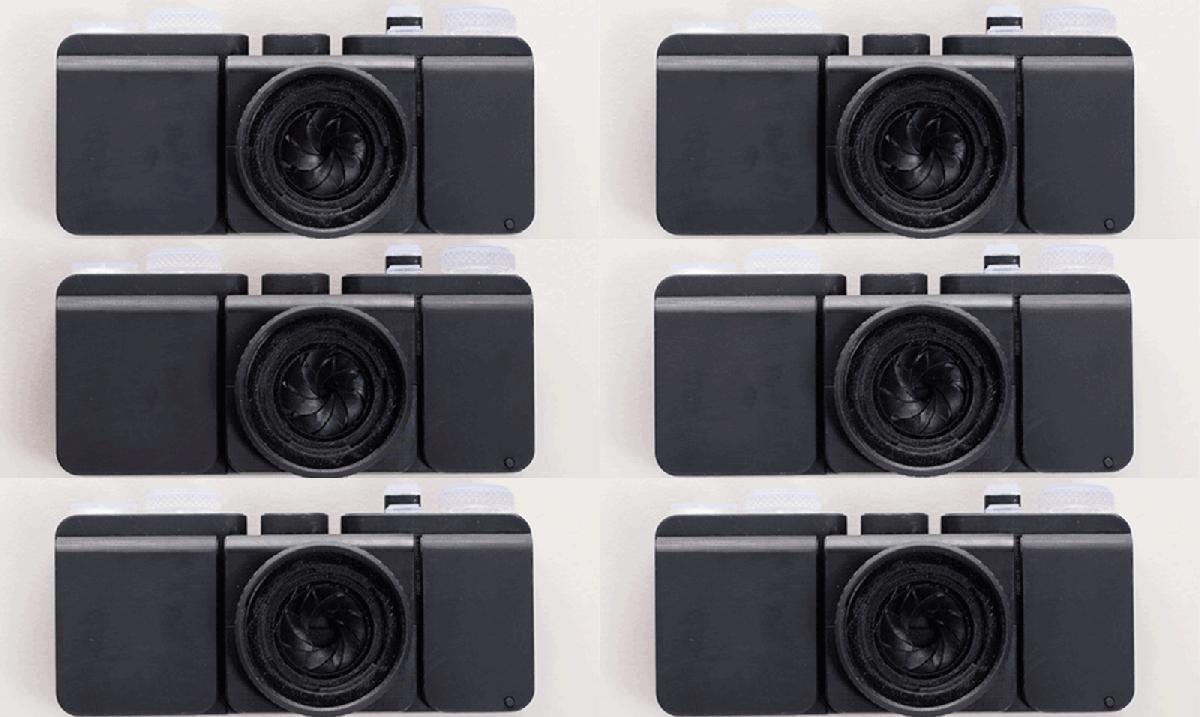
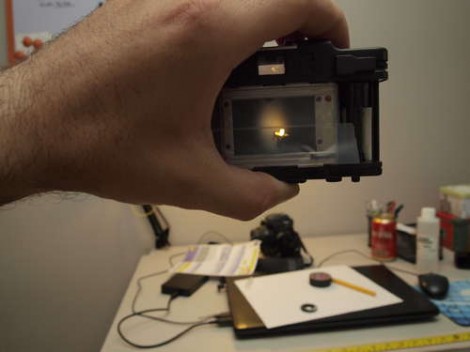
Barring the RepRap project, we usually see 3D printers make either replacement parts or small assemblies, not an entire finished product. [Amos] is the exception to this rule with his entirely 3D-printed camera. Everything in this camera is 3D printed, from the shutter to the lightproof box to the lens itself. It’s an amazing piece of engineering, and a testament to how far 3D printing has come in just a few short years.

35mm film is the most common film by far, and the only one that’s still easy to get and have developed at a reasonable price. This 3D-printed camera is based on that standard, making most of the guts extremely similar to the millions of film cameras that have been produced over the years. There’s a film cartridge, a few gears, a film takeup spool, and a lightproof box. So far, this really isn’t a challenge for any 3D printer.

The fun starts with the lens. We’ve seen 3D printers used for lens making before, starting with a 3D print used to create a silicone mold where a lens is cast in clear acrylic, 3D printed tools used to grind glass, and an experiment from FormLabs to 3D print a lens. All of these techniques require some surface finishing, and [Amos]’ lens is no different. He printed a lens on his Form 2 printer, and started polishing with 400 grit sandpaper. After working up to 12000 grit, the image was still a bit blurry, revealing microscopic grooves that wouldn’t polish out. This led him to build a tool to mechanically polish the lens. This tool was, of course, 3D printed. After polishing, the lens was ‘dip polished’ in a vat of uncured resin.

The shutter was the next challenge, and for this [Amos] couldn’t rely on the usual mechanisms found in film cameras. he did find a shutter mechanism from 1885 that didn’t take up a lot of depth, and after modeling the movement in Blender, designed a reasonable shutter system.

Building an entire camera in a 3D printer is a challenge, but how are the pictures? Not bad, actually. There’s a weird vignetting, and everything’s a little bit blurry. It’s hip, trendy, and lomo, and basically amazing that it works at all.

The Filmomat Home Film Processing System

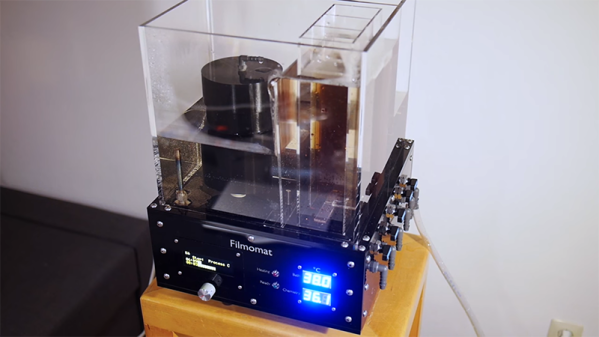
The death of film has been widely reported, but technologies are only perfected after they’ve been made obsolete. It may not be instant photography, but there is at least one machine that will take 35mm film and 5×7″ prints and develop them automatically. It’s called the Filmomat, and while it won’t end up in the studios of many photographers, it is an incredible example of automation.

The Filmomat is an incredible confabulation of valves, tubes, and pumps that will automatically process any reasonably sized film, from 35mm to 5×7 color slides. The main body of the machine is an acrylic cube subdivided into different sections containing photo processing chemicals, rinse water, and baths. With a microcontroller, an OLED display, and a rotary encoder, different developing processes can be programmed in, the chemicals heated, developer agitated, and film processed. The Filomat is capable of storing fifty different processes that use three chemicals and a maximum of ten steps.

The video for this device is what sells it, although not quite yet; if enough people are interested, the Filmomat might be sold one day. This is likely the easiest film developing will ever get, but then again a technology is only perfected after it has been made obsolete.

Thanks [WhiteRaven] for sending this one in.

Continue reading “The Filmomat Home Film Processing System”

Developing Film With Lego

Developing film at home is most certainly a nearly forgotten art nowadays, but there are still a few very dedicated people who care enough to put in the time and study to this craft. [Jan] is one of the exceptional ones. He’s developing 35mm film with Lego (Dutch, Google translate).

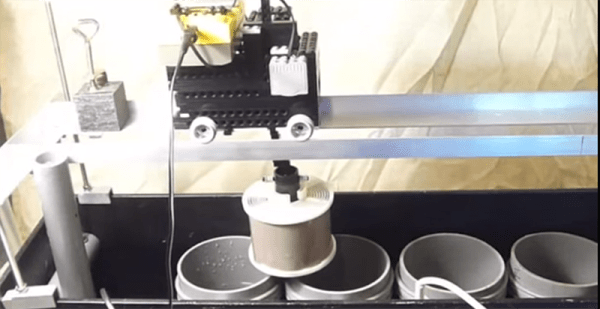
For the build, [Jan] is using the Lego RCX 1.0, the first gen of the Lego Mindstorms, released in the late 90s. According to eBay, this is a significantly cheaper option for programmable Lego. The mechanics of the Lego film developer consisted of multiple tanks of chemicals. The film was loaded on a reel, suspended from a Lego gantry, and dunked into each tank for a specific amount of time.

A second revision of the hardware (translate) was designed, with the film loaded into a rotating cylinder. A series of chemicals would then be pumped into this unit with the hope of reducing the amount of chemicals required. This system was eventually built using the wiper fluid pump from a car. Apparently, the system worked well, judging from the pictures developed with this system. Whether it was easy or efficient is another matter entirely.

You can check out a video of the first revision of the Lego film developing system below.

Thanks [Andrew] for sending this in.

Continue reading “Developing Film With Lego”

Camera Dollies Hacked Together By Stop Motion Filmmakers

A little bit of technology goes a long way when it comes to stop motion animation. In this case it’s a trio of simple camera dollies built during production of a short film called The Maker.

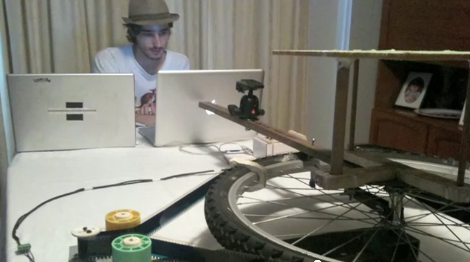
A Dolly is a method of mounting the camera so that it can be moved smoothly during a shot. Of course with stop motion the movement actually happens between the shots so it’s even more important that the camera be moved accurately. The video after the break shows off how they added CNC control for the camera. The first dolly was built from a pair of PVC pipes with a sled that moves along them. A motor moves a loop of 35mm film which is attached to the dolly. This is a great choice of materials since it doesn’t stretch and it’s free (one of the filmmakers is a projectionist). The next dolly is made from a flatbed scanner, and the final offering is seen above. Built from a bicycle wheel it provides a stationary platform above the hub for the models, while the camera rotates on an arm attached to the wheel. You can watch the complete film here.

If you’re looking for more inspiration check out this dual-axis PVC dolly project.

Continue reading “Camera Dollies Hacked Together By Stop Motion Filmmakers”

Focus Fix For Non-reflex 35mm Camera

For camera fanatics the acquisition of an old camera is a thrilling event. But if you’re going to collect them, you’d better have some repair skills so that you can also use them. [Fernando’s] latest find was this Minox 35mm camera. The aperture needed cleaning, and after reassembling the unit he realized the he had not marked the focus ring when taking it apart. This is not a reflex camera, so you can’t look in the view finder to adjust focus. He came up with his own method to get the focus ring calibrated.

The focal point needs to focus on the film. He simulated this plane using some magic tape, which removes easily without leaving a residue. When the shutter is open, you can see the image projected on this translucent surface. He then set up the camera with the lens 90 cm from a bright light bulb. By adjusting the focus to create a sharp image on the temporary screen, he knows the focus is calibrated, and can reset the focus ring to the 0.9m mark.

Need some help developing that exposed film? You could always give the coffee and vitamin C hack a try.

Build Your Own Panoramic Pinhole Camera

panoramic_pinhole_cam

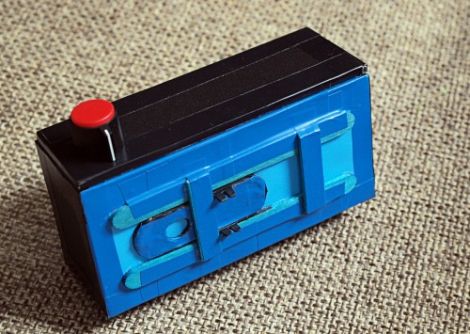
While it seems that the digital camera is king, some people still love shooting with good old 35mm film – [Costas Kaounas], a high school teacher and photographer certainly does. He recently published plans for a great-looking 35mm pinhole camera over at DIY photography that we thought you might enjoy.

[Costas] put together a set of simple hand-drawn plans for the camera, that you can easily replicate with a bit of free time. The camera is built mostly from card stock, both in 1mm and 3mm flavors, also incorporating popsicle sticks and an aluminum can. The popsicle sticks are used to create a manual shutter for the camera, while the pop can is used to form the pinhole aperture.

It’s a pretty simple hack as you can see, with nary an electronic part to be found. It will take you a bit of time to construct however, since you’ll need to let the glue dry between certain steps.

Love it or leave it, you’ve got to admit that the panoramic shots it takes are pretty nice!

If we’ve piqued your interest in pinhole cameras, be sure to check out this Lego pinhole camera as well as this beer can pinhole camera.

[via Lifehacker]

Yashica Electro Shutter Mod

We saw this picture on Flickr this morning and started getting really curious. The caption says that [Steffanhh1] modified the Yashica Electro Shutter camera to be fully manual. We’re not camera experts so we had to do a little research to see what was going on here. The Yashika Electro got its name due to how the shutter speed is controlled. You have two little LEDs that light up depending on which direction you need to turn the dial (based on ambient light?). [Steffanhh1] really wanted full control, so they hacked in a dial with a knot of resistors under it. The first test photographs are downloading developing, so we’ll have to wait to see the results.