Capacitive Sensing Tutorial

[Bertho]’s submission for the 74xx logic contest is really impressive. He designed a capacitive sensing touchpad using only 74xx and 40xx logic chips. We’re impressed with the build and his writeup is one of the best resources we’ve ever seen for capacitive sensing.

There are two ways to go about designing a capacitive touchpad. The first option is put a voltage through an RC circuit. Measure the voltage-time curve, and you have a measure of the capacitance of the circuit. The second method is setting up an RC circuit to change polarity after a threshold for C has been reached. Microprocessors only use one of these methods (AVR uses the first, PIC uses the second), but [Bertho] decided to implement both methods for unknown reasons we still respect.

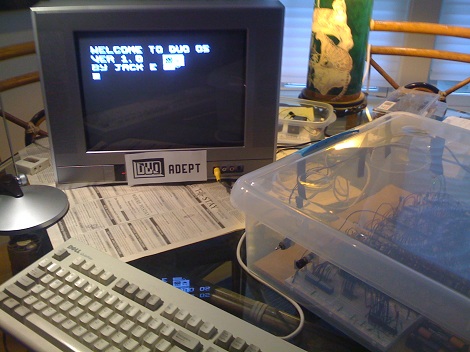
The circuit [Bertho] designed has a 30MHz clock using only 74xx logic chips, an amazing feat in itself. An 8×8 channel panel was fabricated and the whole build connects to a computer over RS-232.

The finished build is good enough has 64 points of resolution and is able to detect proximity very well. The touchpad is even able to recognize when a pen is placed on the panel. Check out the video after the break for the walk through and demo of this amazing build.

Continue reading “Capacitive Sensing Tutorial”

Homebrew TTL Logic Computer

Although [Jack] just graduated High School and doesn’t have much experience with electronics, that didn’t stop him from building the DUO Adept, a homebrew computer built entirely out of TTL logic chips.

The DUO Adept has 64k of memory, 6K of which is dedicated to the video ram that outputs a 240×208 black and white image onto a TV. Bootstrapping the computer to it’s current state was quite a challenge, as an entire OS was put into th system one bit at a time though DIP switches. After the OS was written to the computer, [Jack] was able to connect a keyboard and started programming. [Jack] programmed a hex editor and a few games of his own design. If all that wasn’t impressive enough, [Jack] also programmed an assembly compiler and emulator for his homebrew system.

We’ve seen a a few homebrew computersbefore, but not many of them are laid out on 17 breadboards like the DUO Adept. With skills like these, we can’t wait to see what [Jack] comes up with next. Check out the video after the break for a walk-through of the build.

Continue reading “Homebrew TTL Logic Computer”

Working With VFDs

vfd

We love old display technology, like Nixie tubes, but they’re often difficult to work with because they require higher voltages than digital logic. Vacuum florescent displays (VFD) fall into this category. While not necessarily “old”, they are becoming far less common than LCDs. The main benefit of a VFD is that it actually produces light directly; it doesn’t require a backlight. You’ll find these displays on various players and appliances: CD, DVD, VCR, microwaves, stoves, car headunits, and others.

[Sprite_tm] had written off some VFDs, but recently revisited them with renewed interest. He started by testing what sort of voltage would be required to drive the display. It took 3V for the filament plus 15V to drive the grids. There are VFD controller chips available, but he wanted to get this working with what he had on hand. He had experience with older 40xx series logic, which can be powered by much higher voltages than 5V 74xx. His final schematic has three 4094 serial to parallel chips with an ATtiny2313 controller. A 5V power supply is dropped to 3V with diodes to drive the filament while a boost converter brings it up to 15V for the 4094s that switch the segments. While the code is specific to this display, it would be a great place to start your own project.