Automatic Naptime With BabyBjorn Bouncing Servo

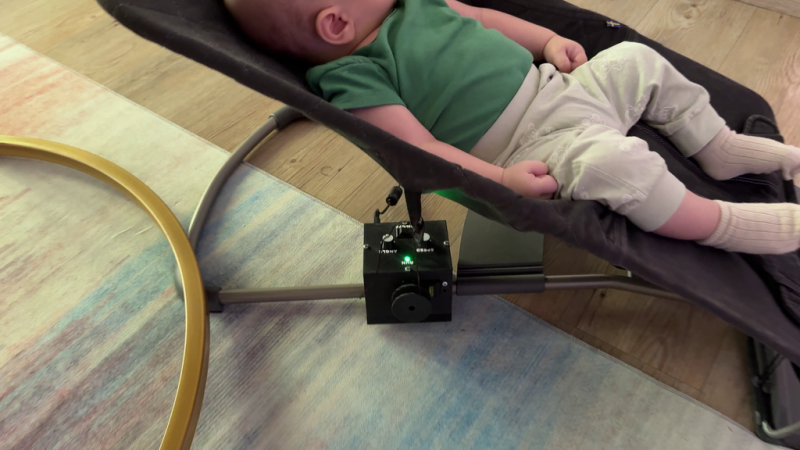
Any parent with a baby and deep pockets– or friends with deep pockets– will probably sing the praises of the BabyBjorn rocking sling chair. A simple spring-loaded sling seat allows you to rock a child to sleep like magic– but you do have to rock the child. In the tradition of fathers everywhere since the stone age, [Ceyhun Karataş] saw that as something to tinker around, creating his Automatic BabyBjorn Bouncer/Rocker with a servo, an Arduino, and some 3D printed parts.

You still can’t leave your child unattended with this hack, [Ceyhun] takes pains to point out, but it will free a hand so you can keep junior happy while tinkering up other toys for him or her. Music players are a popular staple, for example.

You should have plenty of time for such projects, because it won’t take long for you to replicate [Ceyhun]’s invention– it’s only as complicated as it needs to be, which is not very. The servo, a Futaba S3003 which is mounted to the bottom of the rocker in a 3D printed case, reels the baby in with a string tied to the bouncing seat portion.  The BabyBjorn’s built-in spring bounces junior back up. As stated, Arduino Nano controls the servo, with two potentiometers in the build allowing you to control the speed and amplitude of the bounce independently to get the perfect naptime ratio. Everything you need to get started — aside from the hardware and the child– is available at the link above. You can see it in action in the video below, which in spite what you may fear from the Turkish thumbnail, does have authentic English audio, not AI auto-dubbing.

If you’ve got the baby but not the bouncy chair, have a gander at this mechatronic crib that does something similar on a much larger budget.

Thanks to [Ceyhun] for overcoming the new-parent sleep deprivation to document this project and send in a tip.

Continue reading “Automatic Naptime With BabyBjorn Bouncing Servo”
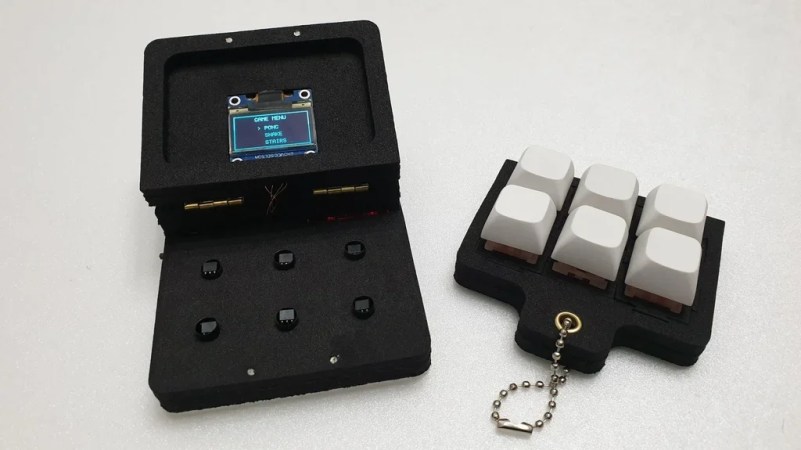
Fidget Clicker Becomes Miniature Game Console

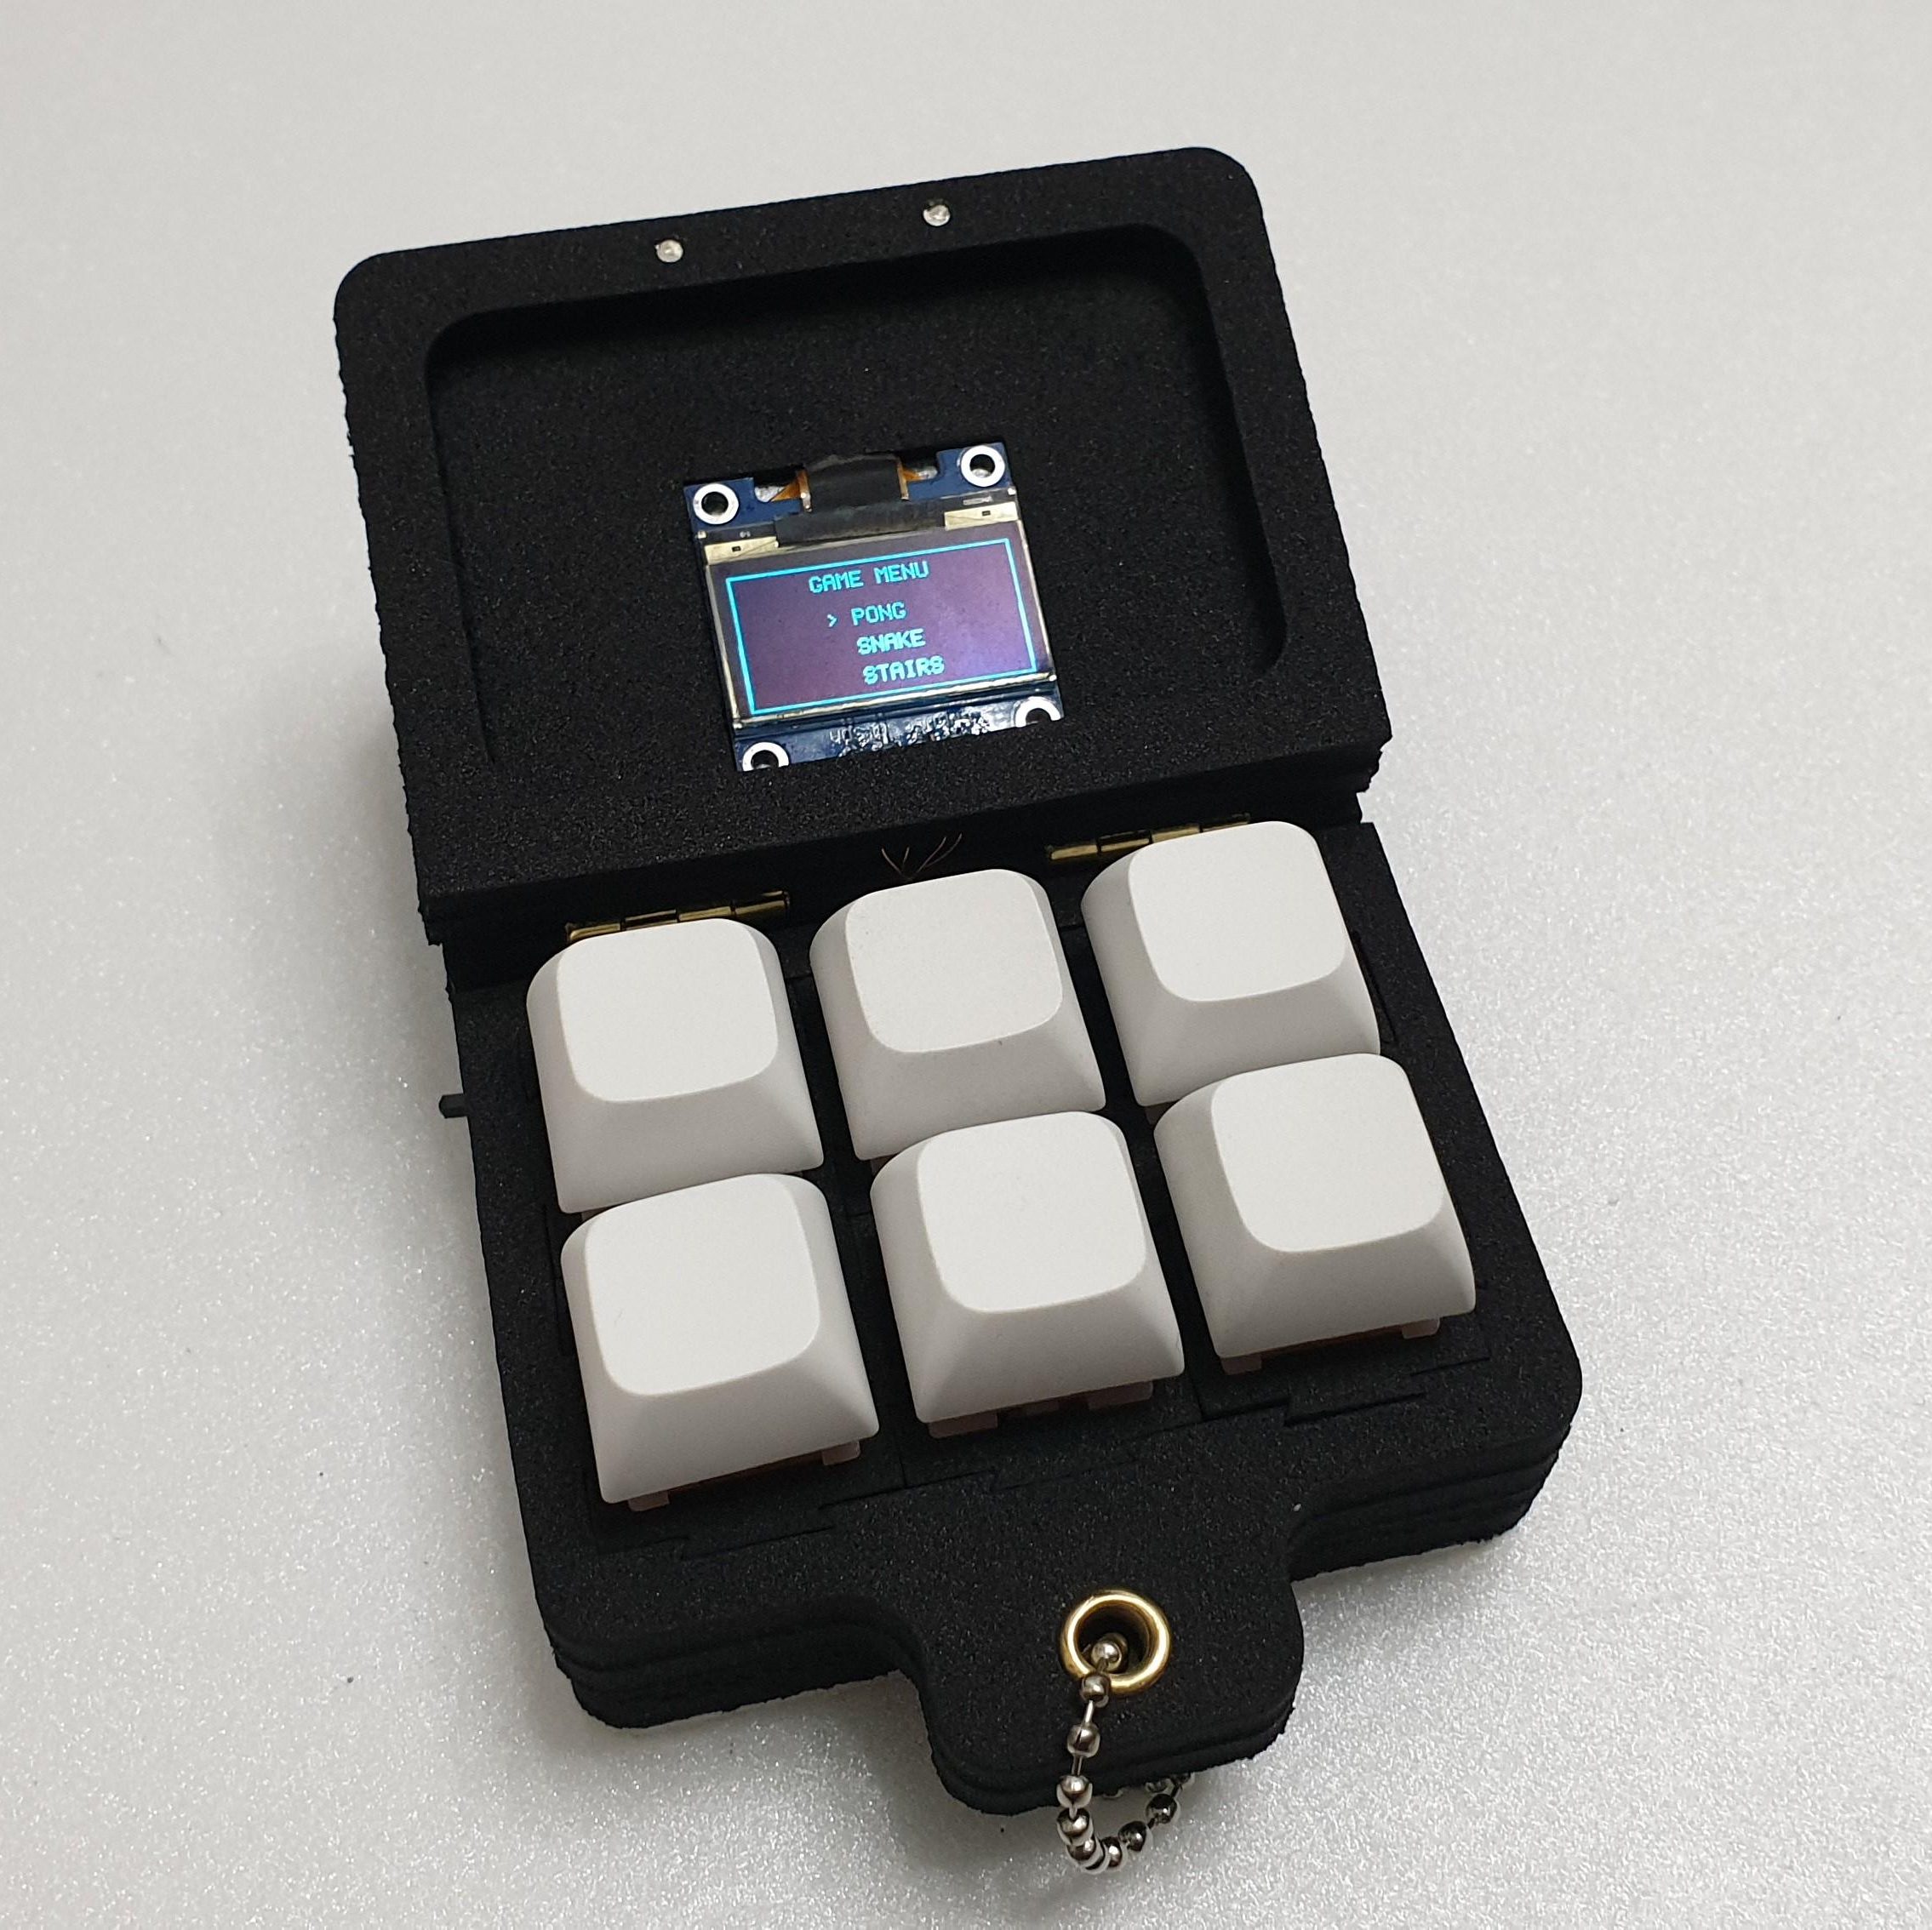
Fidget toys are everywhere these days. A particularly popular type simply puts some keyboard switches on a plate to provide a certain type of clicky satisfaction. [wjddnjsdnd] took that concept a step further, building a keychain-sized fidget toy that actually has games on it.

The build is based around six key switches in a 2 x 3 array. The key switches are notable in this case for being magnetic shaft keys. Rather than using a mechanical switch to indicate a keypress, the keycap instead merely moves a magnet which triggers a signal in a hall effect sensor beneath the key. In this case, the build uses A3144 hall effect sensors, which are read by the Arduino Nano running the show. The Nano is also hooked up to a small SSD1306 OLED display over I2c, which it uses for displaying the game state. There’s also a TP4056 module to handle charging the attached 380 mAh lithium-ion battery which powers the pocket-sized device.

The Arduino Nano is not a powerful platform for gaming, but it can handle the basics. The Gamebox Clicker, as it’s called, features a Pong clone, a stairs game, and a recreation of Snake. Think early mobile phone games, and you’d be on the money.

It’s an interesting build, and one that would be a great way to get used to using magnetic key switches as well as small embedded displays. We’ve seen Arduino boards turned into microconsoles many times before, too. If you’d like to sound off about magnetic vs. mechanical key switches, jump into the comments, or otherwise let us know about your best electronic fidget projects on the tipsline. Happy hacking.

2WD robot

Two-Wheeled Arduino Robot Project For Beginners

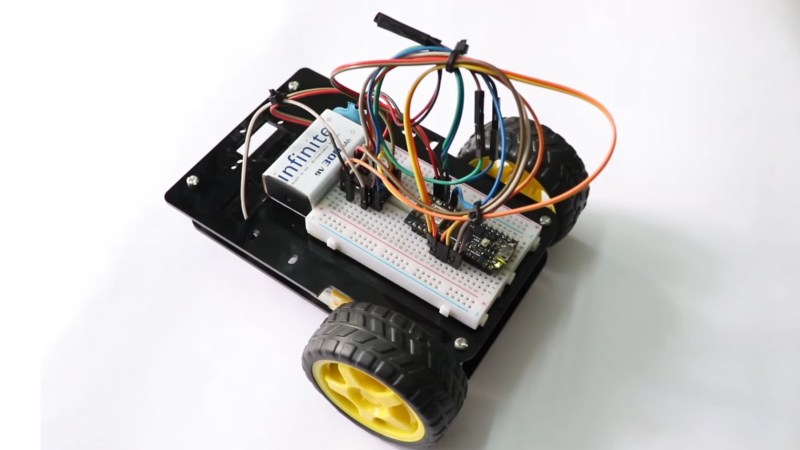
Here’s a fun build from [RootSaid] that is suitable for people just getting started with microcontrollers and robotics — an Arduino-controlled two-wheeled robot.

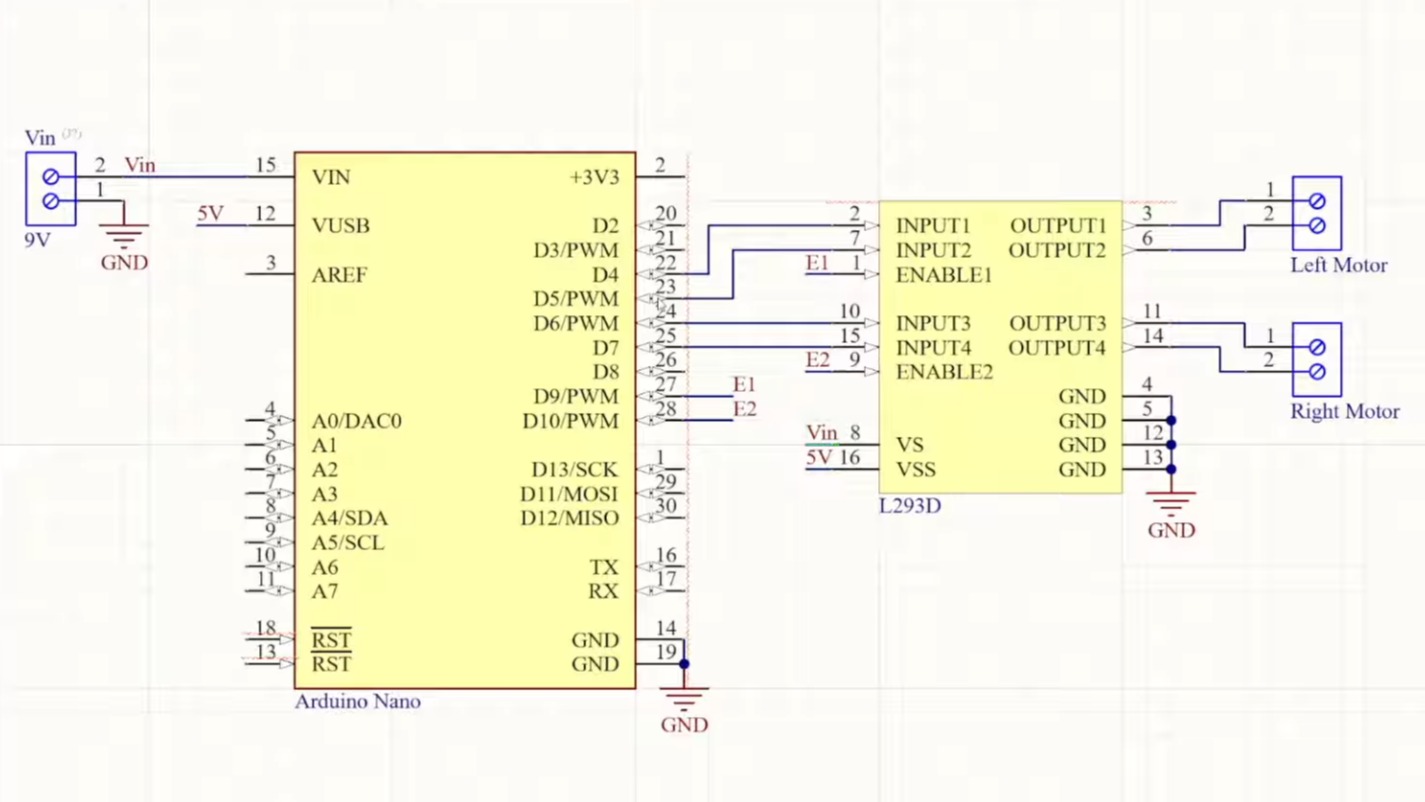
The video assumes you already have one of the common robotics kits that includes the chassis, wheels, and motors, something like this. You’ll also need a microcontroller (in this case, an Arduino Nano), a L293D motor driver IC, a 9 V battery, and some jumper wires.

The video goes into detail about how the two wheels connected to one motor each can move the robot in various directions: forward, backward, left, and right. The motors can be made to spin either forward or backward, depending on the polarity of the power supply, using an H-bridge circuit.

The L293D motor driver IC powers and controls the motors connected to the wheels. The L293D takes its commands from the Arduino. The rest of the video is spent going over the software for controlling the wheels.

When you’re ready to go to the next level, you might enjoy this robot dog.

Continue reading “Two-Wheeled Arduino Robot Project For Beginners”

Sensor Package Aims To Predict Acid Rain

Acid rain sucks, particularly if you run a fancy university with lots of lovely statues outside. If you’d like to try and predict when it’s going to occur, you might like this project from [Mohammad Nihal].

When rain is particularly acidic, it’s usually because of the combination of sulfur dioxide or nitrogen dioxide and moisture in the atmosphere. This combination ends up making sulfuric acid or nitric acid that then falls to the ground as precipitation. The low-pH rain that results can harm ecosystems, melt statues, and just generally give everyone a hard time.

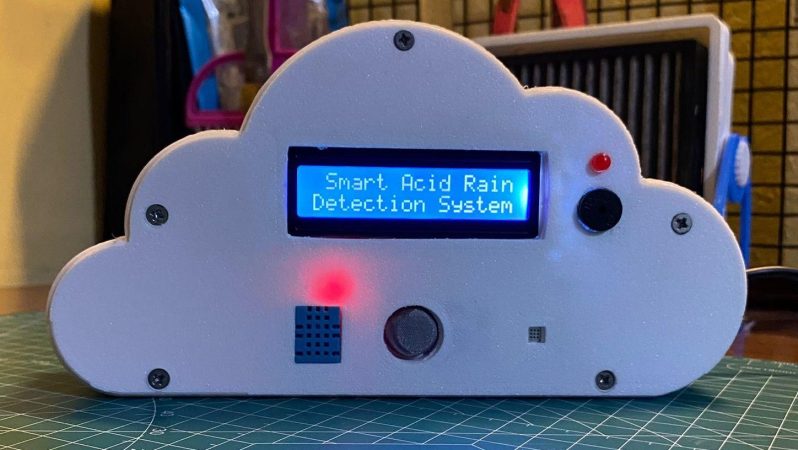
[Mohammed] decided to try and predict acid rain by building a simple device based on an Arduino Nano. It records SO2 levels with an MQ-136 gas sensor, and NO2 levels with an unspecified MEMS-based sensor. There’s also a DHT11 temperature & humidity sensor in the mix, which is important since moisture content plays a role. The Arduino reads these sensors and uses a simple predictive algorithm to create an “Acid Rain Risk Score” that is displayed on a 16×2 character LCD. It’s all wrapped up in a fun 3D printed enclosure that looks like a cloud.

There are some limitations to the device. Namely, it doesn’t necessarily have a great read on atmospheric SO2 and NO2 levels in the atmosphere, particularly at altitudes where rain is formed, because the sensor sits inside the device indoors. However, the basic concept is there, and improvements could certainly be made with some upgrades and further research.

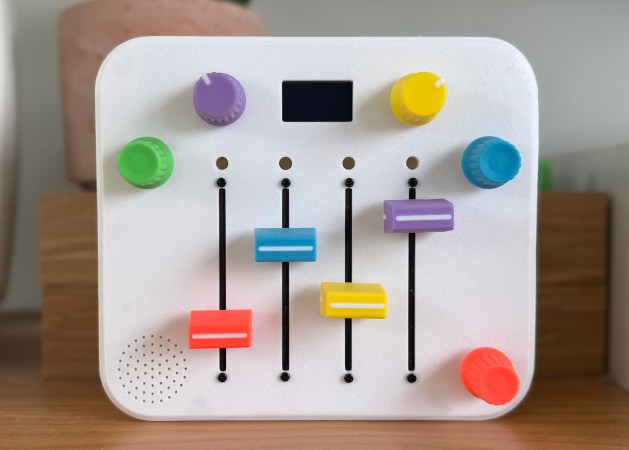
A small, colorful synth built for a 3-year-old. It has five pots, four sliders, and a tiny screen.

Baby’s First Synth Was Daddy’s First Project

We absolutely adore inspired labor-of-love tales such as this one. [Alastair] wanted to build a synth for his daughter’s third birthday in spite of having no prior hardware knowledge. It became the perfect excuse to learn about CAD, microcontrollers, PCB design, and of course, 3D printing.

So, why a synth for a toddler? Aside from plain old ‘why not?’, the story goes that she received a Montessori busy-type board which she seemed to enjoy, and it reminded [Alastair] of the control surface of a synth. He wondered how hard it could be to build something similar that made sound and didn’t require constant button presses.

[Alastair] began his journey by dusting off a 15-year-old Arduino Inventors Kit. The initial goal was to get potentiometer readings and map them to 12 discrete values, and then emit MIDI messages. This was easy enough, and it was time to move to a synth module and an Elegoo Nano.

The full adventure is definitely worth the read. Be sure to check out the pink version in action after the break. You really don’t wanna miss the lil’ panda bear. Trust us.

Continue reading “Baby’s First Synth Was Daddy’s First Project”

Universal Control For The Last Mac You’d Ever Expect

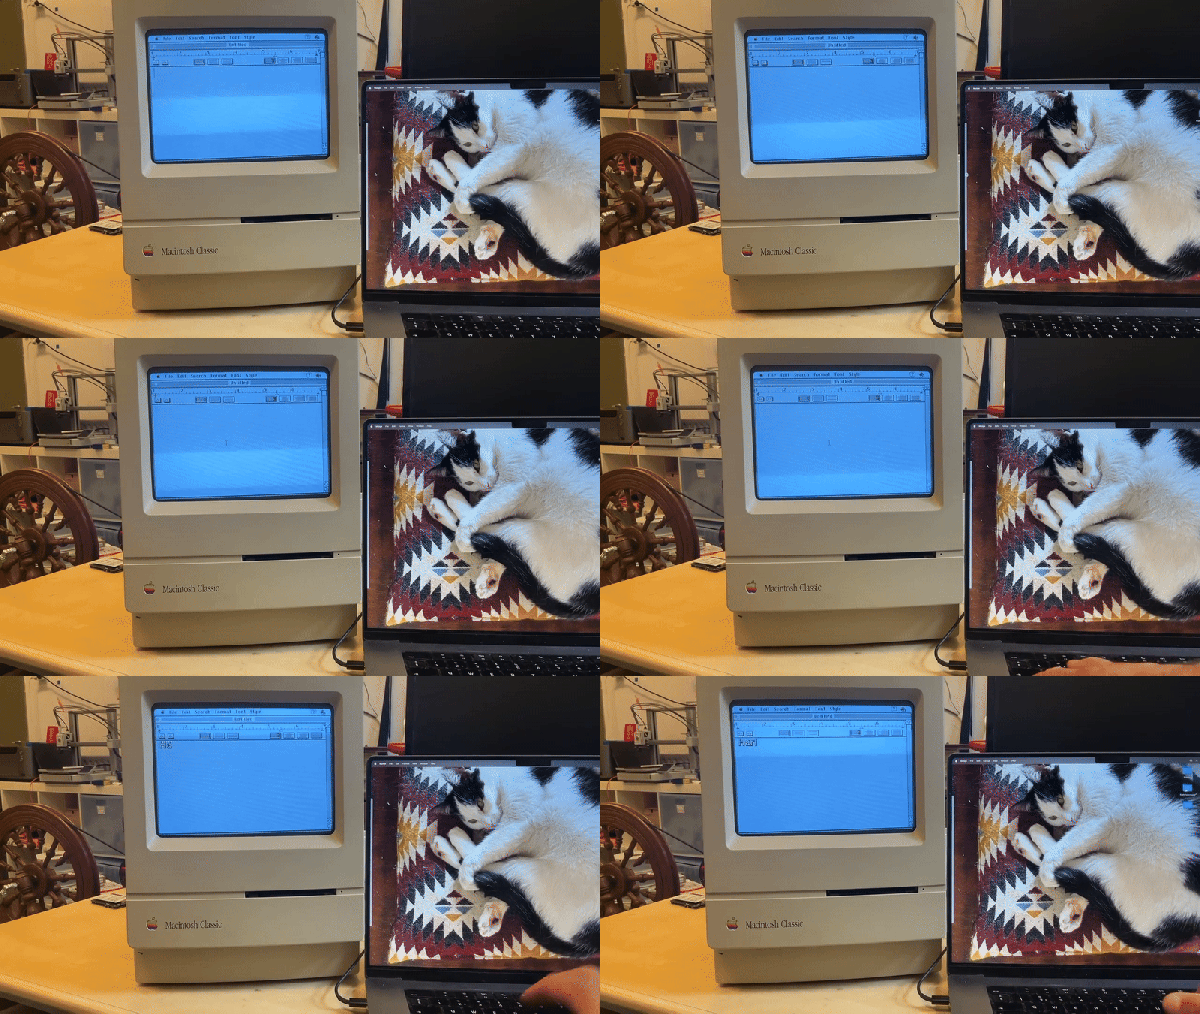
Universal control is a neat feature on Macintosh computers, allowing you to slide your mouse seamlessly from device to device. Of course you need a relatively recent version of MacOS to make it work, right? Not necessarily– thanks to [Bart Jackobs] MacFriends, universal control has come to the Macintosh Classic.

The Arduino is perfect for this purpose, but choosing it ruined a perfectly good pun and we can never forgive that.

Well, not exactly universal control, but similar functionality at any rate. [Bart] can slide his mouse from one side of his retina display over onto the glorious 512 x 342, 1-bit display of his Macintosh Classic, just as if the 68k powered antique was a modern device. As you might expect, the Motorola 68000 in that old Mac is getting a teensy bit of help– though sadly for our love of puns, from an Arduino Nano and not any kind of Teensy.

The Arduino is emulating a mouse and keyboard on the Apple Desktop Bus using code based on the abduino by [akuker]. [Bart]’s custom software on the modern Mac captures the mouse and keyboard inputs to pipe to the Arduino via USB serial. Apple’s Universal control doesn’t require a wired connection between the two machines, of course, but then, it doesn’t work on the Classic. One could imagine redoing this project for Bluetooth communication to have that a same Clarkian feeling of technological magic Apple has always wanted to convey– but nothing was wireless in 1990 except for telegrams and a handful of telephones, so the project is appropriate as-is.

As much as we might resent that micro-controller for ruining a pun, if you want to hook into the ADB– perhaps to use old peripherals with an emulated Macintosh— an Arduino will do the job. So would a Teensy, though, and then we’d have our pun.

Our thanks to [Bart Jakobs] for the tip. Don’t forget to send in your own: the endless maw of the tipsline is always hungry.

2025 One Hertz Challenge: Valvano Clock Makes The Seconds Count

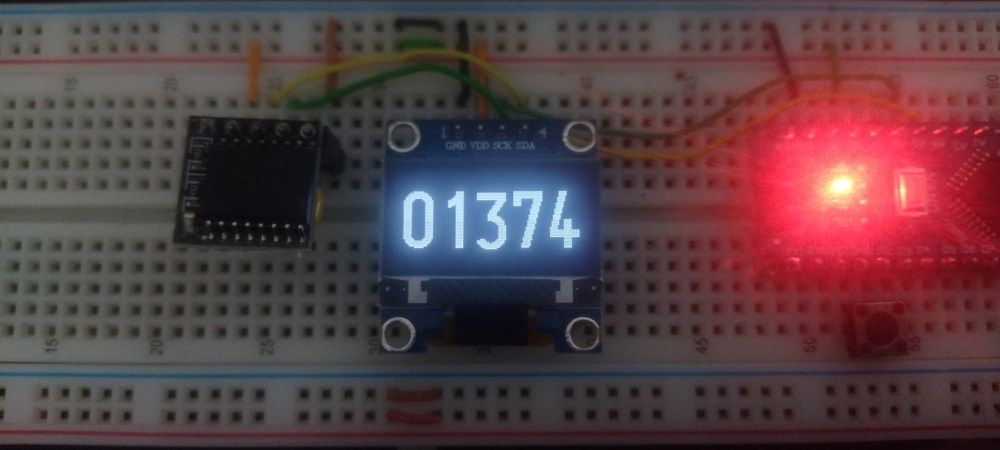
A man named [Jim Valvano] once said “There are 86,400 seconds in a day. It’s up to you to decide what to do with them.” — while we couldn’t tell you who [Jim Valvano] was without a google search*, his math checks out. The quote was sufficiently inspirational to inspire [danjovic] to create a clock count those seconds precisely.

It’s a simple project, both conceptually and electrically. All it does is keep time and count the seconds in the day– a button press switches between counting down, counting up, and HH:MM:SS. In every mode, though, the number displayed will change at one Hertz, which we appreciate as being in the spirit of the challenge. There are only four components:  an Arduino Nano, a DS3231 RTC module, a SSD1306 128×64 OLED module, and a momentary pushbutton. At the moment it appears this project is only on breadboard, which is a shame– we think it deserves to have a fancy enclosure and pride of place on the wall. Wouldn’t you be more productive if you could watch those 86,400 seconds ticking away in real time? We think it would be motivating.

Perhaps it will motivate you to create something for our One Hertz Challenge. Plenty of seconds to go until the deadline on August 19th, after all. If you’d rather while away the time reading, you can check out some of [danjovic]’s other projects, like this Cistertian-inspired clock, or this equally-inscruitable timekeeper that uses binary-coded octal.


*Following a google search, he was an American college basketball coach in the mid-20th century.