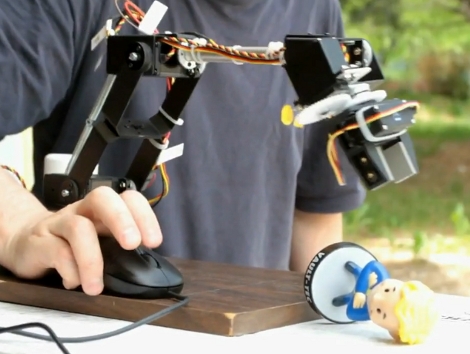
[Oleg] worked out a way to use his USB mouse to control this manipulator arm. Using a Lynxmotion AL5D (we’ve seen the AL5A previously) he drives the six servos with an Arduino servo shield. A USB host shield handles the HID end for connecting the mouse. The video after the break says it all, [Oleg] has no problem picking up that figurine quickly and accurately. Sliding the mouse controls horizontal movement in all directions. The scroll wheel moves the claw up and down. And holding the left or right buttons what using the control wheel closes or rotates the claw. All we can say is: Bigger, BIGGER!
arm381 Articles
Arm Mounted Light Cannon; Villains Beware
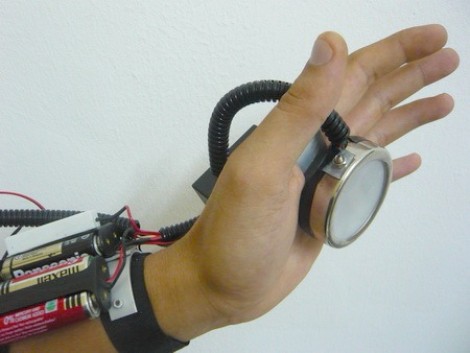
In a hack worthy of the flick Kick Ass, [Chein] built this arm-mounted light weapon. The lamp in the palm of your hand has a ring of LEDs for a nice glowing effect, but the real story is the xenon bulb at its center. The flash capacitor and charge circuit from a disposable camera are used to step up the battery voltage to 330V for an intense and slightly blinding discharge. The charging is started when you press a button on the back of the hand harness, with the flash coming when one of your fingers touches a conveniently positioned trigger. Check it out after the break.
This non-lethal weapon makes for a nice alternative to the dangers involve in playing with fire.
Continue reading “Arm Mounted Light Cannon; Villains Beware”
Foam Board Servo Driven Arm
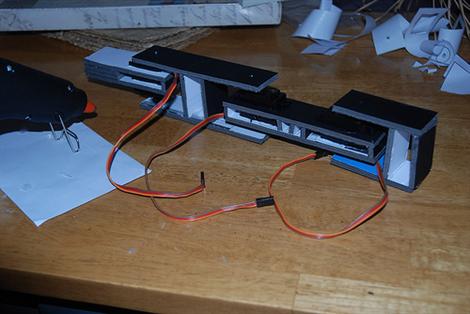
[Lucky Larry] posted some pictures to the Hack a Day flickr pool that caught our eye. He made a quick and cheap servo driven arm. Constructed from foam board and some hobby servos, he’s using an Arduino for the brains. You can download the pattern for the arm pieces as well as the code on his site.
He ultimately finds that he has positioning issues that he blames on the cheap servos. You can see in the video on his site that the circles it is drawing are drifting one direction.
Great Interactive LED Puzzle
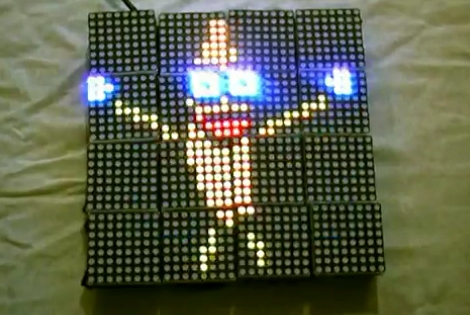
The GLIP project takes the delight of blinking LEDs and combines it with the ingenuity of modular communications. This takes the Puzzlemation concept a few steps further. In that project the modules were programmed through a base station and could be removed and used as a puzzle from there. The GLIP project uses a master block that you can see tethered in the photo. But the blocks communicate with each other via an infrared protocol. This way they can be continuously updated as they are place next to each other. Each module includes an STM32F105 ARM Cortex-M3 processor, quite a punch for the little blocks. Take a look at what they can do after the break.
Gaming System For Less Than Three Bucks
[youtube=http://www.youtube.com/watch?v=r-Mdt6uzmOg]
[Rossum’s] latest project just hit and as usual, he doesn’t disappoint. Using an ARM cortex M0 he built a gaming system for less than $3 in parts. The M0 is a bit underpowered for this but at $1 it can’t be beat in price. He worked some video generation voodoo to get the signal he wanted but also mentions that upgrading to a bit more expensive chip like the Cortex M3 would solve this problem. The other part of the gaming system is an analog stick (again for about $1) that is the only input for the system.
Can’t say that you remember hearing about [Rossum] before? Go back and check out his Wikipedia reader, AVR media player, and AVR iPod touch killer.
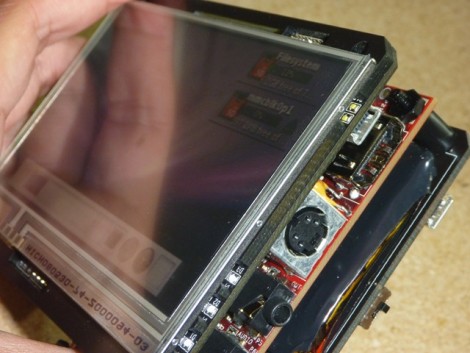
Linux Tablet Built Around A BeagleBoard
HDSPs And Playstation 2 Controllers On Arduinos
There were a couple short Arduino tips in the mailbox this morning. We’ve combined them in this post since both are fairly short and sweet.
Over at Evil Mad Scientist Laboratories, they’ve posted a quick breakdown of how to interface those neat little HDSP LED displays with an Arduino. This specific instance is for Mr. Stabby. Source code and schematic are included.
For those who would like a nice familiar input device for their Arduino, how about a Playstation2 controller? [Bill Porter] has written up the code and shown how to wire it up. This even includes the ability to read the analog stick correctly. Source code and schematic are available on the project page.
[via Littlebird electronics]