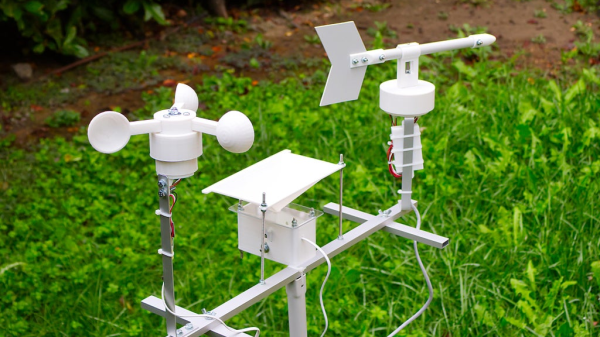
An esp32 weather station with 3d printed anemometer, rain gauge and wind vane mounted on an aluminum frame sitting in an overgrown lawn

A Weather Station For Whether It Rains Or Shines

[Giovanni Aggiustatutto] creates a DIY weather station to measure rain fall, wind direction, humidity and temperature. [Giovanni] has been working on various parts of the weather station, including the rain gauge and anemometer, with the weather station build incorporating all these past projects and adding a few extra features for measurement and access.
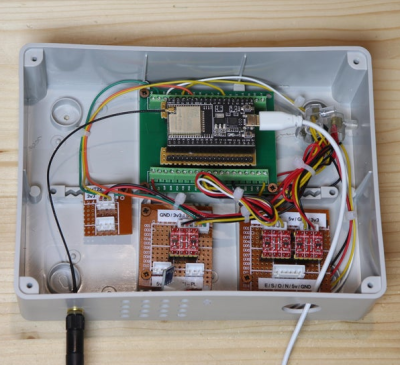
An esp32 module connected to three level shifters inside of a grey utility junction box with a USB power connector coming in powering the ESP32 device and an external wifi antenna mounted on the outside of the junction box, all siting on a wooden table

For temperature and humidity, a DHT22 sensor is located in a 3D printed Stevensen screen, giving the sensor steady airflow while protecting the module from direct sunlight and rain. A mostly 3D printed wind vane is printed with the base attached to a ball bearing and magnet so that the four hall sensors positioned in a “plus” configuration at the base can detect direction. The 3D printed anemometer uses a hall sensor to detect the revolution speed of the device. The rain gauge uses a “tipping bucket” mechanism, with a magnet attached to it that triggers the hall sensor affixed to the frame. The rain gauge (or pluviometer if you’re fancy) needs extra calibration to adjust for how much water the buckets take on before tipping.

An ESP32, with additional level shifters and BMP180 atmospheric pressure sensor module, are placed in a junction box. The ESP32 is used to communicate with each of the sensors and allows for an external internet connection to a Home Assistant server to push collected data out.

[Giovanni] has done an excellent job of documenting each piece, including making the 3D STL files available. Weather stations are a favorite of ours with a lot of variety in what gets collected and how, from ultrasonic anemometers to solar powered weather stations, and it’s great to see [Giovanni]’s take.

Video after the break!

Continue reading “A Weather Station For Whether It Rains Or Shines”

Arduino Variometer In A Mint Tin

While humans have done a pretty good job of figuring out how to fly with various mechanical contrivances, the fact remains that our natural senses aren’t really well suited to being off the ground. For example, unless you have a visual reference point, determining which way is up is quite a bit harder than you might think. Which is why pilots rely on instruments such as the variometer, that determines the current rate of climb and descent, to guide them when their eyes can’t be trusted.

It’s also a very handy thing to have when paragliding, which is why [mircemk] decided to build a hand-held version using the Arduino Nano and a BMP180 pressure sensor. Since you don’t want to be staring at a little screen in mid-air, the device conveys changes in altitude with audio tones. A rising tone means you’re moving upwards, while a lower tone indicates downward travel. In the video below, you can see that it only takes a meter or two of vertical movement before the device picks up on the change.

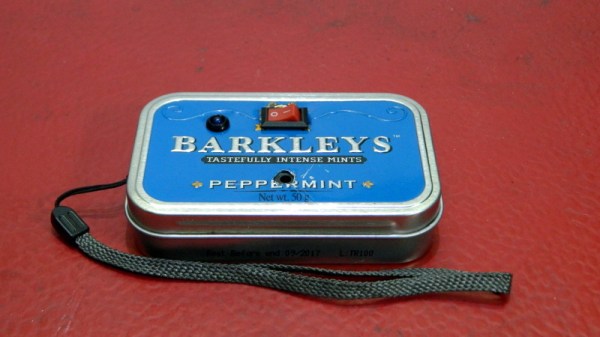
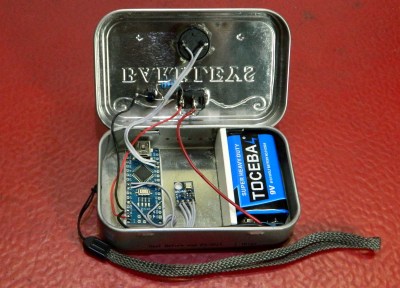
Looking for a simple yet rugged enclosure for the device, [mircemk] found a metal mint tin that would hold the microcontroller, sensor, buzzer, and the 9 V battery that powers it all. We know what you’re thinking, but don’t worry; holes have been popped in the sides to make sure there’s no pressure difference inside the tin. There’s plenty of room to replace the alkaline battery with a rechargeable pack and associated charge controller, but we imagine there’s a certain security in tossing in a fresh new primary cell before slipping the surly bonds of Earth.

If you’re in interested DIY instrumentation for a glider or other aircraft that actually has a proper cockpit, this sunlight readable flight computer made from a Kobo e-reader would be a great start.

Continue reading “Arduino Variometer In A Mint Tin”

Desktop Weather Monitor Leaves Nothing To Chance

[Mirko Pavleski] has put together a little weather station for himself that combines Internet-sourced forecasts with physical sensor data to give him a complete view of his local conditions. There’s no shortage of weather applications for our smartphones and computers that will show us the current local conditions and the forecast for the next couple of days. It’s so easy to pull weather data from the various APIs out there that you even see the functionality “baked in” to different gadgets these days. Of course, you can dig through every weather API in the world and not find the temperature and humidity inside your office; for that, you need your own sensors.

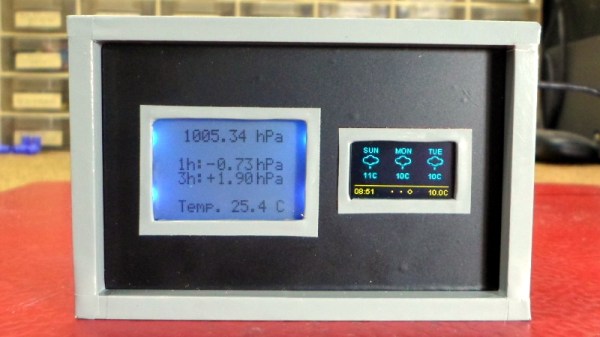
[Mirko] took a somewhat unconventional approach by essentially building two totally separate weather devices and packing them into one enclosure, which gives the final device a rather unique look thanks to the contrasting display technologies used.

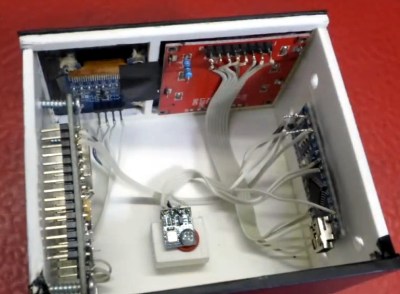
Local conditions are detected by an Arduino Nano connected to a BMP180 sensor and displayed on a Nokia 5110 LCD. The screen shows not only real-time temperature and barometric pressure, but the change in pressure over the last several hours. The three-day forecast, on the other hand, is provided by a NodeMCU ESP8266 development board connected to the increasingly ubiquitous 0.96 inch OLED.

If you’re not into the whole duality thing and would rather do it all on the same device, you might be interested in one of the ESP8266 weather monitors we’ve seen in the past.

Wireless Weather Station

High schooler [Vlad] spent about a year building up his battery-operated, wireless weather station. Along the way, not only has he learnt a lot and picked up useful skills, but also managed to blog his progress.

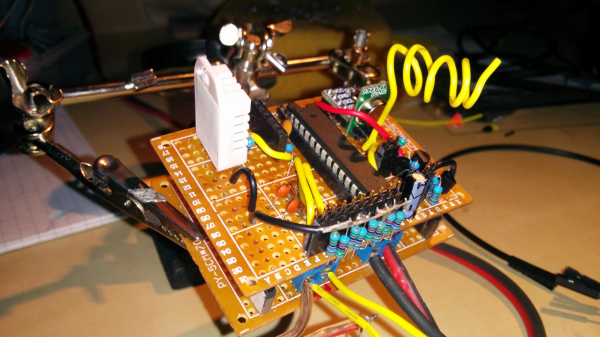
The station measures temperature, humidity, pressure and battery voltage, and he plans to add sensors for wind speed, wind direction and rainfall soon. It is powered via a solar panel and can run on a charged battery for a full month. The sensor module transmits data to a remote receiver connected to a computer from where it is published to the internet. Barometric pressure is measured using the BMP180 and the DHT22 provides temperature and humidity values. The link between the transmit and receive sections uses a 433MHz Superhetrodyne RF Kit which gives [Vlad] a range of 50m. There’s an ATMega328 on the transmitter and receiver side. He’s taking measurements once every 12 minutes, and putting the micro controller in low power mode using the Rocket Scream Low Power Library. A 5W, 12V solar panel charges the 6V Lead Acid battery via a LM317 based charge circuit. This ensures the battery gets charged even when the solar panel is not receiving optimal radiation. One hour of sunlight provides enough charge to keep it going for 2 days. And a fully charged battery will keep it running for a full month even when there’s no sunlight.

The server software consists of two parts. The first pushes serial data to a mySQL database. This is written in Visual Studio C# using help from Oracle mySQL connector. The second part publishes the entries in the mySQL database to the web server. This is written in php, and uses  Libchart for graphing. He’s got the code, schematics, parts list and a lot of other information available for download on his blog. There’s a couple of items pending on his to-do list, so if you have any tips to offer post your comments below.