Relays Calculate Square Roots

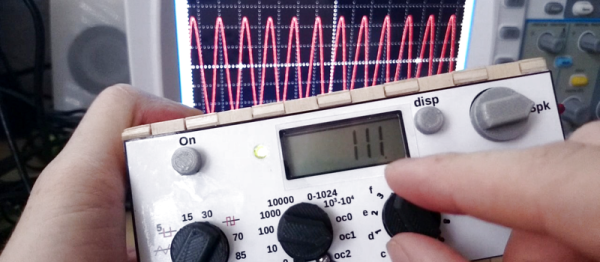
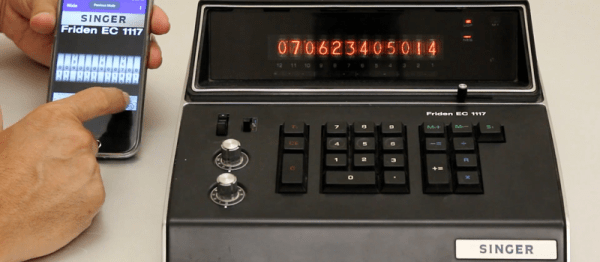
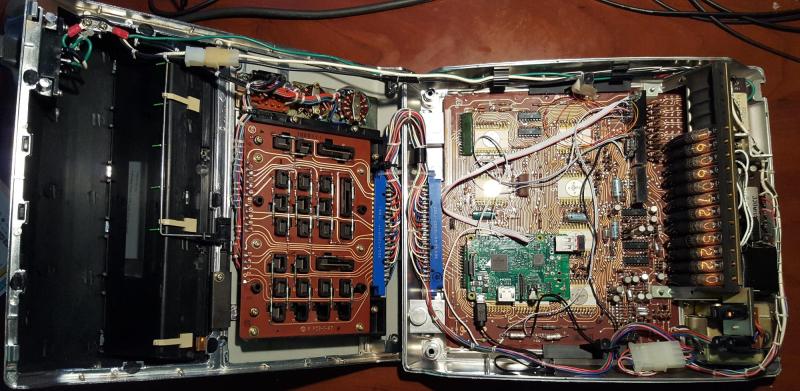
After seeing an exhibit of an old relay-based computer as a kid, [Simon] was inspired to build a simple two-relay latching circuit. Since then, he’s been fascinated by how relays can function to do computation. He’s come quite a long way from that first latching circuit, however, and recently finished a huge five-year project which uses electromechanical relays to calculate square roots.

DSC_0240-e1394580570356

The frame of the square root calculator can hold up to 30 identical relay modules, each of which hold 16 relays on PCBs, for a total of 480 relays. The module-based setup makes repair and maintenance a breeze. Numbers are entered into the computer by a rotary dial from an old phone and stored in the calculator’s relay memory. A nixie tube display completes the bygone era-theme of the device and shows either the current number that’s being entered, or the square root of that number as it’s being calculated.

The real magic of this project is that each relay has an LED which illuminates whenever the relay is energized, which shows the user exactly where all of the bits of the machine are going. [Simon] worked on this project from 2009 and recently completed it in 2014, and it has been featured at the San Mateo Maker Faire and at Microsoft Research in Redmond, WA. We’ve seen smaller versions of this before, but never on this scale and never for one specific operation like square roots.

Video below. Thanks to [Bonsaichop] for the tip!

Continue reading “Relays Calculate Square Roots”

Arduino Calculator

High Cost Arduino Calculator Is Unwieldy, Still Cool Though

One of [Kale_3D]’s teachers had made an Arduino-powered calculator. It wasn’t robust and didn’t last too long in the classroom environment. After the non-functional calculator sat around the class for a while, [Kale_3D] decided he would give a shot at repairing it. Along the way the project didn’t just get repaired, it got a full rebuild.

This calculator uses a full 16 button matrix keypad. The Arduino deciphers button pushes with the help of the Keypad library, at which time the appropriate character is displayed on the 2×8 LCD screen. Selecting the function is a little different from normal since this project is limited to 16 buttons. Two of the buttons allow scrolling through not only standard arithmetic functions but trigonometric functions also. This was one of the features that the previous version was not capable of.

To protect the components, an enclosure was made out of 1/4″ laser cut wood. The pieces have notched edges to permit a nice fit. Even so, corner blocks were added to give the case even more rigidity.

Yes, this calculator is not practical, but that’s not the point. In the end [Kale_3D] felt that the project was definitely worth doing. He had learned a bunch of stuff about Arduino and especially code debugging! Most important of all he had a good time building it. There’s a video after the break showing how it works. The code and wiring diagrams are available for download on the project’s Instructable page.

Continue reading “High Cost Arduino Calculator Is Unwieldy, Still Cool Though”

Retrotechtacular: Pascal Got Frustrated At Tax Time, Too

While necessity is frequently the mother of invention, annoyance often comes into play as well. This was the case with [Blaise Pascal], who as a teenager was tasked with helping his father calculate the taxes owed by the citizens of Rouen, France. [Pascal] tired of moving the beads back and forth on his abacus and was sure that there was some easier way of counting all those livres, sols, and deniers. In the early 1640s, he devised a mechanical calculator that would come to be known by various names: Pascal’s calculator, arithmetic machine, and eventually, Pascaline.

The instrument is made up of input dials that are connected to output drums through a series of gears. Each digit of a number is entered on its own input dial. This is done by inserting a stylus between two spokes and turning the dial clockwise toward a metal stop, a bit like dialing on a rotary phone. The output is shown in a row of small windows across the top of the machine. Pascal made some fifty different prototypes of the Pascaline before he turned his focus toward philosophy. Some have more dials and corresponding output wheels than others, but the operation and mechanics are largely the same throughout the variations.

Continue reading “Retrotechtacular: Pascal Got Frustrated At Tax Time, Too”

Hackaday Links Column Banner

Hackaday Links: December 14, 2014


The Progressive Snapshot is a small device that plugs into the ODB-II port on your car, figures out how terrible of a driver you are, and sends that data to Progressive servers so a discount (or increase) can be applied to your car insurance policy. [Jared] wondered what was inside this little device, so he did a teardown. There’s an Atmel ARM in there along with a SIM card. Anyone else want to have a go at reverse engineering this thing from a few pictures?

[Alex]’s dad received a special gift for his company’s 50th anniversary – a Zippo Ziplight. Basically, its a flashlight stuffed into the metal Zippo lighter we all know and love. The problem is, it’s battery-powered, and Zippo doesn’t make them any more. It also uses AAAA batteries. Yes, four As. No problem, because you can take apart a 9V and get six of them.

‘Tis the season to decorate things, I guess, and here’s a Hackaday snowflake. That’s from [Benjamin Gray], someone who really knows his way around a laser cutter.

HHaviing trouble wiith a debounce ciircut? HHer’s a calculator for just thhat problem. Put iin the logiic hhiigh voltage level, the bounce tiime, and the fiinal voltage, and you get the capaciitor value and resiistor value.

A harmonograph is a device that puts a pen on a pendulum, drawing out complex curves that even a spirograph would find impressive. [Matt] wanted to make some harmonographs, but a CNC and a printing press got in the way. He’s actually making some interesting prints that would be difficult if not impossible to make with a traditional harmonograph – [Matt] can control the depth and width of the cut, making for some interesting patterns.

The Mooltipass, the Developed On Hackaday offline password keeper, has had an interesting crowdfunding campaign and now it’s completely funded. The person who tipped it over was [Shad Van Den Hul]. Go him. There’s still two days left in the campaign, so now’s the time if you want one.

A Calculator With Free Software And Open Hardware

We’re fond of open source things here. Whether it’s 3D printers, circuit modeling software, or a global network of satellite base stations, the more open it is the more it improves the world around us. [Pierre Parent] and [Ael Gain] have certainly taken these values to heart with their open handheld graphing calculator.

While the duo isn’t giving away the calculators themselves, they are releasing all of the hardware designs so that anyone can build this calculator. It’s based on a imx233 processor because this chip (and most everything else about this calculator) is easy to source and easy to use. That, and there is a lot of documentation on it that is in the public domain. All of the designs, including the circuit board and CAD files for the case, are available to anyone who is curious, or wants to build their own.

The software on the calculator (and the software that was used to design the calculator) is all free software too. The calculator runs Linux (of course) and a free TI simulator environment in the hopes of easing the transition of anyone who grew up using TI’s graphing calculators. The project is still in a prototype phase, but it looks very promising. Even though the calculator can already run Pokemon, maybe one day it will even be able to run Super Smash Bros as well!

Calculator Remote with Launchpad

Calculator + MSP430 + IR LED = TV Remote?

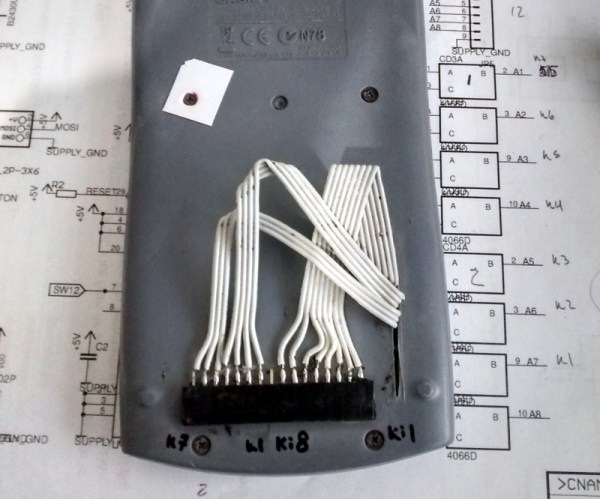
Eschewing the store-bought solution, [Stefan] managed to build a TV remote out of an old calculator. The brains of the calculator were discarded and replaced with an MSP430, leaving only the button matrix and enclosure. Rather than look it up, he successfully mapped the matrix manually before getting stumped with the infrared code timings. Some research pointed him to a peculiarity with Samsung IR codes and with help from an open source remote control library he got it working.

When the range was too limited to satisfy him he added a booster circuit and an LED driver which he snapped off the top of an old remote; now it works from 30 feet away. Some electrical tape and hot glue later and it all fit back into the original case.

It cannot take photos or play Super Smash Brothers, but it does what a remote needs to do: browses channels in the guide, control volume, and turn the TV on or off. Considering that all this calculator was built to do was boring basic arithmetic, it is a procrastination-enabling upgrade.

See the video after the break for some smiles.

Continue reading “Calculator + MSP430 + IR LED = TV Remote?”

ArTICam Interfaces Game Boy Camera With TI Calculators

[Christopher Mitchell] has given Texas Instruments calculators the ability to capture images through a Game Boy Camera with ArTICam. First introduced in 1998, The Game Boy Camera was one of the first low-cost digital cameras available to consumers. Since then it has found its way into quite a few projects, including this early Atmel AT90 based hack, and this Morse code transceiver.

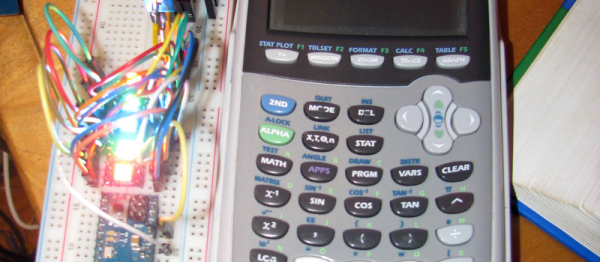
TI calculators don’t include a Game Boy cartridge slot, so [Christopher] used an Arduino Uno to interface the two. He built upon the Arduino-TI Calculator Linking (ArTICL) Library  to create ArTICam. Getting the Arduino to talk with the Game Boy Camera’s M64282FP image sensor turned out to be easy, as there already are code examples available. The interface between the camera sensor and the Arduino is simple enough. 6 digital lines for an oddball serial interface, one analog sense line, power and ground. [Christopher] used a shield to solder everything up, but says you can easily get away with wiring directly the Arduino Uno’s I/O pins. The system is compatible with the TI-83 Plus and TI-84 Plus family of calculators. Grabbing an image is as simple as calling  GetCalc(Pic1) from your calculator program.

So, If you have an old calculator lying around, give it a try to enjoy some 128×123-pixel grayscale goodness!