Super Cheap Super Simple DRO

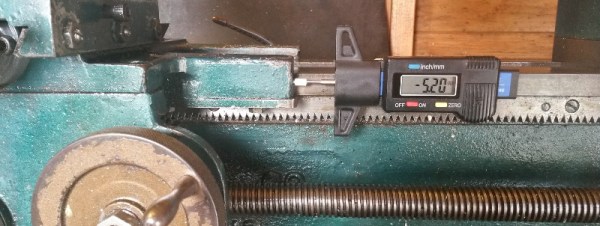
If you have an old manual lathe, mill, or even a drill press, a digital readout (DRO) is a very handy tool to have. A DRO gives you a readout of how far you’ve cut, milled, or drilled into a piece of work without having to stoop to caveman levels and look down at a dial. Here’s a stupidly cheap DRO for all your machine tools. It should only cost five bucks or so, and if you need it, you already have the tools to manufacture it.

This build is inspired by an earlier build using the same single component – a digital tread depth gauge. This digital tread depth gauge is commonly found in countries that don’t use the US penny as currency to measure the depth of tread on a tire. The throw isn’t that large – only about 27mm – but with a few modifications it can fit on any machine tool.

The modifications include a small bit of metal glued to the back and four tiny neodymium magnets.  For the ‘tool head’ of this DRO, only a tiny plastic collar and another deo magnet are needed.

This digital tire depth gauge looks like – and probably is – the same mechanism found in those super cheap calipers from the far east. In theory, it should be possible to extend this modification to those digital calipers, making for a simple DRO with a much larger throw.

Thanks [Ben] for sending this one in.

Trinket EDC Contest: USB Calipers

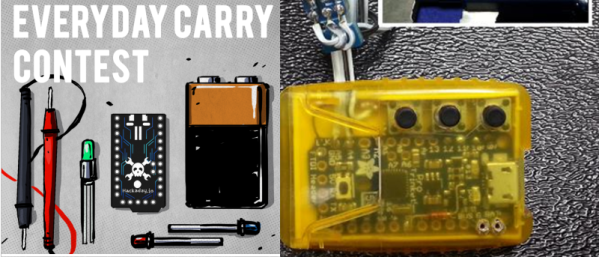
[Lou]’s entry for the Trinket EDC Contest is a great addition to the ubiquitous digital calipers found on workbenches and eBay resellers the world over. It translates the value displayed on the calipers to a USB HID interface for logging all those tricky measurements at the push of a button.

Most of the digital calipers you’ll find at Harbor Freight or on eBay are pretty much the same. There are two pads on the caliper’s PCB that give any microcontroller the ability to read what is being measured. It’s done with a 24-bit encoding scheme, where each bit is a nearly-BCD measurement in units of 1/1000 of an inch or 1/100 of a millimeter. After decoding the value, [Lou]’s trinket sends a few numbers to a computer over a USB HID interface.

Simply sending a measurement to a computer over USB wasn’t enough for [Lou]. He added three buttons to the project for typing multiple characters. The first button just sends Enter to the computer, the second sends a comma, and the third sends “/2 (Enter)”, exactly what you need to input the radius of something when measuring the diameter.

This was a project for the Trinket EDC Contest that ended a few hours ago. Nobody knows who the winner is, but there are some pretty cool prizes up for grabs including the new Rigol scope, a Fluke 179, and a soldering station.

Three Axis Position Indicator With Digital Calipers

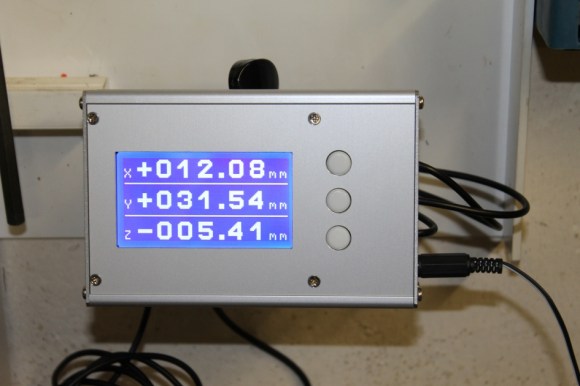
[Malte] just finished a little project for his Wabeco F1200 milling machine: a compact external display for three digital sliding calipers (Translated from German). As you may have already guessed, [Malte] was lucky enough to be able to fit disassembled calipers onto the machine and use them for positioning. Before embarking on this adventure, he noticed that there were similar projects present on the internet, but all of the calipers used had different data interfaces and protocols. The calipers that [Malte] bought have a mini USB connector, even though the interface itself isn’t USB. As he couldn’t find any information on that interface, he turned to his oscilloscope to decode the protocol.

[Malte] then built an AVR-based platform that reads out the three calipers and shows the position data on the dot matrix LCD shown above. The AVR firmware is written in a mixture of Basic and assembler language. The source code, schematics, and other resources can be downloaded from the project’s web page. We are impressed on the professional aspect of the final result.

Continue reading “Three Axis Position Indicator With Digital Calipers”

Supercharging Your Digital Calipers

supercapCalipers01

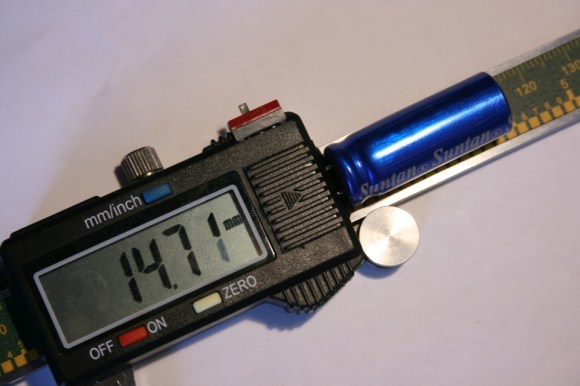
A dead battery in your digital calipers usually means a trip to the store for a new button cell. Not for [Trevor]. His hack substitutes a super capacitor, guaranteeing you’ll never need to rummage around for one of those pesky watch batteries again.

These calipers require only 20 seconds to reach a full charge that can last for a few days. Better still, [Trevor] designed a simple circuit with a voltage regulator at the end of the cord to allow charging via USB: just remember to flip the switch from “discharging” to “charging” mode. Although this is a fairly straightforward hack, its design is impressively tidy. The super capacitor fits perfectly at the end of the display and slides along with it, keeping it away from any important printed numbers. If these are the same calipers everyone seems to have these days, it looks like it may still fit in the provided case, too.

If you’re looking for more ways to beef up your calipers, try upgrading them with a Bluetooth module.

Giving Digital Calipers Bluetooth

[Fede]’s wife uses a pair of digital calipers to take measurements of fruits, leaves, and stems as part of her field research. Usually this means taking a measurement and writing it down in a log book. All things must be digitized, so [Fede] came up with a way to wirelessly log data off a pair of cheap Chinese calipers with a custom-made Bluetooth circuit.

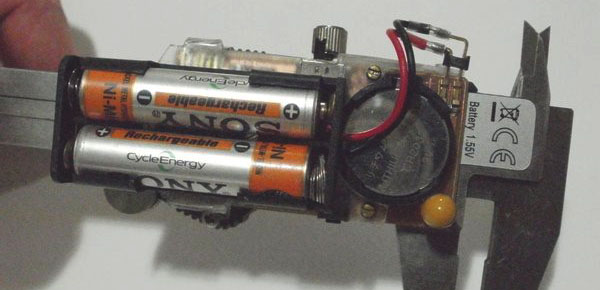
Most of these cheap Chinese digital calipers already have a serial output, so [Fede] only needed to build a circuit to take the serial output and dump it in to an off-the-shelf Bluetooth module. He fabbed a custom circuit board for this, and after seeing the increased battery drain from the Bluetooth module, decided to add an external battery pack.

In addition to etching his own board for sending the serial output of the calipers to a Bluetooth module, [Fede] also put together a custom flex circuit to connect the two boards. It’s just a small bit of brass glued to a transparency sheet etched with ferric chloride, but the end result looks amazingly professional for something whipped up in a home lab.

Lathe Modification

[youtube=http://www.youtube.com/watch?v=maB28gXoZV4]

The folks over at NerdKits got a shiny new Smithy 1220xl lathe/ mill. They found, however that adjusting the Z axis wasn’t as accurate as they desired. They decided to resolve this by installing a digital caliper and an LCD interface to display the adjustments. The writeup is quite detailed and the results seem to work great.