Knock Your 3D Printer Down To 2D

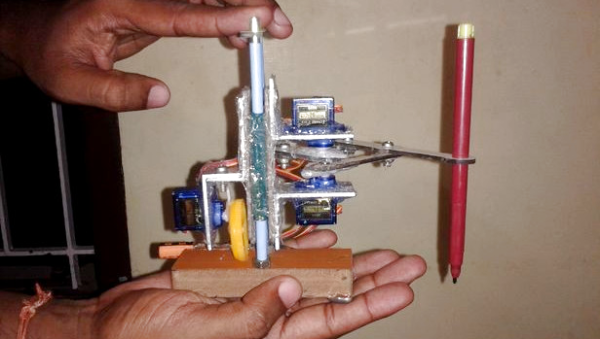
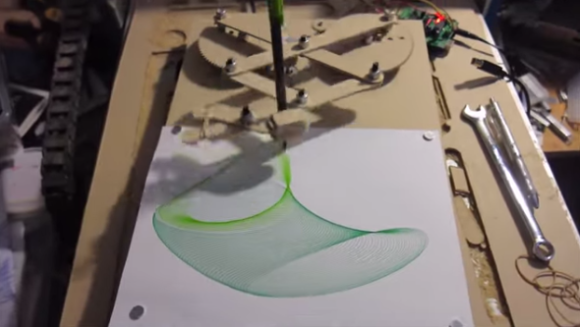
Hackers love 3D printers. In fact, they might love them a little too much. We hope know we aren’t be the only ones who couldn’t turn down a good deal on an overseas printer (or two). But when you’re not pumping out plastic boats and other PLA dust collectors, what are you supposed to do with them?

Well if you’re like [Uri Shaked] you could hand them a pen and tell them to get writing. The holidays are coming up quick, and somebody’s gotta sign all these cards. In his detailed write-up, he shows how he was able to add a pen to his Creality CR-10 printer to turn it into a lean mean letter-writing machine without making any permanent changes to the printer.

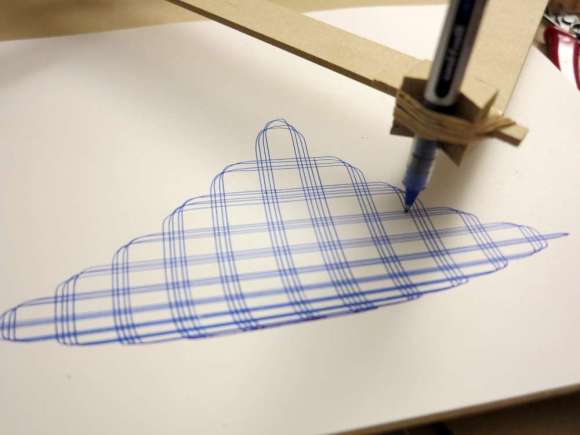
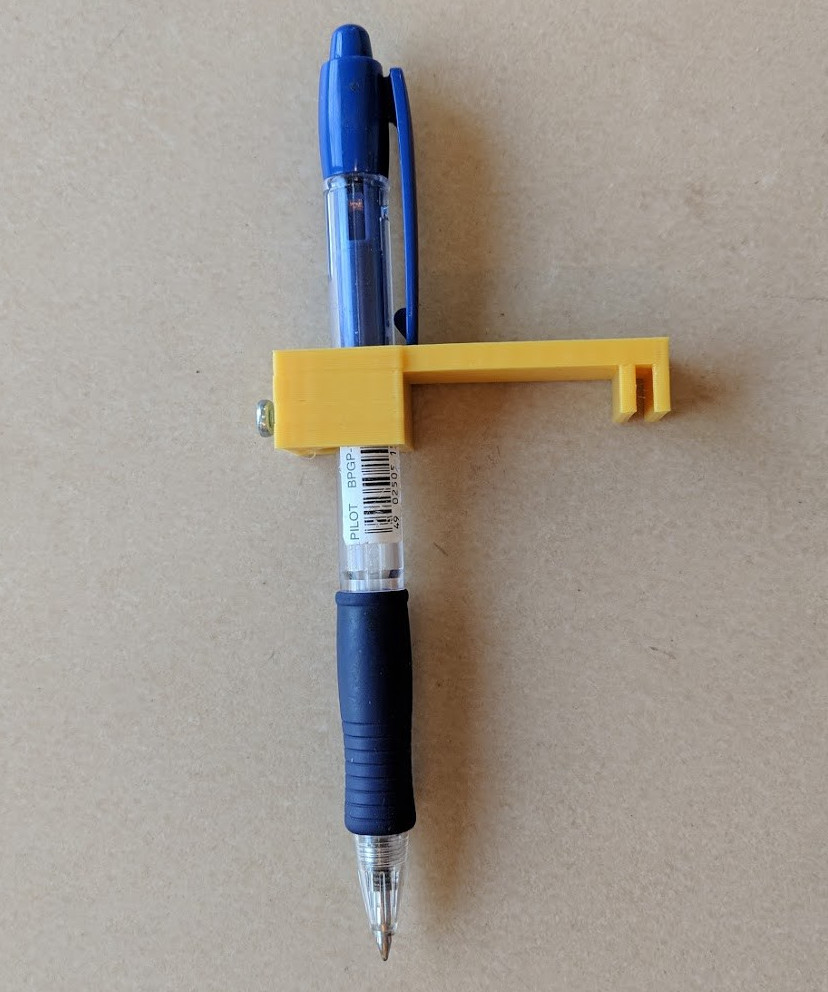
The physical aspect of this hack is about as simple as they come: just come up with some way to hold the pen a bit below the printer’s hotend. The positioning here is a bit critical, as you don’t want to crash the nozzle into the bed while writing out a missive. [Uri] got fancy and designed a little bracket that clamps onto the CR-10 and even has a M3 screw to hold the pen in place, but you could get away with zip ties if you just want to experiment a bit.

[Uri] goes into much greater detail on the software side of things, which is good, as it does take a bit of Inkscape trickery to get the printer to perform the specific dance moves required. He goes through step by step (with screen shots) explaining how to set up Orientation Points and configure the tool parameters for optimal performance. Even if you aren’t looking to put a 3D printer to work autographing your 8x10s before the next hackerspace meet, this is an excellent guide on producing GCode with Inkscape which can be helpful for tasks such as making PCBs.

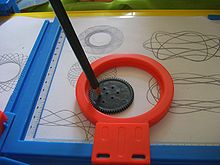
The general process here is very similar to adding a laser module to your 3D printer, but with considerably lower risk of your eyeballs doing their best Death Star impression.

Continue reading “Knock Your 3D Printer Down To 2D”

Impressive Drawing Machine For One Made So Simply

Not all of us have CNC machines, laser cutters and 3D printers, and I’ll bet most of us didn’t start out that well equipped. The low-cost drawing machine that [jegatheesan] made for his daughter reminds us that you can prototype, and then make a functioning mechanical Da Vinci with very basic materials and mostly hand tools. He also wrote his own drawing software, with an interface that has its own simplicity.

There really are a lot of things to like about [jegatheesan]’s project. He first works out the math himself by doing something the likes of which we’ve all enjoyed, digging out the old school trigonometry and algebra books for a refresher. Then he got started on his prototype, made using a cardboard tube for the main support and straws and safety pins for the drawing arms. He already had a motor shield for his Arduino but it supported only 2 servos, so he made his own 3-servo shield. In the end, the prototype told him he had to redo some calculations, allowing him to move on to the final machine.

One thing we can say about the final machine is that hot glue must truly be the maker’s connect-all — you won’t find many screws here. Even the servos are held in place with copious quantities of glue. And the mechanism for lifting the pen is also quite clever. The whole thing is mounted on two vertical guide rods, so that it can easily slide up and down. To get it to actually move up and down, he glued a toy car wheel off-center on a servo arm. When the servo turns, the off-center wheel acts like a cam, pushing down on the wooden base to either lift the machine up or lower it down, depending on where the wheel is in its rotation.

See his hackaday.io page for the full step-by-step development process. But first check out the videos below to see how impressive such a simply made machine is in action.

Continue reading “Impressive Drawing Machine For One Made So Simply”

Low-Cost, Arduino-Compatible Drawing Robot

Bringing women into technical education at times seems to be an insurmountable challenge. As a counter, a small drawing robot created by [MakersBox] might help. The robot was used in a ChickTech workshop for teen girls.

640px-Turtle_draw
“Turtle draw” by Valiant Technology Ltd..

The goals for the robot were to have an easy to build, easy to program robot that did something interesting, and was also low-cost so the workshop participants could take it home and continue to learn. These requirements led [MakersBox] to the Adafruit Pro Trinket 3V, stepper motors for accuracy, and a 3d printed chassis to allow for customization.

Another version of the Arduino should work without any problems and even possibly a Raspberry Pi, suggests [MakersBox]. With the latter’s more diverse programming environment opening up a lot of possibilities

Drawing robots like this for education are not new. [Seymour Papert] created one of the first turtle robots, seen at the left, in the 1980s. He even created the Logo programming language and adapted it for use with the turtle. An interesting similarity between [MakersBox’s] and the original turtle is the drawing pen is in the center of both.

Hat tip to our friends at Adafruit.

A rose, is a rose, is a rose, even if drawn by a robot, after the break.

Continue reading “Low-Cost, Arduino-Compatible Drawing Robot”

Lego Drawing Machine Draws Block Shapes Best

Lego-drawing machine

Loving to draw but deathly afraid of pen ink, [Marcel] came up with a little drawing machine made out of Lego that will do it for him. It’s not a very complicated build but it does have several different components arranged such to complete a task, and that in itself is cool. Oh yeah, just kidding about the “afraid of pen ink” thing.

RC Car Servos are used to drive the pen in the X and Y directions. These servos only have a 180 degree range of motion which is not enough to move the pen very far. To increase the pen’s travel distance, [Marcel] attached a large gear to the servo which rotates a much smaller gear that rides on a rack gear attached to the bed. A Lego hinge takes the place of a Z axis and is used to set the height of the pen that is strapped to the machine via rubber band.

In order to make the machine draw, the user moves an analog joystick. The changing resistance values of the joystick’s potentiometers are measured by an Arduino. The Arduino then moves each servo to the appropriate position using PWM. If you’d like to know how to do this, check out the Knob Tutorial.

If you’re not ready to l’eggo your Lego drawing machines, check out this super complicated creation or this arm emulator that draws the Mona Lisa.


Art-O-Matic Is Spirograph’s Young Hip Offspring

Art-O-Matic automatic spirograph

Some of our more senior experienced readers may remember a toy called the Spirograph. In case you don’t, it’s a geometric shape drawing toy. The way it works is a plastic disc with gear teeth around the perimeter and various holes on its face is spun around a plastic ring with gear teeth on the inside. A pencil is inserted in one of the holes in the disc and, when spun around the inside of the ring, draws different complex shapes called hypotrochoids.

 Art-O-Matic automatic Spirograph

This was fun enough to keep a kid entertained for a few minutes. It took a while to make a complete shape and sometimes it was easy to mess up (especially if the hole chosen for the pencil was near the outside of the disc). [Darcy] thought it would be neat to combine the Spirograph’s drawing style with modern technology. The result is called the Art-O-Matic and it draws some pretty wild art, you guessed it, automatically.

Click past the break for more!

Continue reading “Art-O-Matic Is Spirograph’s Young Hip Offspring”

Isoscel-Ease Drawing Robot Is Mesmerizing

Isoscel Ease Drawing Robot

Drawing is difficult for a lot of people… So, why not build a robot to do it for you? [Darcy] had an idea for a rather unique drawing robot — he calls it the Isoscel-Ease.

Instead of using a boring XY gantry, a deltabot, or using a scissor linkage (actually that one is pretty cool!), [Darcy] decided to try harnessing of the power of triangle geometry! As you can probably guess, the linkage forms an isosceles triangle, hence the name. A pair of stepper motors increases and decreases the odd side of the triangle, allowing for a full range of continuous inky movement (there’s no pen actuator) over the page.

It’s a very cool little drawing robot, and it was completely designed in SketchUp — He has lots of photos of the build process and example drawings on his site — But don’t forget to stick around after the break to see a video of it in action!

Continue reading “Isoscel-Ease Drawing Robot Is Mesmerizing”