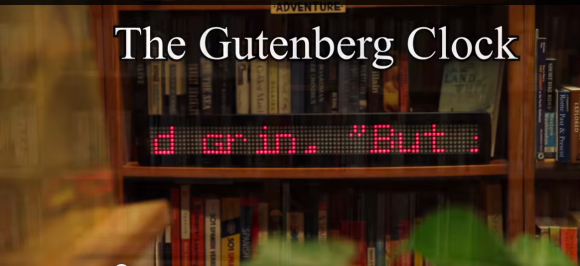
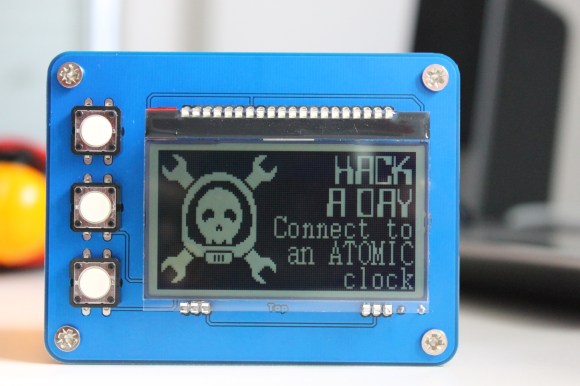
We’ve seen a wide variety of hacks that keep time, but [ch00f]’s latest build takes a new spin on counting the seconds. The Gutenberg Clock keeps time by reading books on a scrolling LED screen.
The content for the clock is sourced from the Project Gutenberg, which releases books with expired copyright for free. The library on the clock consists of around twenty thousand such books. Read at eighty words per minute, the clock won’t repeat a passage for the next thirty-three years.
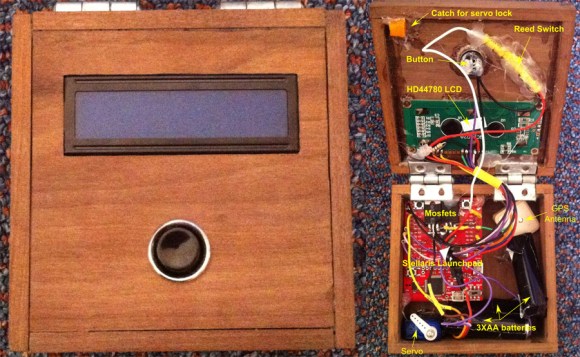
While the clock doesn’t display time itself, it is synchronized to time. Two identical clocks should display the same text at the same time. To get the time, [ch00f] first tried hacking apart a cheap radio clock, which is synchronized to NIST’s 60 kHz broadcast. After reverse engineering the protocol with great success, stray RF energy from the display turned out to cause too much interference.
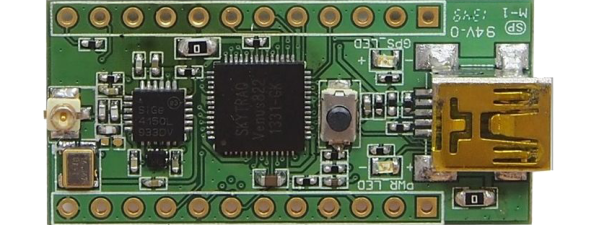
With the cheap solution out the window, [ch00f] built a custom breakout for an Adafruit GPS module and used it to get the time. This was his first RF board, but it worked out fine.
Books are loaded onto a FAT filesystem on an SD card, and [ChaN]’s FatFS is used to interpret the filesystem. A microcontroller then sends the text out at a constant rate to a serial port on the display which he hacked his way into.
The project is a neat mix of art and electronics. Stick around for a video overview after the break.
Continue reading “Gutenberg Clock Keeps Time By Reading Books”
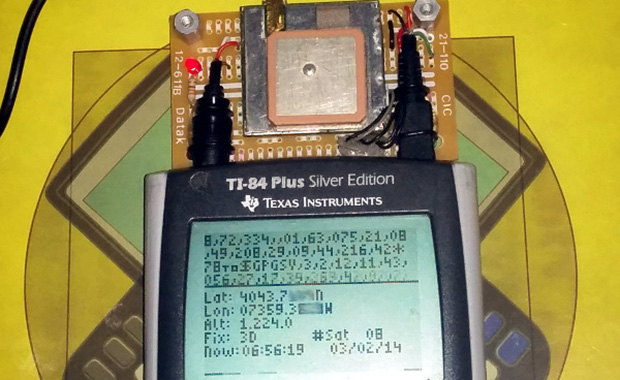 [Chris], graphing calculator hacker extrordinaire, has seen a few of his projects show up on the front page of Hackaday, mostly involving builds that turn graphing calculators like the TI-84 Plus shown above into something that copies a few features from a smartphone. His latest build,