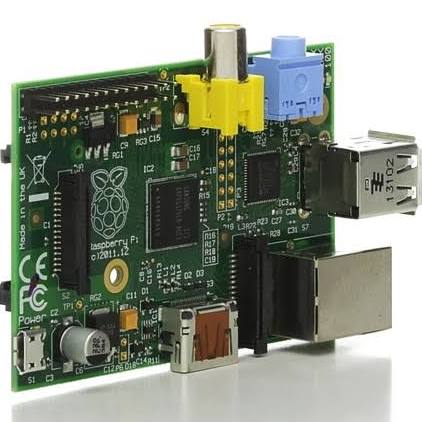
Jasper is an open-source platform for developing always-on voice-controlled applications — you talk and your electronics listen! It’s designed to run on a Raspberry Pi. [Zach] has been playing around with it and wasn’t satisfied with Jasper’s built-in speech-to-text recognition system. He decided to take the advice of the Jasper development team and modify the system to use AT&T’s speech-to-text engine.
The built-in system works, but it has limitations. Mainly, you have to specify exactly which keywords you want Jasper to look out for. This can be problematic if you aren’t sure what the user is going to say. It can also cause problems when there are many possibilities of what the user might say. For example if the user is going to say a number between one and one hundred, you don’t want to have to type out all one hundred numbers into the voice recognition system in order to make it work.
The Jasper FAQ does recommend using the AT&T’s speech-to-text engine in this situation but this has its own downsides. You are limited to only one request per second and it’s also slower to recognize the speech. [Zach] was just fine with these restrictions but he couldn’t find much information online about how to modify Jasper to make the AT&T engine work. Now that he’s gotten it functional, he shared his work to make it easier for others.
The modification first requires that you have at AT&T developer account. Once that’s setup, you need to make some changes to Jasper’s mic.py module. That’s the only part of Jasper’s core that must be changed, and it’s only a few lines of code. Outside of that, there are a couple of other Python scripts that need to be added. We won’t go into the finer details here since [Zach] goes into great detail on his own page, including the complete scripts. If you are interested in using the AT&T module with your Jasper installation, be sure to check out [Zach’s] work. He will likely save you a lot of time.


