Electronic Demon Costume Is Surprisingly Unnerving

[Phil] over at Adafruit crashed last Sunday’s Show and Tell with an amazing demon costume that includes a voice changer and animated LED matrices for The Eyes and mouth. He just posted how he built this costume, but you’ve really got to Watch the video to see how awesome this build is.

Every demon needs a scary voice, so [Phil] repurposed his Arduino-based voice changer for this build. By being able to adjust the pitch of the demon’s voice with the turn of a knob, [Phil] goes from growling from the pits of hell to a demon with just a slightly annoying voice.

The Eyes make use of the Adafruit I2C LED matrix backpack. The eyes are wired to the same I2C address to prevent derping, but the three red mouth LED matrices are capable of displaying anything that fits on an 8×24 LED matrix.

The electronic portion of this build is mounted to a piece of plexiglas, which is in turn mounted to a mask [Phil] picked up from a craft store. Not really the best option considering the Halloween stores are now open for the year, but it does its job.

A Morphsuit – a spandex bodysuit – completes the build along with a few demon wings and horns. During Adafruit’s Show and Tell, [Phil] had electronic parts scattered all over his desk. To turn this into a costume, he’ll be mounting a small battery-powered speaker in a chest piece and stuffing all the electronics in a fanny pack.

It’s a very, very cool build that really steps up the game for Arduino-powered costumes. Check out the video after the break.

Continue reading “Electronic Demon Costume Is Surprisingly Unnerving”

Battling Most Useless Machine Gets An Expressive Upgrade

We suppose the only thing more useless than a most useless machine is giving it an emoticon face. But that’s exactly what has happened with this project. But you’ll want to seen the whole thing, as the presentation involves much more than an angry box that can shut itself off.

This is the second iteration of the angry box. As we saw about 18 months ago, it will eventually get fed up with you turning the switch on and freak out by driving itself all over the desk. This version starts off with a rather pleasant face drawn on the red LED matrix which takes up the front side of the enclosure. It will nonchalantly flip the switch to the off position after first being activated. But if you insist on turning it back on things get angry rather quickly. This is shown in the video after the break. But if you can get past the horrible machine translation there are some build details to be had in this post.

Continue reading “Battling Most Useless Machine Gets An Expressive Upgrade”

USBPIC Controls Just About Anything

Over the last few years, [Michael] has been developing a PIC microcontroller board. He calls his project USBPIC, and with the addition of a few FET drivers, H-bridges, and LED drivers his homemade dev board can handle just about anything thrown at it.

[Michael]’s board is build around a PIC18F2455 microcontroller with both an In Circuit Serial Programming header and support for a USB port included. Instead of going for a modular format where the board can expanded through shields or expansion cards, [Michael] decided to make three different versions of the USBPIC.

The TRANS USBPIC includes eight FETs for switching off high current devices totaling 32 Amps. The MATRIX board has twice as many outputs as the TRANS board, but uses ULN2803 or UDN2982 chips for driving smallish-current devices. Finally, the HBSW board takes a TRANS board and replaces four FETs with a an L298 H-bridge chip for driving two DC motors.

For what [Michael] lost in modularity, we think he gained a very tidy microcontroller board capable of driving everything from robots to LED matrix displays.

Retroball Or Super Pong Table Grows Up

pong-table

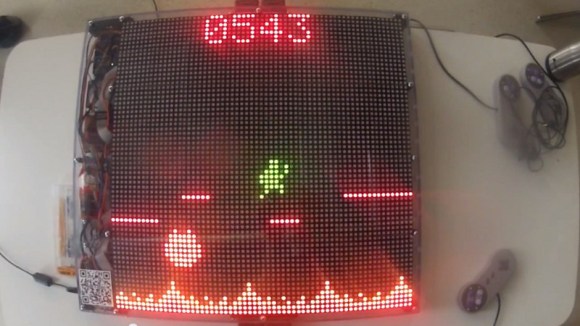
Retroball is, as its Kickstarter campaign says, “Retro Fun for up to Four Players.” What you might not know, is that it’s ancestor was featured here earlier last year. With a year and a half of development underway, the build looks spectacular, and the people in their promo video look like they’re having lots of fun (obviously).

The whole concept of the game is that it has up to four players that each manipulate a paddle as in the classic Pong game. The obvious difference is that there are four players, and everything is played on a 32 x 32 LED array.

Although it looks like fun in it’s stock form, readers of Hack a Day will most likely start thinking about how they could modify it for their own uses. Everything is open source, and they promise to release the documentation for this project. On the other hand, if you can’t wait, or would rather build something very similar, check out [Brad]’s original Instructable article!

Tuitwall Uses PHP-fed Arduino To Display Tweets

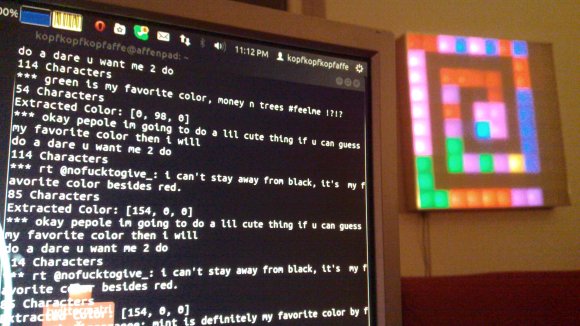
[Santiago] recently completed this project which he calls Tuitwall. It will display your Twitter feed on an LED matrix. The method he used to put it together will come in handy for any project where you need to scrape information from the Internet.

The project does require a server in addition to the Arduino hardware seen above. On the Arduino side [Santiago] uses an Ethernet shield and an LED matrix which is addressed via SPI. The server is running a PHP script which takes advantage of the twitteroauth library to handle authentication.

There’s a little bit of configuration to be done, most of it having to do with how Twitter handles 3rd party applications. But once everything is set up you can take the hardware with you and plug it into any network (as long as it offers DHCP). With this framework as a guide it’s a snap to bend it to your will. It could be used as an RSS reader, time and temperature, server farm status, a prank ticket displaying fake headlines, etc.

Hacking The Peggy

Evil Mad Scientist Laboratories received an email from someone who wanted to hack their Peggy kit. This LED matrix kit has been featured on Hack a Day in the past, and provides hardware to set up a 625 LED matrix.

This user built an external array of LEDs that they wanted to drive with the Peggy hardware. There are a few options for making this happen. The first one is to run wires from each of the 625 LED footprints on the board. Each has an anode and cathode, so that makes for a total of 1250 wires to run. It turns out that people have actually done this with the Peggy in the past, using very fine wire.

EMSL suggests wiring the rows and columns instead. This way, only one wire is needed for each row and column, allowing a 25×25 LED grid to use 50 wires instead of 1250. They also explain how to expand the grid to a 30×20 LED matrix. It’s a good explanation of how the kit works, and how it can be expanded.

Photo [oskay]

Writing On LEDs With A Laser Pointer

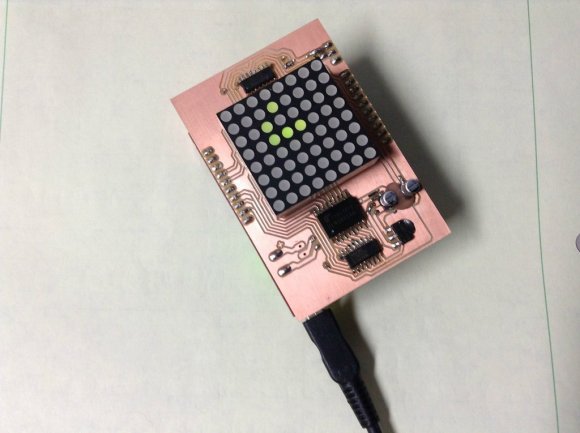
After [Ch00f] got his hands on an 8×8 LED display, he didn’t make a 64-pixel video game or VU meter. He made a laser doodler, allowing him to draw on this display with only a laser pointer.

Using LEDs as light sensors is nothing new; [Forrest Mims III] discovered that LEDs can also detect light way back in the late 60s. [Ch00f] played around with this concept before creating a circuit that uses an LED as both a light emitter and sensor that reacts to the ambient brightness.

[Ch00f]’s laser doodler takes this phenomena and applies it to an Adafruit bicolor LED matrix. When a light shines on an individual pixel in the display, the ATMega48 senses the current and turns that pixel on. Since this these pixels have two colors, [Ch00f] used a latch circuit and a button to cycle between what color the ‘Mega writes to the display.

In the video after the break, [Ch00f] shows off his display by having the LEDs light up in response to a laser pointer. It may be a bit small, but we can see a lot of potential for something like this as a gigantic art installation.

Continue reading “Writing On LEDs With A Laser Pointer”