Adding Stereo VU Meters To A Turntable

A pleasing development for those with an interest in audio equipment from decades past has been the recent resurgence in popularity of vinyl records. Whether you cleave to the view that they possess better sound quality or you simply like the experience of a 12″ disk with full-size cover art and sleeve notes, you can now indulge yourself with good old-fashioned LPs being back on the shelves.

[Michael Duerinckx] is a fan of older trance records, and has an Ion Pure LP turntable which is fortunately for him not such an exclusive piece of audio equipment that it can’t be readily hacked. The hack he’s applied to it is a relatively simple one but nonetheless rather attractive, he’s added a set of LED VU meters in a ring round the edge of the platter.

Behind the LEDs is the trusty LM3915, an integrated circuit which will no doubt be familiar to any reader whose earlier life was spent among 1970s and 1980s audio gear. Internally it’s a stack of comparators and a resistor ladder, and it simply turns on the required number of outputs to match the level on its input. He’s put a pair of them on a little PCB with an associated PSU regulator, and mounted the LEDs in a row of holes drilled in the MDF base board of the turntable following the edge of the platter. Power and audio come from the turntable’s circuit board, which contains a preamplifier and the USB audio circuitry. A traditional turntable with a low-level output would not be able to drive an LM3915 directly.

This is a relatively straightforward project and the turntable itself isn’t necessarily the most accomplished on the market, but it’s very neatly executed and looks rather pretty.

Turntable projects are not as common as you’d expect here at Hackaday, but we’ve had a few. There was this concrete example for instance, and a very pretty one using layered plywood.

Courtesy of SoMakeIt, Southampton Makerspace.

Raspberry Pi Remote Audio Link

Hardware for remote audio link


In broadcast, lots of people are still using dedicated analog lines to connect remote sites. These operate like old telephone systems: you call up the operator and request to be patched through to a specific site. They’re also rather expensive.

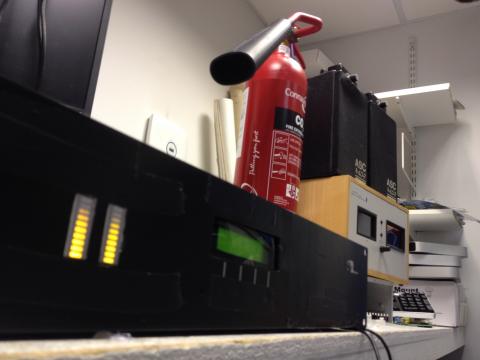
For a hospital radio station, [Marc] wanted to replace the old system with something less costly. The result is his Raspberry Pi STL in a Box. Inside the box is a Raspberry Pi, PiFace display, a pair of meters, and some analog hardware for the audio.

On the software side, the system uses LiquidSoap to manage the stream. LiquidSoap uses a language to configure streams, and [Marc] has a write-up on how to configure LiquidSoap for this application. On the hardware side, SSM2142 ICs convert the signal from single-ended to balanced. The meters use the LM3915 bar drivers to control the meters.

The Python script that controls the box is provided, and could be helpful for anyone needing to build their own low-cost audio link.


Giant Bulb VU Meter

bulb

The latest Inventgeek project is a 12 outlet control box. They decided to demo it using a giant bulb based VU meter. The control box has 12 individual outlets hooked up to two layers of six solid state relays. [Jared] notes that SSRs can be very expensive, but he purchased his on eBay for ~$10 each. Wiring and installation on this project is incredibly clean and they plan on using the control box for future how-tos. The simple audio circuit used for the VU is based on the LM3915. You’ll find full plans on the site or you can watch the overview video embedded below.

Continue reading “Giant Bulb VU Meter”

VU Meter Made With An LM3915


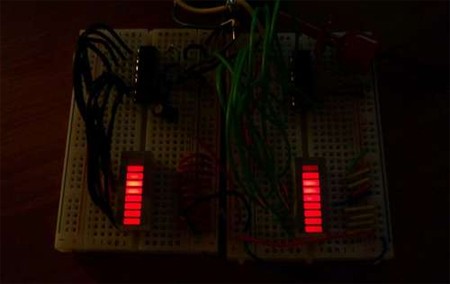
So here’s the situation: you have an audio device, maybe a boombox, perhaps one you built yourself, but it has no VU meter. No problem; building a VU meter is easy with these instructions from [Joe].

You’ll need either an LM3915 or LM3916 chip, a couple of bread boards, two audio jacks, ten LEDs, and a few other components. Wire them all together per the schematic, then plug an audio source into the input jack. You can plug your speakers or output device into the output jack, and you’re done. Keep in mind that LM3916s switch negative, so positive to positive wiring from LEDs to the bread board will be necessary. The wiring on [Joe]’s version is a bit convoluted, but it can be cleaned up on yours if you take the time. Video embedded below.

Continue reading “VU Meter Made With An LM3915”