You could write your microcontroller code on your desktop PC, or you could do it on your laptop on the go. Or, if you want to get really portable about things, you could write your embedded code on your phone. Enter DroidScript.
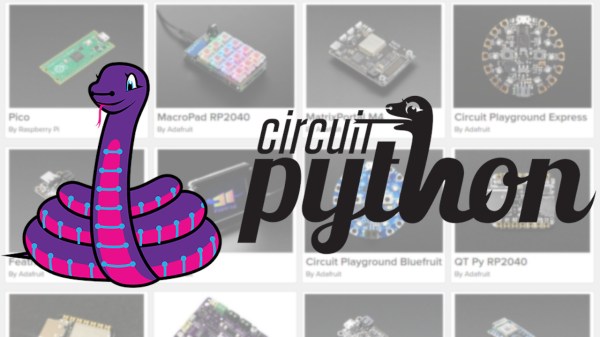
Basically, DroidScript is a JavaScript and Python IDE for Android phones and tablets. Simple enough. You can use it to write apps for your phone or tablet. But its party piece? You can now also use it to program for embedded devices—namely, a range of those based on the RP2040 microcontroller. For example, the Adafruit QT-Py RP2040, the Pimoroni TinyFX, or the Pimoroni Yukon. They run MicroPython and CircuitPython, and you can program them from DroidScript. Easy.
A decade ago, this would have been a royal pain in the butt. But today? It’s easy, because the smartphones and devboards both use USB-C connectors. All you need is a regular USB-C cable and you can hook straight up to the board and burn your code.
You can get the app on the Google Play Store if you’re so inclined. We’ve seen some other neat smartphone programming projects over the years, too. Meanwhile, if you’ve found any other nifty ways to get your code on to a dev board, don’t hesitate to let us know!