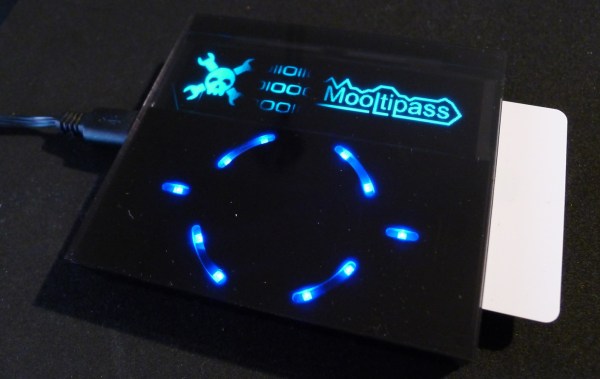
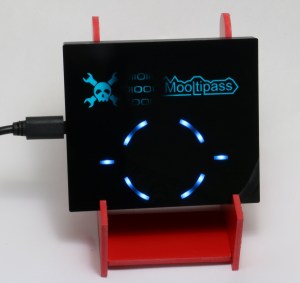
At Hackaday we believe that your encrypted vault containing your credentials shouldn’t be on a device running several (untrusted) applications at the same time. This is why many contributors and beta testers from all over the globe are currently working on an offline password keeper, aka the Mooltipass.
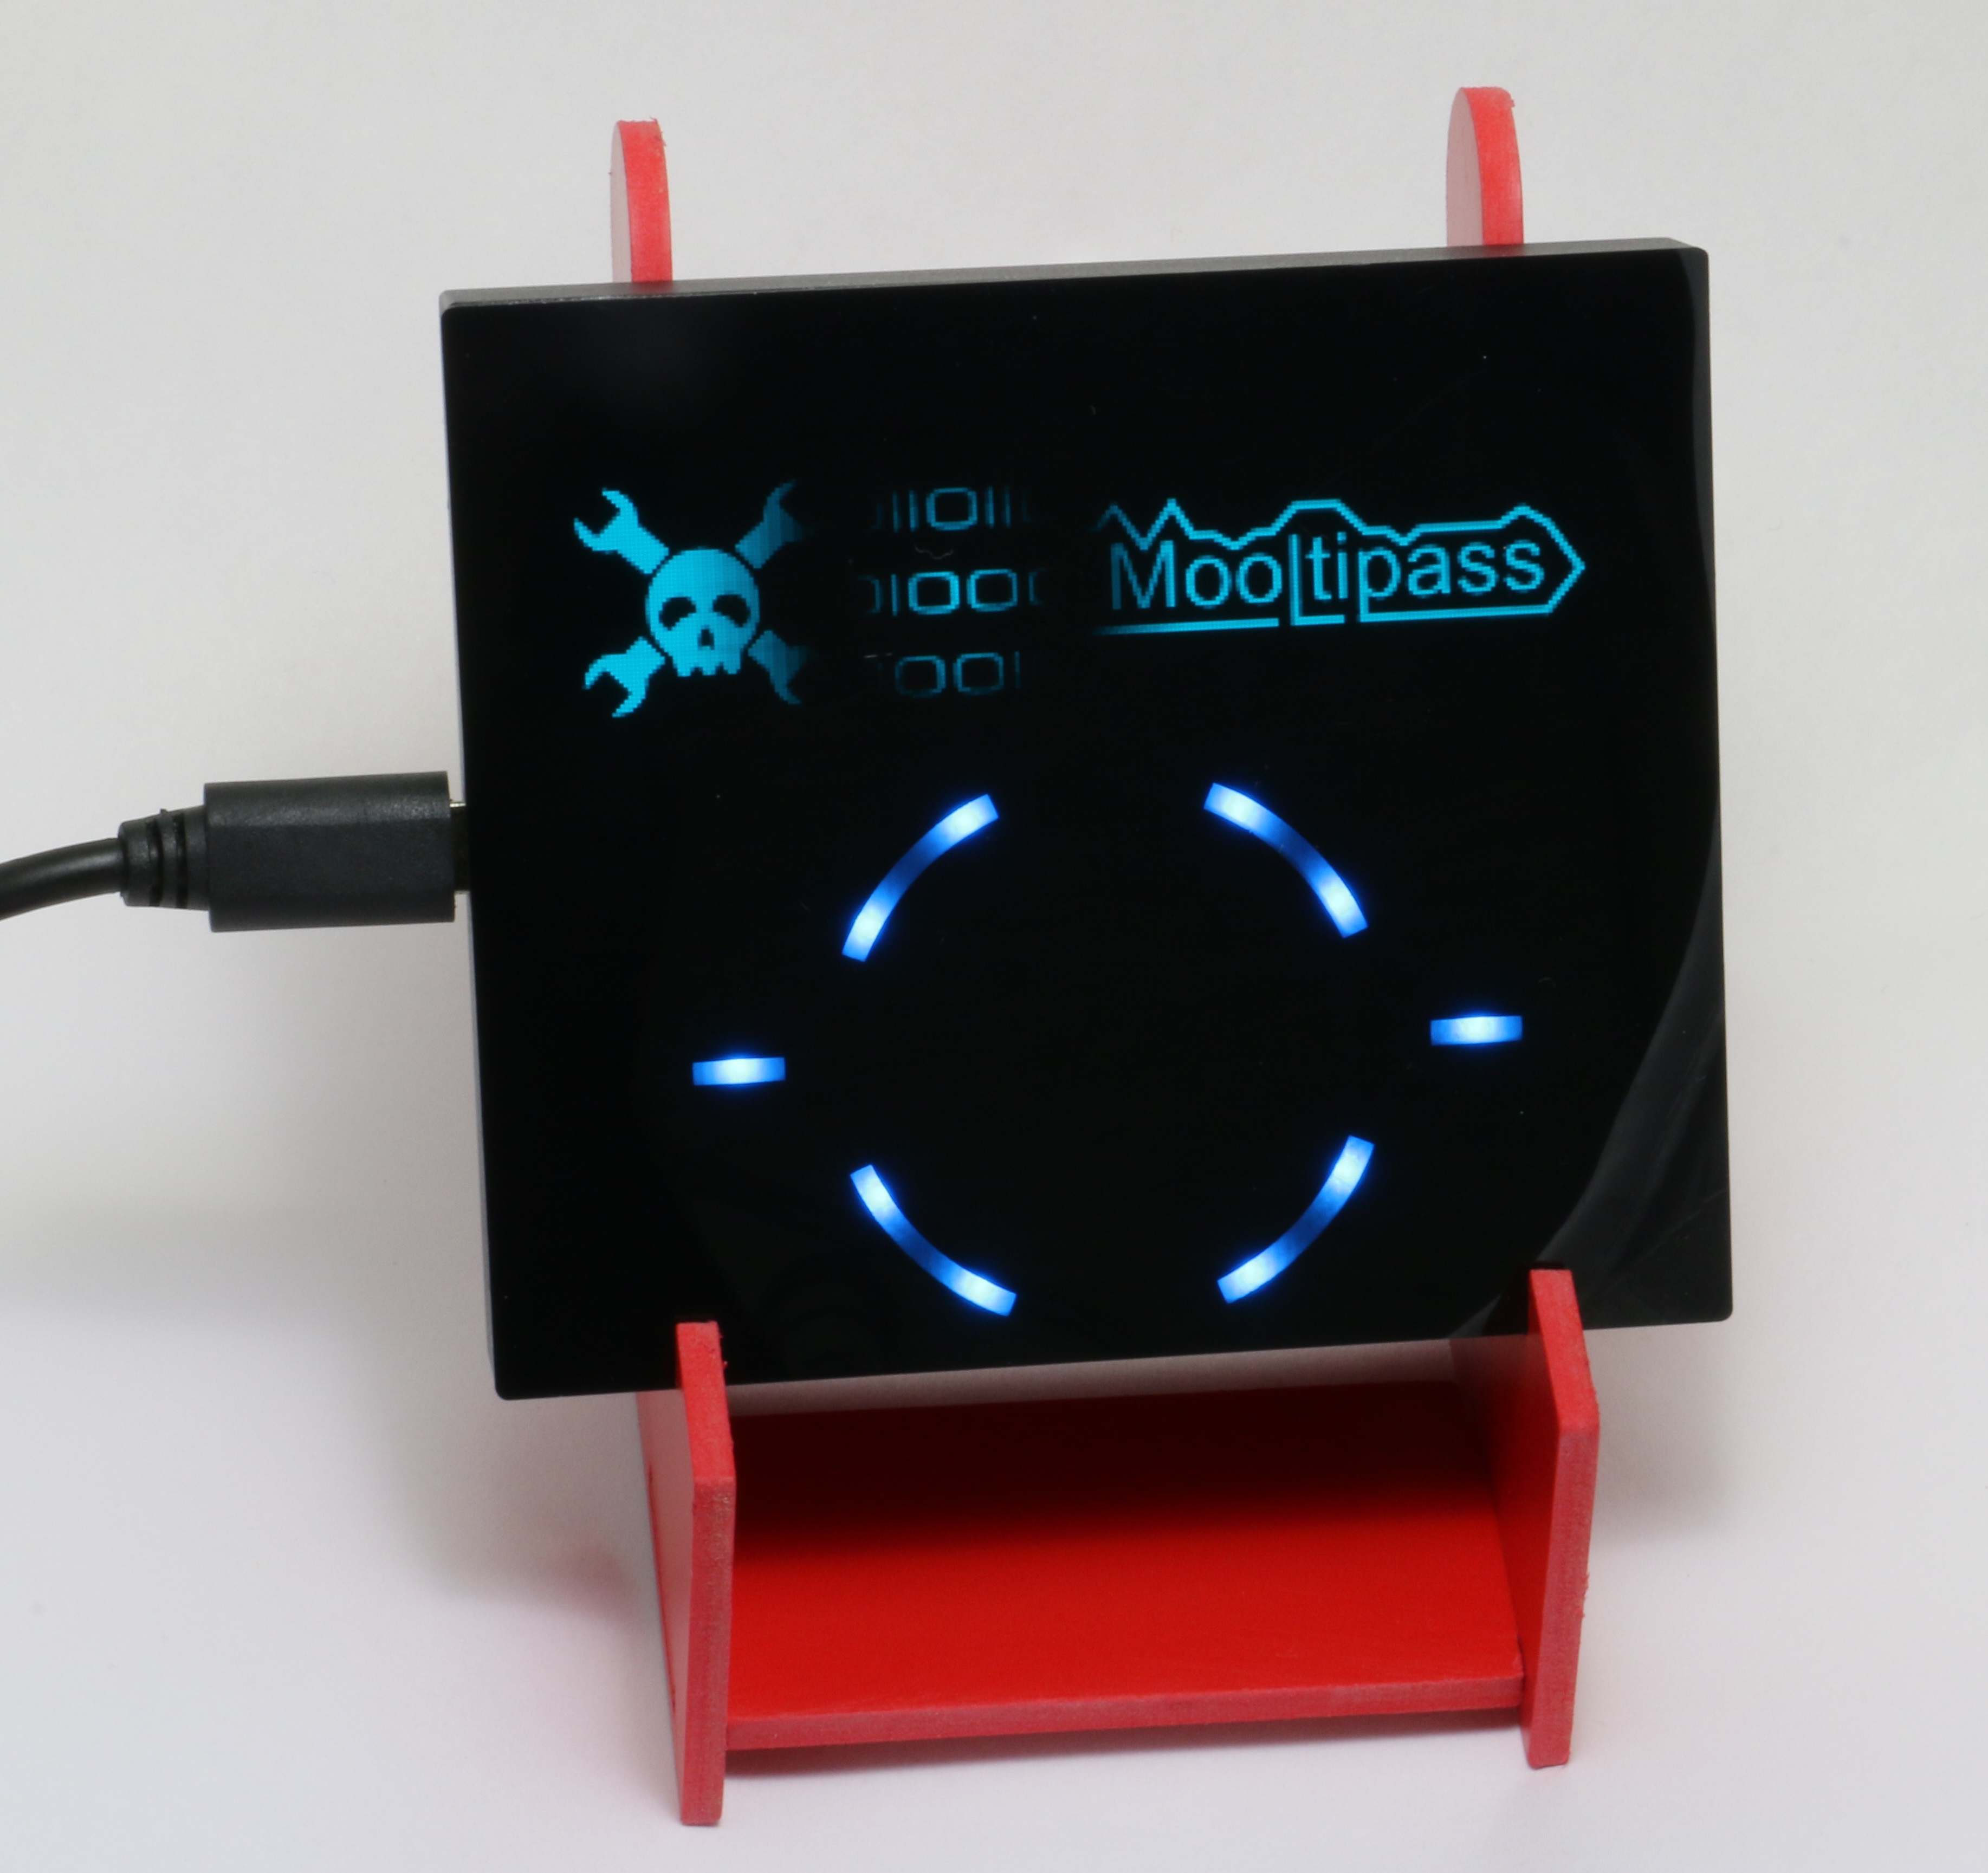
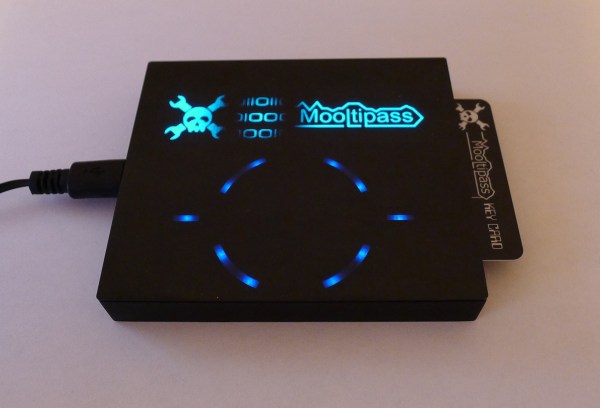
Today we’re more than happy to report that all of our 20 beta testers started actively testing our device as they received the v0.1 hex file from the development team. Some of them had actually already started a few days before, as they didn’t mind compiling our source files located on our github repository and using our graphics generation tools. We are therefore expecting (hopefully not) many bug reports and ways to improve our device. To automatize website compatibility testing, our beta tester [Erik] even developed a java based tool that will automatically report non-working pages found inside a user generated list. You may head here to watch a demonstration video.

 In honor of DEFCON, this week we’re looking at some cryptography and reverse engineering projects over at Hackaday.io


 We
We