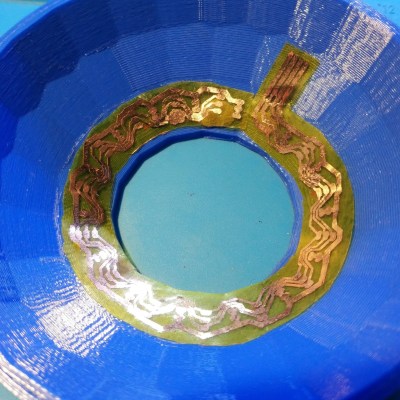
[TinkersProjects] experimented with making their own flexible PCB for LED modules inside a special fixture, and the end result was at least serviceable despite some problems. It does seem as though the issues can be at least partially blamed on some knockoff Kapton tape, which is what [TinkersProjects] used as a backing material.

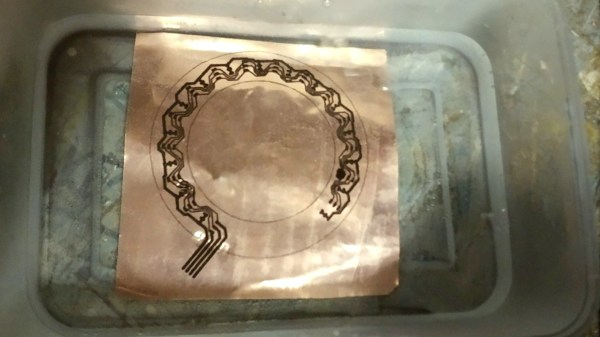
The approach was simple: after buying some copper foil and wide Kapton tape, simply stick the foil onto the tape and use the toner transfer method to get a PCB pattern onto the copper. From there, the copper gets etched away in a chemical bath and the process is pretty much like any other DIY PCB. However, this is also where things started to go wonky.
Etching was going well, until [TinkersProjects] noticed that the copper was lifting away from the Kapton tape. Aborting the etching process left a messy board, but it was salvageable. But another problem was discovered during soldering, as the Kapton tape layer deformed from the heat, as if it were a piece of heat shrink. This really shouldn’t happen, and [TinkersProjects] began to suspect that the “Kapton” tape was a knockoff. Switching to known-good tape was an improvement, but the adhesive left a bit to be desired because traces could lift easily. Still, in the end the DIY flexible PCB worked, though the process had mixed results at best.
Flexible PCBs have been the backbone of nifty projects like this self-actuating PoV display, so it’s no surprise that a variety of DIY PCB methods are getting applied to it.


