We can’t remember ever seeing a late-night TV ad for oscilloscopes before but, for some reason, Tektronix did produce a video ad in 1987. You can see it below and enjoy the glorious music and video production standards of the 1980s.
We assume this was made to show at some trade show or the like. Even if there was a Home Shopping Network in 1987, we doubt many of these would have been sold despite the assertion they were “low cost” — clearly a relative term in this case.
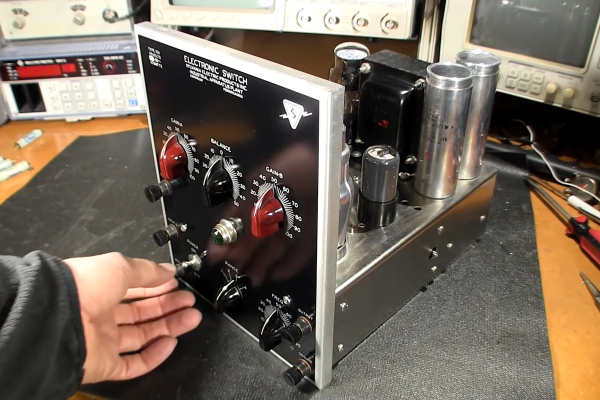
You’ve got to wonder if the narrator understood what he was saying or if he was just reading from a script. Pretty impressive either way. We loved these old scopes, although we also like having very capable scopes that don’t strain our backs to lift.
On the bright side, these scopes today are pretty affordable on the used market if you can find one that doesn’t need a repair with an exotic part. For example, we found several 2221s or 2221As for under $200 without looking hard. The shipping, of course, could potentially almost double the price.
While you can get a modern scope for $200, it probably isn’t the same quality as a Tektronix. Then again, the new scope won’t have CRTs and exotic Tektronix parts to wear out, either. Picking a scope is a pretty personal affair, though, so one person’s great scope might be another person’s piece of junk.


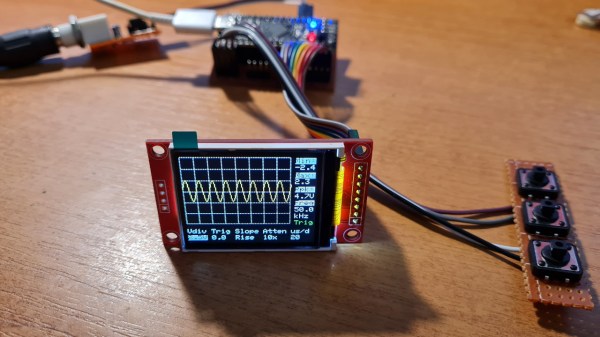
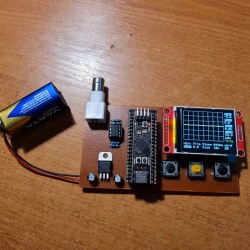 It’s hard to overshadow just how easy this scope is to build, use, and hack on. You really don’t need much in the way of parts, a protoboard will do, though you can also etch or order