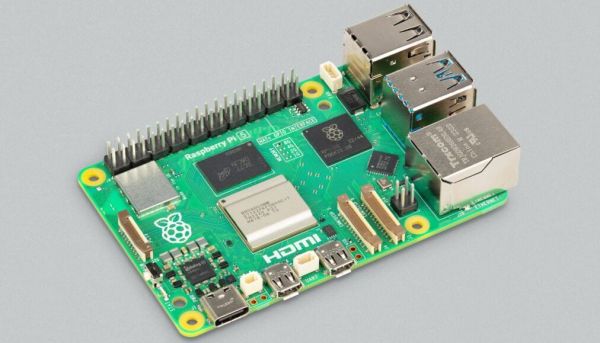
Recently Raspberry Pi released the 2GB version of the Raspberry Pi 5 with a new BCM2712 SoC featuring the D0 stepping. As expected, [Jeff Geerling] got his mitts on one of these boards and ran it through its paces, with positive results. Well, mostly positive results — as the Geekbench test took offence to the mere 2 GB of RAM on the board and consistently ran out of memory by the multi-core Photo Filter test, as feared when we originally reported on this new SBC. Although using swap is an option, this would not have made for a very realistic SoC benchmark, ergo [Jeff] resorted to using sysbench instead.
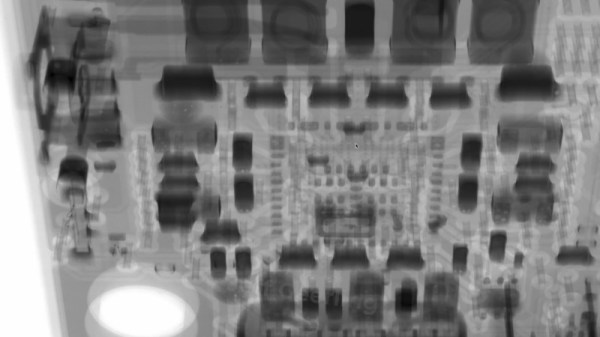
Naturally some overclocking was also performed, to truly push the SoC to its limits. This boosted the clock speed from 2.4 GHz all the way up to 3.5 GHz with the sysbench score increasing from 4155 to 6068. At 3.6 GHz the system wouldn’t boot any more, but [Jeff] figured that delidding the SoC could enable even faster speeds. This procedure also enabled taking a look at the bare D0 stepping die, revealing it to be 32.5% smaller than the previous C1 stepping on presumably the same 16 nm process.
Although 3.5 GHz turns out to be a hard limit for now, the power usage was interesting with idle power being 0.9 watts lower (at 2.4 W) for the D0 stepping and the power and temperatures under load also looked better than the C1 stepping. Even when taking the power savings of half the RAM versus the 4 GB version into account, the D0 stepping seems significantly more optimized. The main question now is when we can expect to see it appear on the 4 and 8 GB versions of the SBC, though the answer there is likely ‘when current C1 stocks run out’.