In the world of drones, quadcopters, and unmanned aerial vehicles, the community has pretty much settled on AVR microcontrollers for the low end, and ARM for the high performance boards. If the FAA doesn’t screw things up, there will soon be another market that requires even more computational power, and Navio, the autopilot shield for the Pi, is just the thing for it.
Where high end multicopter and autopilot boards like the OpenPilot Revolution use ARM micros, there’s a small but demanding segment of the hobby that needs even more processing power. Think of something like the Outback Challenge, where fixed-wing drones search the desert for a lost mannequin autonomously. You’re going to need OpenCV for that, and that means Linux.
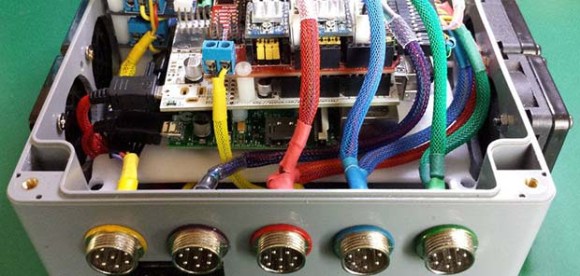
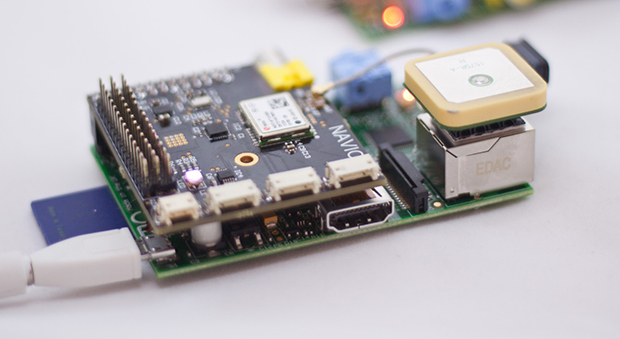
Navio is a shield for the Raspberry Pi, complete with a barometric pressure sensor, gyros, accelerometer, and compass, and GPS. It’s designed to run a more real-time version of Linux, and has the ability to do some interesting telemetry configurations – putting a 3G modem on the Navio isn’t much of a problem, and since it’s a Raspi, doing image processing of a downward facing camera is just a matter of writing the code.
The Navio team is currently running an Indiegogo campaign, with the baseline version available for $145. That’s pretty close to the price of the OpenPilot Revolution. There’s also a version upgraded with the U-blox NEO-6T that allows for on-board processing of raw GPS data.