[Alan Wolke] aka [w2aew] was challenged to repair a friends Yaesu FT-7800 ham radio. This radio operates on two ham bands, 2 m VHF and 70 cm UHF. The complaint was that the 2 m side was not working but the 70 cm was transmitting fine. Alan started by verifying the complaint using a Bird watt meter with a 50 watt slug and terminating the signal into a 50 W dummy load. [Allen’s] bird meter is the type that has an RF sampler that can be connected to an oscilloscope for added signal viewing and validation.
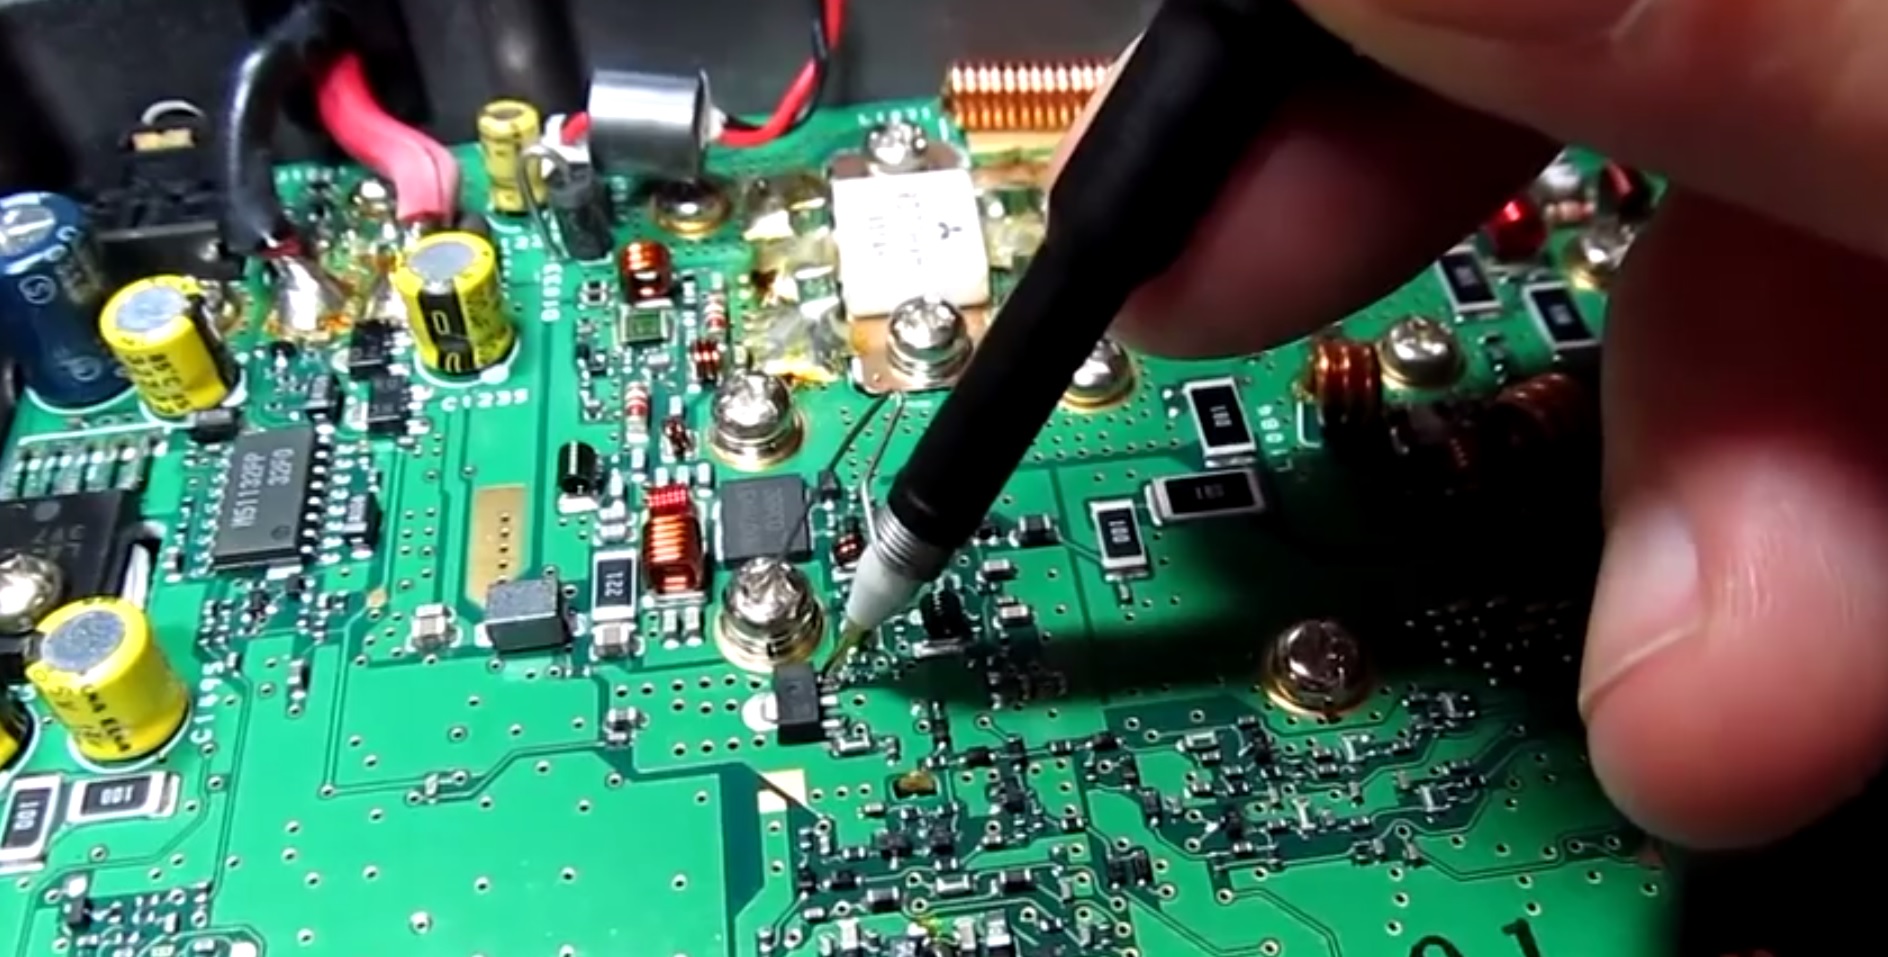
After verifying that the radio was not working as described, Alan starts by glancing over the circuit board to look for any obvious damage. He then walks us through a block diagram as well as a circuit diagram of the FT-7800 radio before stepping us through the troubleshooting and diagnostics of radio repair. Even when he realizes he might have found the problem he still steps us through the remainder of his diagnostics. The skills and knowledge that Alan shares is extremely valuable to anybody looking to repair radios.
Spoiler alert. At the end of the first video he determines that the pin diodes near the final VHF output were bad. In the second video he reveals that he could no longer source these bad components. Through some clever evaluation of a more current Yaesu radio, [Allen] was able to find suitable replacement components. Lesson two ends with some surface mount solder rework tips as well as testing that the repair was successful.
And just in case you don’t know what a pin diode is, or is used for, Alan shares a third video covering just what this component is and does in a radio. You can follow the jump to watch all three videos.
Continue reading “Diagnose And Repair A Yaesu FT-7800 Ham Radio”