In case you’ve been living under a rock for a few weeks, we’re giving away a trip to space for the best, most grandiose connected hardware project. [coxrandy], a.k.a. [Phillip Cox] realized the best way to build something awesome was to think big, and his plan for building a 1km dome (yes, 1000 meters) is the most ambitious project we’ve ever seen.
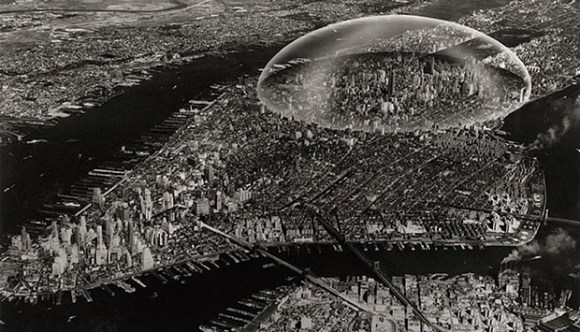
The BuckyBot, as [Phil] is calling his build, relies on the ideas of the great [Buckmister Fuller] and his idea to build a huge geodesic dome covering all midtown Manhattan. [Fuller] didn’t have the resources to build a structure this large in the 1950s, and to be honest, we don’t have the resources to build it now. It would be a ludicrous effort to build something like this one beam at a time, and [Phil] concludes that to build something this big, we need to think small.
Instead of thousand ton cranes and several thousand vehicles trucking in building supplies, [Phil]’s idea uses small “BuckyBots” – a combination 3D printer and robot – that builds one structural cell of a giant dome at a time. These BuckyBots climb around the structure, build the internal and support structure, slowly climbing to the skies on their fractal-inspired creation.
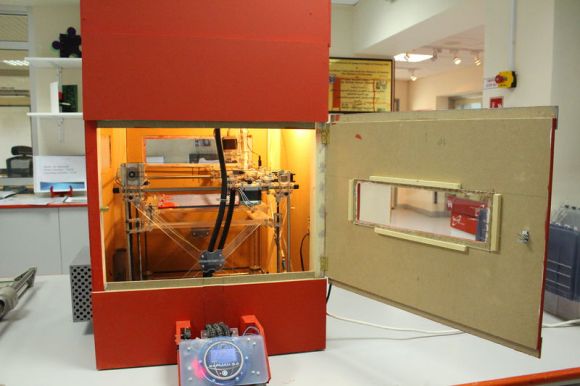
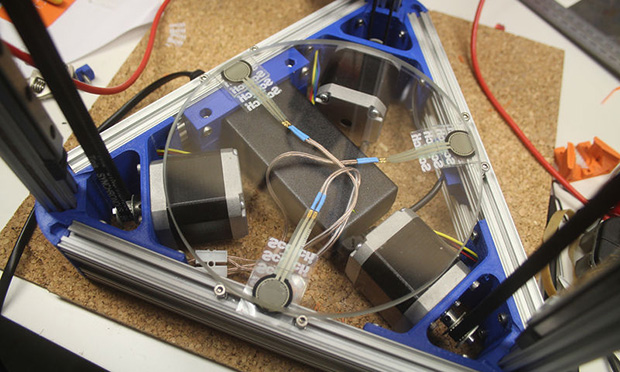
The Hackaday Prize contest will end far before [Phil]’s BuckyBots will have the ability to build a kilometer-wide dome, so the current plans are to modify his RepRap Mendel to crawl. Once that’s done, he’ll have his newly built BuckyBot build a 2 meter hemisphere in his garage. From there, construction moves to the back yard where a 10 meter dome will be built.
Even if this project never makes it past the planning stages, it’s an awesome example of thinking big, something you’re going to need if you’re trying to win a trip to space.